

Scrivener projects can have their own settings, which, in some cases, override global settings. Learn how to use these settings to customize projects and create templates.
Like any full-featured app, Scrivener has lots of settings that you can use to customize the app and make it work the way you want. Some of these settings apply to the way you view Scrivener or to the way the app behaves. They apply to every project you work on in Scrivener, but there is also a group of settings that only apply to individual projects. In this article, we’ll look at how you can use project settings to change the way different different projects work.
What are project settings?
Every app has settings, and Scrivener has a lot of them: just choose Scrivener > Settings (Mac) or File > Options (Windows) to see them. The many settings available in this window apply to all projects you work with, but Scrivener’s project settings offer settings that you can adjust per project that override the global settings.
Project settings are designed so you can customize certain settings, but not all of them. Also, you can create custom templates that use project settings that override some of the default settings in your copy of Scrivener, or that of anyone using the template. In most cases, you won’t need to use project settings unless you are working on multiple projects and want different settings on some of them, or if you are creating custom templates for your use or for others to use.
For more on custom templates, see Create Custom Templates for Your Scrivener Projects.
Settings available in Project Settings
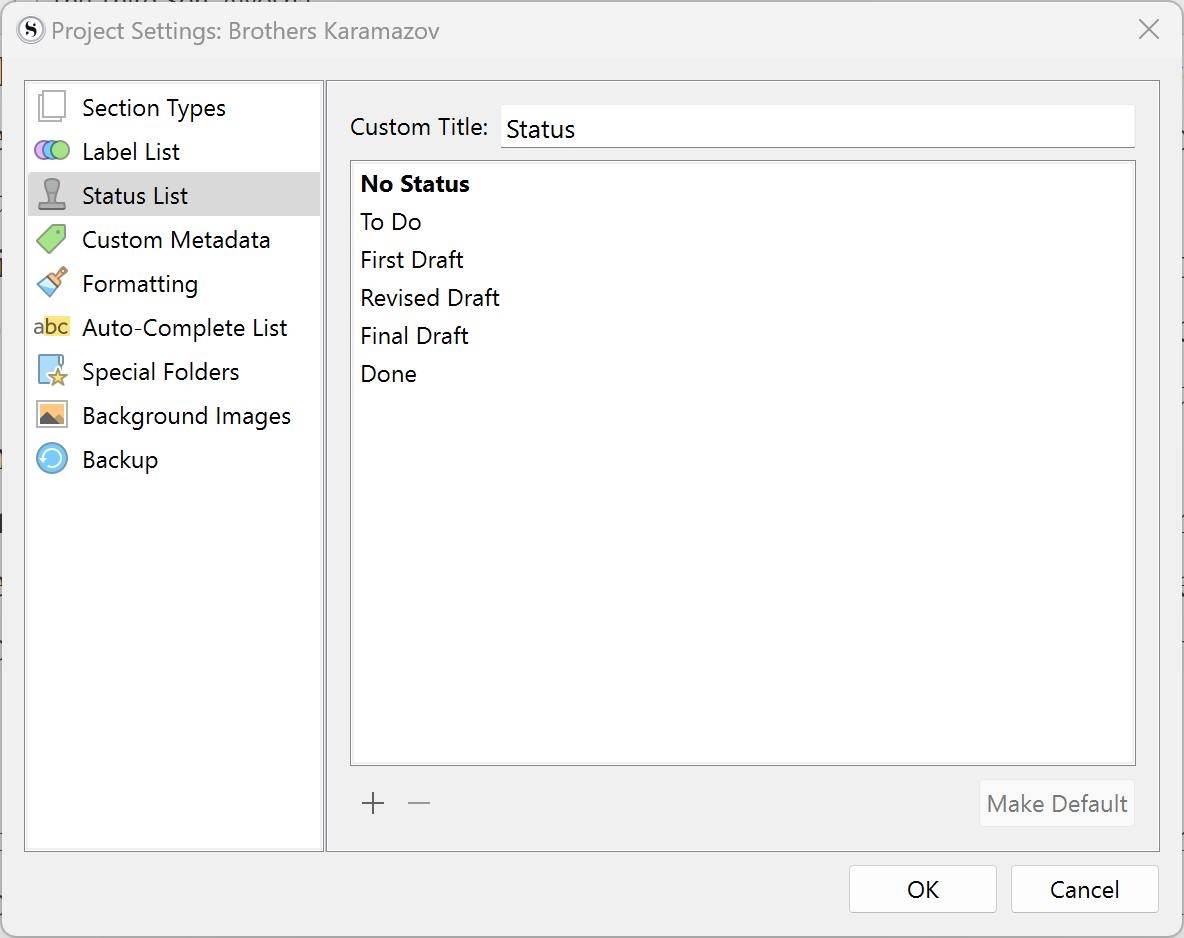
Project settings cover a number of areas, as you can see in this screenshot:

Here’s a quick overview of what is available in Project Settings.
Section Types
You use section types and section layouts to define elements of your project when compiling it. (See Compiling Your Scrivener Project: The Basics for an introduction to compiling projects.) Section types and section layouts are similar to styles in some word processors, and they only affect our project when compiling. Compiling is a project-based feature, so you only set section types in project settings.
Section types have no effect on what you see when working on your project. They allow you to create section layouts to compile your document and make it look the way you want. See Using Section Layouts to Compile Your Scrivener Project for more on section types and section layouts.
Label List
Labels are a useful feature that provide visual markers to help you distinguish certain types of files and folders in the Scrivener Binder, Corkboard, and Outline. You can apply labels in several ways, and you can create your own labels. Since you may create labels to indicate point-of-view characters, days or years in your plot, or timelines – elements that change in each project you create – these are project-specific settings. See 5 Tips for Using Labels in Scrivener to learn how to use and apply labels within your projects.
Status List
Another element that you might want to use differently according to your projects is their status. The Status list – see Three Ways to Mark the Status of Items in Your Scrivener Project – is great for marking elements of your projects as first drafts, revised drafts, final drafts and more, and you can view these status marks in different areas of Scrivener’s interface. You may want to add your own status marks according to your projects, and you can set them here.
Custom Metadata
As with labels and status marks, custom metadata is something you may want to change for each project. This setting allows you to create specific fields that show up in Scrivener’s Inspector, as well as in other areas within Scrivener. You can create metadata as text, checkboxes, lists, and dates. See How to Add Custom Metadata to the Scrivener Inspector to learn how to work with custom metadata in your projects.
Formatting
While you can adjust text formatting in Scrivener’s general settings or options, this project setting allows you to hard-code formatting into a project. This is especially useful if you want to create a template that uses formatting different from what you usually use, and do not want to manually change the overall formatting settings each time you use the project. See section C.5 of the Scrivener manual for more on these formatting settings.
Auto-Complete List
Scrivener has an auto-complete feature that can save you time when you type character names, place names, and other terms. This goes beyond what is available in macOS and Windows, and allows you to create a list of words that are specific to your project. See Use Scrivener’s Auto-Complete to Quickly Type Character Names, Place Names, and More to learn how to use this feature.
Special Folders
Scrivener allows you to create documents that can be used as templates for new files in the Binder, such as those used for Character Sketches and Setting Sketches in the Novel template. If you want to create your own document templates, this project setting lets you choose a folder in your project to hold these documents. There’s also a setting here where you can choose which folder to use to save project bookmarks. See chapter C.7 of the Scrivener manual for more on special folders.
Background Images
If you use Composition Mode or the Corkboard, you can use custom backgrounds, which you can set here. Just choose a file from your computer and Scrivener will apply this background. See chapter C.8 of the Scrivener manual for more on using background images.
Backup
Backing up your Scrivener projects is important. There are Backup settings in Scrivener’s overall settings and options, but here you can exclude projects from automatic backups, or set a different backup folder for individual projects. These settings override the standard backup settings, so make sure your backups are working if you make changes here. See chapter C.9 of the Scrivener manual for more on this setting.
Kirk McElhearn is a writer, podcaster, and photographer. He is the author of Take Control of Scrivener, and host of the podcast Write Now with Scrivener.