Learn how to create and work with projects on Scrivener's mobile app.
How to Create and Manage Projects in Scrivener for iPad and iPhone | Literature and Latte
In a recent article, I introduced Scrivener for iPad and iPhone; I also explained how you can tweak the settings of the mobile Scrivener app so it displays the way you want it to.
In this article, I'm going to explain how you create a new project, how you add and delete documents, how you move items around in the Binder, and more.
Create a new project
It’s easy to create a project in Scrivener for iPad or iPhone. The first time you launch the app, it displays its Projects screen; tap the Create Project button. Name the project, then choose whether you want to store the project on the iPad or iPhone, or in Dropbox. I discuss working with Dropbox in a future article. 
The easiest way to see how projects work in Scrivener for iPad and iPhone is to start by checking out the Tutorial, which contains a number of folders and documents. From the Help section of the Projects list, tap Tutorial; this project opens.

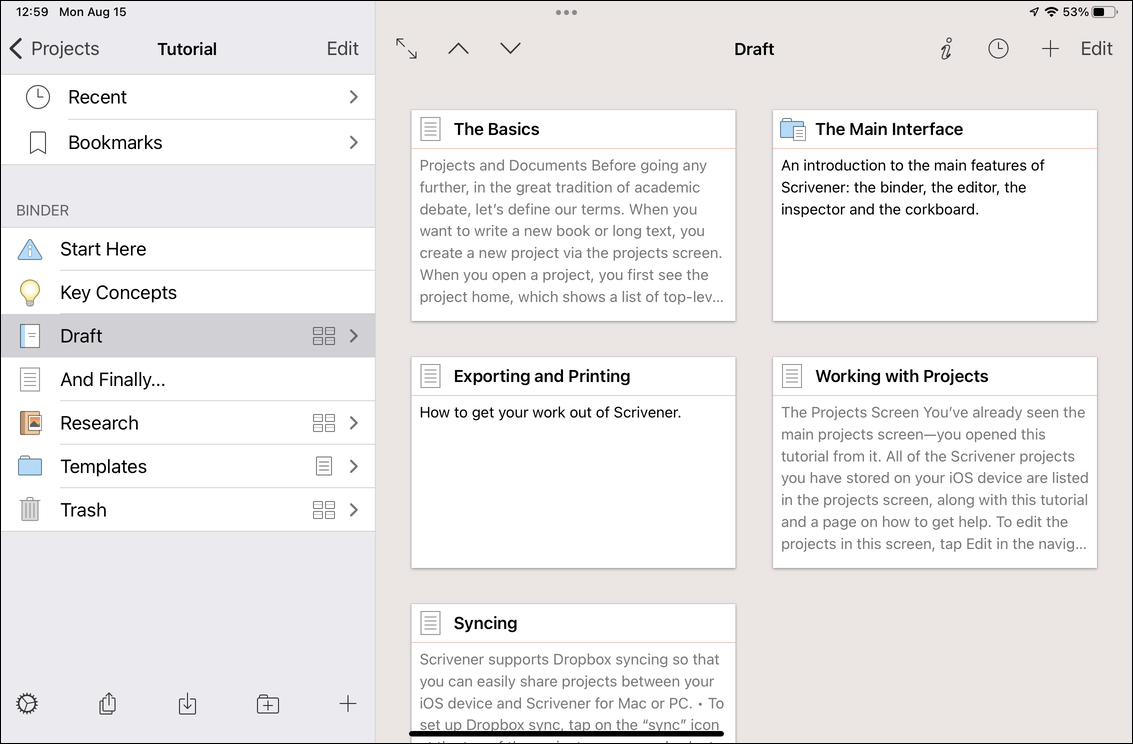
As with the tutorial for Scrivener for Mac or Windows, this project gives you an overview of the app's features, and is interactive: you can add and delete documents, move items around, and use it like a real project. If you want to restore the original tutorial after you've made changes, tap Getting Help below the Projects list, scroll down, then tap Reset Tutorial. Note that the screenshot above shows the Scrivener tutorial on an iPad mini (left) and an iPhone 13 Pro (right). As you can see, the Binder is identical. I’ll use the iPad mini for the rest of the screenshots in this article.
If you're familiar with Scrivener for Mac or Windows, you'll recognize the elements in the Binder. There's a Draft folder, a Research folder, and a Trash folder. There is also a Templates folder, which the desktop tutorial does not have; this contains a Character Sheet and a Location Sheet which you can use to flesh out characters and locations. In the desktop app, these files are in the Sheets folder in the Research folder.
Navigate a project
Navigating a project is pretty simple: just tap an item in the Binder to see what it contains. By default, you don’t expand the Binder as you do on the desktop, so every time you tap an item, you go into that item. (I explain how to expand folders below.) To go back to the Binder, just tap the word or words after the < character at the top left of the screen. Here, I've gone into the Draft folder; I can tap < Tutorial to move up one level.
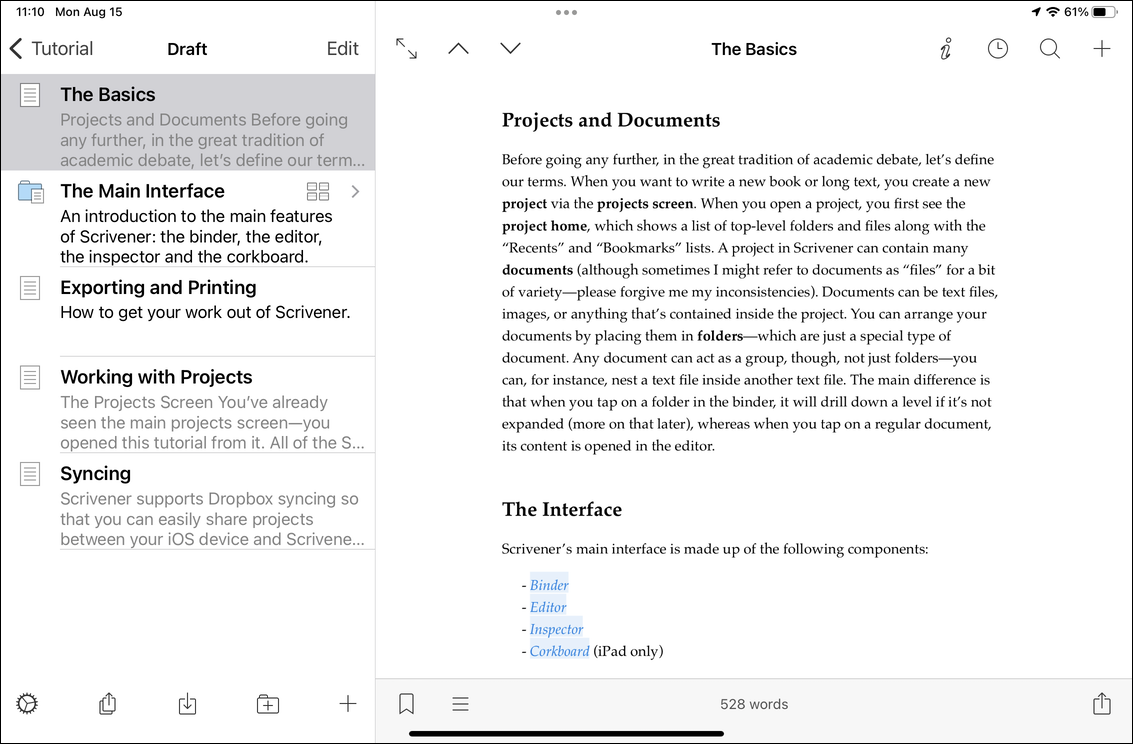
As you can see in the screenshot above, there are both documents and folders in the Binder; tap a folder to view its contents. Tap a document in the folder to view it, and tap in the Editor to the right to start writing or editing it.
In the first screenshot, you can see a small icon at the right of the binder for the Draft, Research, Templates, and Trash folders. This is the Corkboard icon; tap it to view the contents of a folder in the Corkboard. Note that the Corkboard is only available on the iPad version of Scrivener.
Work with the Binder
In the mobile version of Scrivener, you can add, delete, and move files and folders in the Binder. If you tap Edit, the Binder changes slightly.

Once you're in edit mode, you can tap the circle next to any Binder item (green arrow) to select it; then tap the trashcan icon in the Binder footer to delete it. If you tap and drag any of the handles (red arrow), you can rearrange items in the Binder by moving them up and down. You can also swipe any item, from its right edge, to display More and Move buttons.

If you tap More, you can perform a number of operations on the item, such as adding it to your bookmarks, copying to another location, sharing it, moving it to the Trash, etc. If you tap Move, you can move the item to any location in the Binder. A screen displays showing all the elements in the Binder: documents, folders, sub-folders, etc. Tap one of these to move the selected document.

And if you swipe left on a folder, you see two buttons, Expand and Collapse. If you tap the former, Scrivener expands the folder showing all its contents; if you tap the latter, Scrivener collapses the folder.
Finally, the Binder footer contains icons that you can use to rearrange the Binder. When not in Edit mode, these icons do the following:

From left to right:
- The Project Settings icon. I discuss project settings in this article.
- The Compile icon. I will discuss compile in a future article.
- The Import icon. Tap this to add images from your Photos library, take a photo with your device's camera, import a web page, or browse your iPad or iPhone's Files app to find an item to import.
- The New Folder icon; tap this to add a folder to the Binder.
- The New Document icon; tap this to add a new document.
When in Edit mode, these icons are different. Select one or more items to act on them. From left to right:

- Tap the Movement Mode icon to move items around. Scrivener displays arrow buttons for all four directions. You can move items up and down, and left and right (indenting and outdenting). You may find this easier than tapping and dragging.
- The Move icon lets you move items from a dialog, as above in the section on the Move and More buttons.
- The Duplicate icon makes a copy of the selected item.
- The Merge button merges two or more selected documents.
All this is different from how you work with Scrivener on the desktop, but when you get used to it, you'll find that you can work very easily with even the most complex projects.
Kirk McElhearn is a writer, podcaster, and photographer. He is the author of Take Control of Scrivener, and host of the podcast Write Now with Scrivener.