Scrivener for iPad and iPhone lets you work on your projects on mobile devices, and sync them back to your computer.
If you use Scrivener on a Mac or Windows computer, and haven’t yet discovered the Scrivener app for iOS and iPadOS, this series of articles about the mobile version of the app are for you. I’m going to show you how you can use Scrivener on an iPad or iPhone on its own, or in conjunction with Scrivener on your desktop or laptop computer.
In this week’s article, I’ll give you an introduction to Scrivener for iPad and iPhone, and tell you why you may want to use the mobile app. Other articles will look at how to tweak Scrivener on iPad and iPhone to work the way you want it, how to sync projects between the mobile apps and the desktop, and how to compile projects with the mobile apps.
Why use Scrivener on an iPad or iPhone?
Many people see the iPad as just a consumption device: you use it to visit websites, watch films, and play games. But you can do a lot more with it. You can type using the on-screen keyboard, and many people create a lot with an iPad, and an external keyboard allows you to type much more fluidly, and also use keyboard shortcuts. While you have been able to use an external Bluetooth keyboard since the very first iPad, it’s only in recent years that Apple developed their own keyboards, such as the Smart Keyboard, the Smart Keyboard Folio, and the Magic Keyboard. With these combination keyboard/cases, you can protect your iPad and use it almost like a laptop. (There are also third-party keyboards and keyboard cases.)
An iPad with a keyboard is a great device to use if you want to write in a coffee shop, or on the go, especially if you don’t own a laptop. One advantage of using an iPad is that it is designed to only display one app at a time. (There is a split screen feature, and iOS 16 will include Stage Manager, which allows you to work with multiple windows, but the basic way of using an iPad is with a single window.) The iPad can be immersive, allowing you to focus more easily than on a laptop, where apps running in the background may disturb you.
The Apple Pencil is also a great device for editing a project. You may want to write on your Mac or PC, then shift to the iPad to get a different view as you edit or revise your work. Many people find this a good way to get a different point of view of their writing.
The iPhone is a bit more limited because of its size, but people have written entire novels on their iPhone, so don’t let the size fool you. It allows you to work anywhere on a device that fits in your pocket; you can write, edit, or revise your projects on an iPhone . And, if you’re a good two-thumb typist, you can type quickly on an iPhone. You can even connect an external Bluetooth keyboard to an iPhone; Apple sells one made by Logitech that comes with a stand that you can use with both the iPhone and iPad.
Features of Scrivener for iPad and iPhone
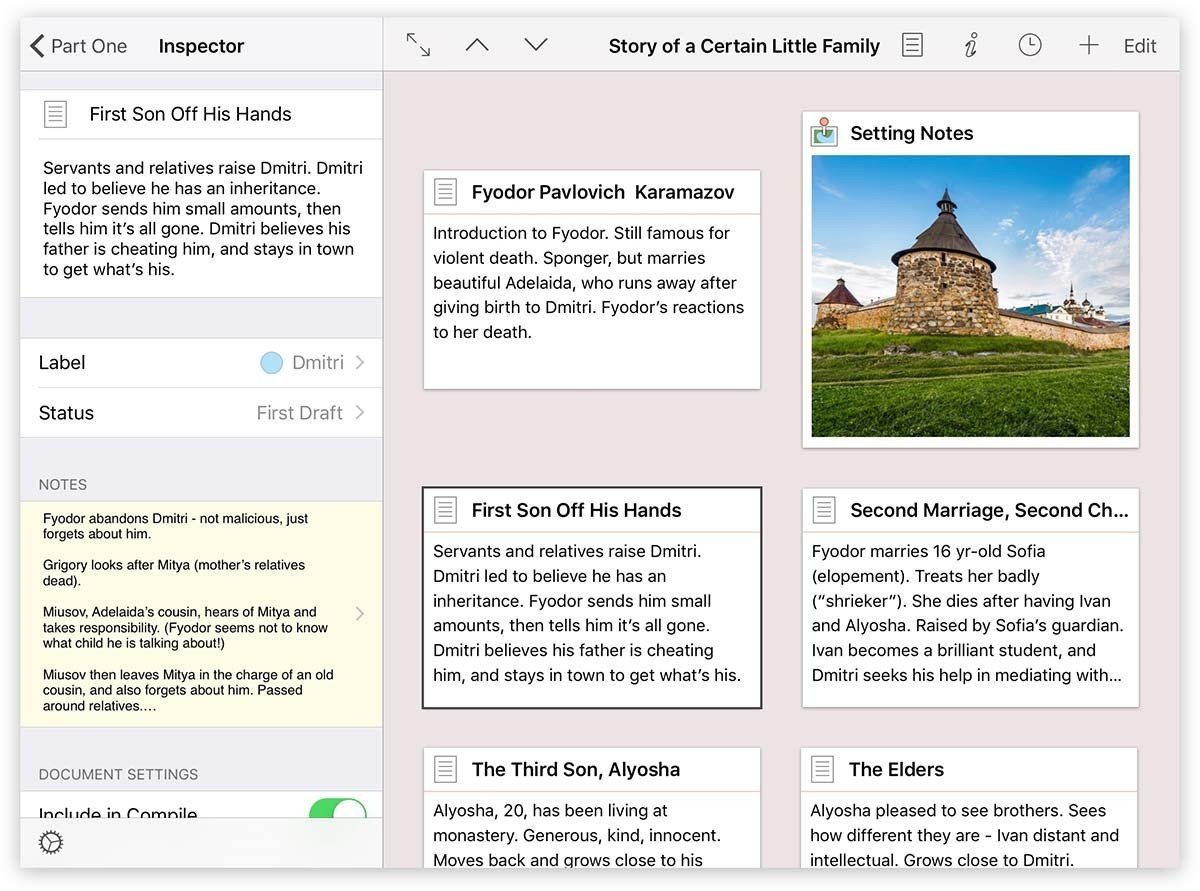
Scrivener for iPad is fairly similar to the desktop app, though its interface is compressed a bit to work on a mobile device with limited screen space. It offers the three key elements of Scrivener: the Binder, Editor, and Inspector, and has a Corkboard and Outliner, just like it’s sibling.

One useful feature in Scrivener for iPad is the extended keyboard row. Appearing just above the iPadOS keyboard, this row gives you access to a number of commands.
If you swipe the handle in the middle of the row, you can cycle through three sets of commands, which offer buttons for commonly used punctuation, navigating text, and adding footnotes and adjusting some formatting elements.
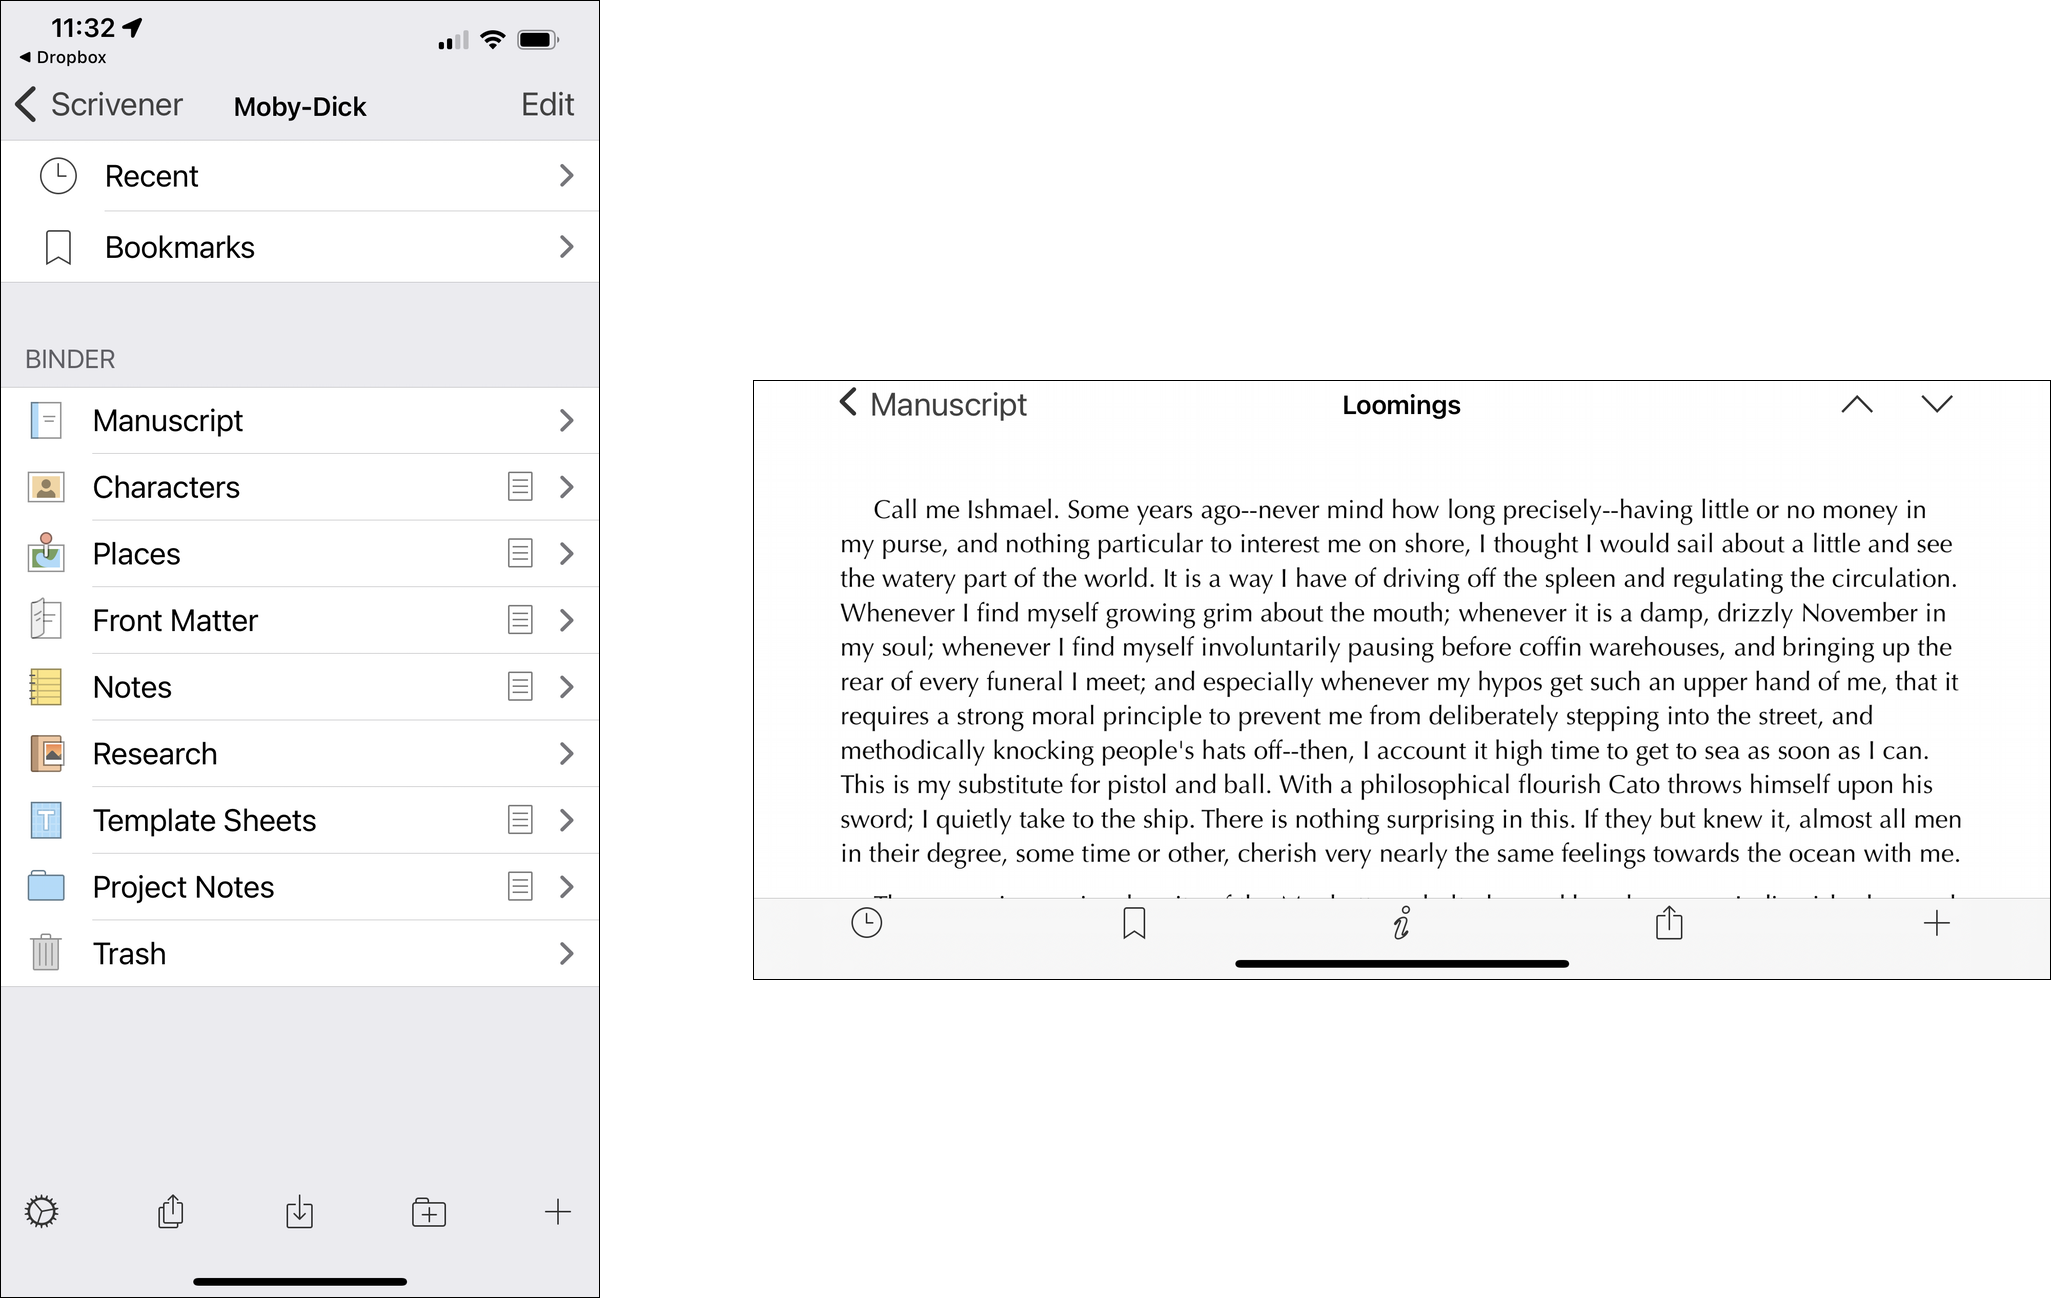
Scrivener for iPhone is a bit more cramped because of the size of the display, but you still have access to all the key features of the app. If you do plan on writing a lot on an iPhone, you may find it easier with a larger model, such as Apple’s iPhone Pro Max models. You can certainly use Scrivener on any iPhone model, even the iPhone mini, but you won’t have the same amount of breathing room. And don’t forget that you can turn the iPhone and Scrivener will rotate and display wider pages. Here’s how Scrivener looks on an iPhone 13 Pro both vertically and horizontally.

If you’ve already got Scrivener for iPad or iPhone, you can find out more by tapping Tutorial in the Help section of the main screen. In future articles, I’ll discuss how to adjust settings for your projects, so you can view them as you want; how to sync projects between your computer and an iPad or iPhone; and how to compile and print your projects.

