

Get to know the settings that let you customize Scrivener on your iPad and iPhone.
In last week’s article, I introduced Scrivener for iPad and iPhone. I discussed how practical it is to use Scrivener on the go, on a compact, portable device. The iOS and iPadOS versions of Scrivener don’t have all the features of the desktop app, but they offer the most important, allowing you to write and revise on your iPad, or even your iPhone.
In this article, I’ll show you how you can tweak Scrivener for iPad or iPhone to make it work the way you want. I’ll look at how you can adjust the way text displays in the Editor, and how you can adjust many of the other settings available, such as turning on dark mode, and more.
Formatting projects
One important element of customizing an app you use for writing is choosing a font and size that you are comfortable with. Scrivener for iPad and iPhone allow you to do this for each document, as well as offering a setting that will apply to new documents.
To access formatting settings, tap a document in the Binder, then tap anywhere in the text in the Editor. If you want to format a new document, with no text, you can start applying settings; if you already have text in a document, select all the text first, then apply formatting.
When you tap in a document, a paintbrush icon appears in the toolbar; tap this for formatting options.
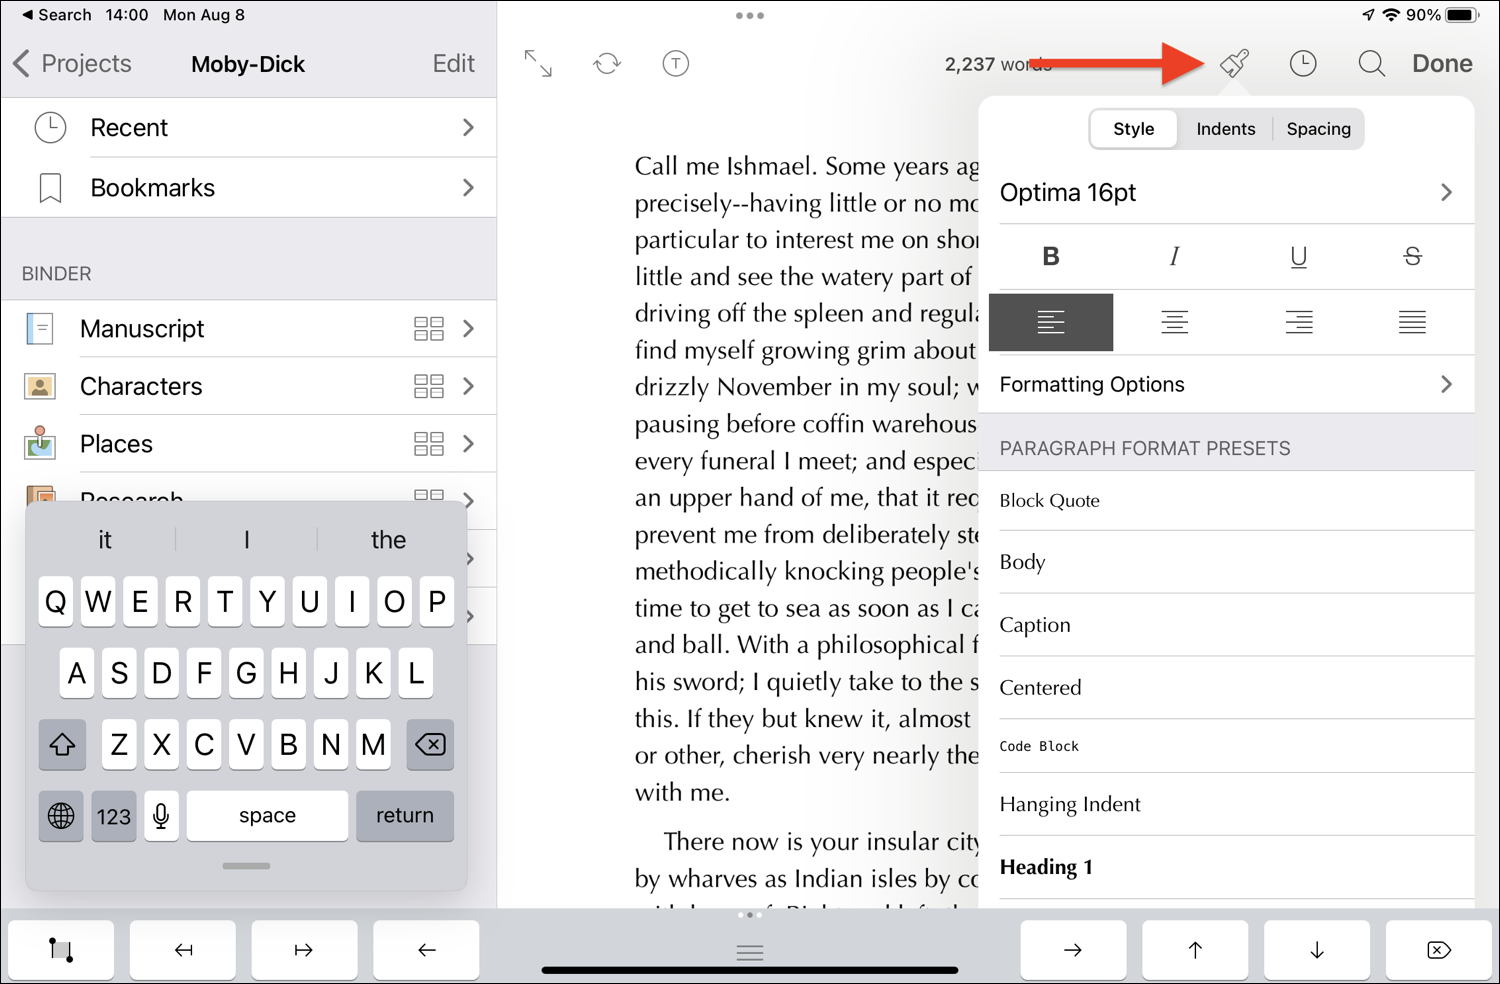
The Indents menu lets you set indents at the beginnings of paragraphs, and the Spacing menu lets you set both line spacing and paragraph spacing. The former is in lines, such as 1, 1.2, 1.5, etc., and the latter adjusts spacing before and after paragraphs.
Project settings
Project settings are different from formatting settings. To access these, go to the top-level Projects view, then tap a project. At the bottom of the Binder, there’s a gear icon; tap this.
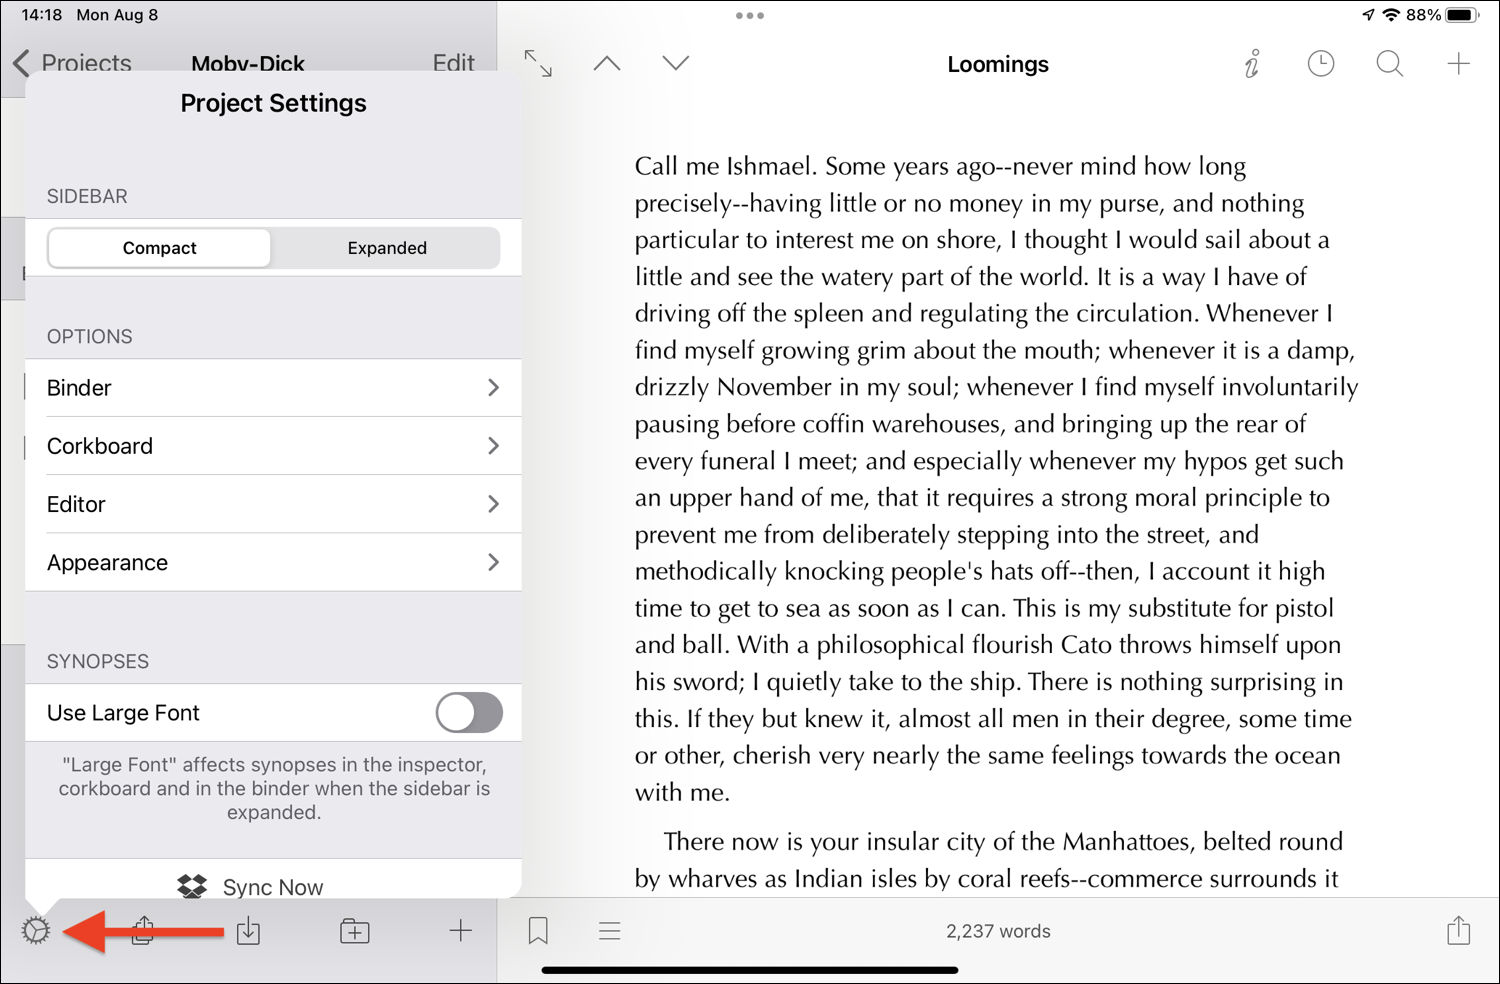
There are options for the Binder, Corkboard, and Editor, as well as a global Appearance setting.
Binder options allow you to display labels, to tint rows with label colors, and to show the status of your documents. Corkboard options let you use choose to display label colors and status stamps, as well as images. And Editor options let you toggle typewriter scrolling, and offer two scriptwriting options: one to allow scriptwriting, and another to hide the left margins of scripts.
The Appearance setting lets you switch from light to dark mode, or tell Scrivener to use the current display mode of your device, so it changes as the day gets darker (or lighter), if you have selected that option.
One final option toggles a larger font for synopses in the Inspector. There’s also a Sync Now button, if you have enabled Dropbox sync.
Global Scrivener settings
At the bottom of the settings menu in the screenshot above, there’s a button labeled Show App Settings. This takes you to the Settings app, where there are a number of Scrivener settings. You can also access these by opening the Settings app, then scrolling down to the Scrivener entry.
You may want to disable the auto-lock feature of your iPad or iPhone when you’re working on Scrivener, so it doesn’t shut off when you’re thinking. The Appearance setting is the same as the one I discussed above, about light and dark mode. You have a number of Editor settings, which are very useful in customizing the way Scrivener works.
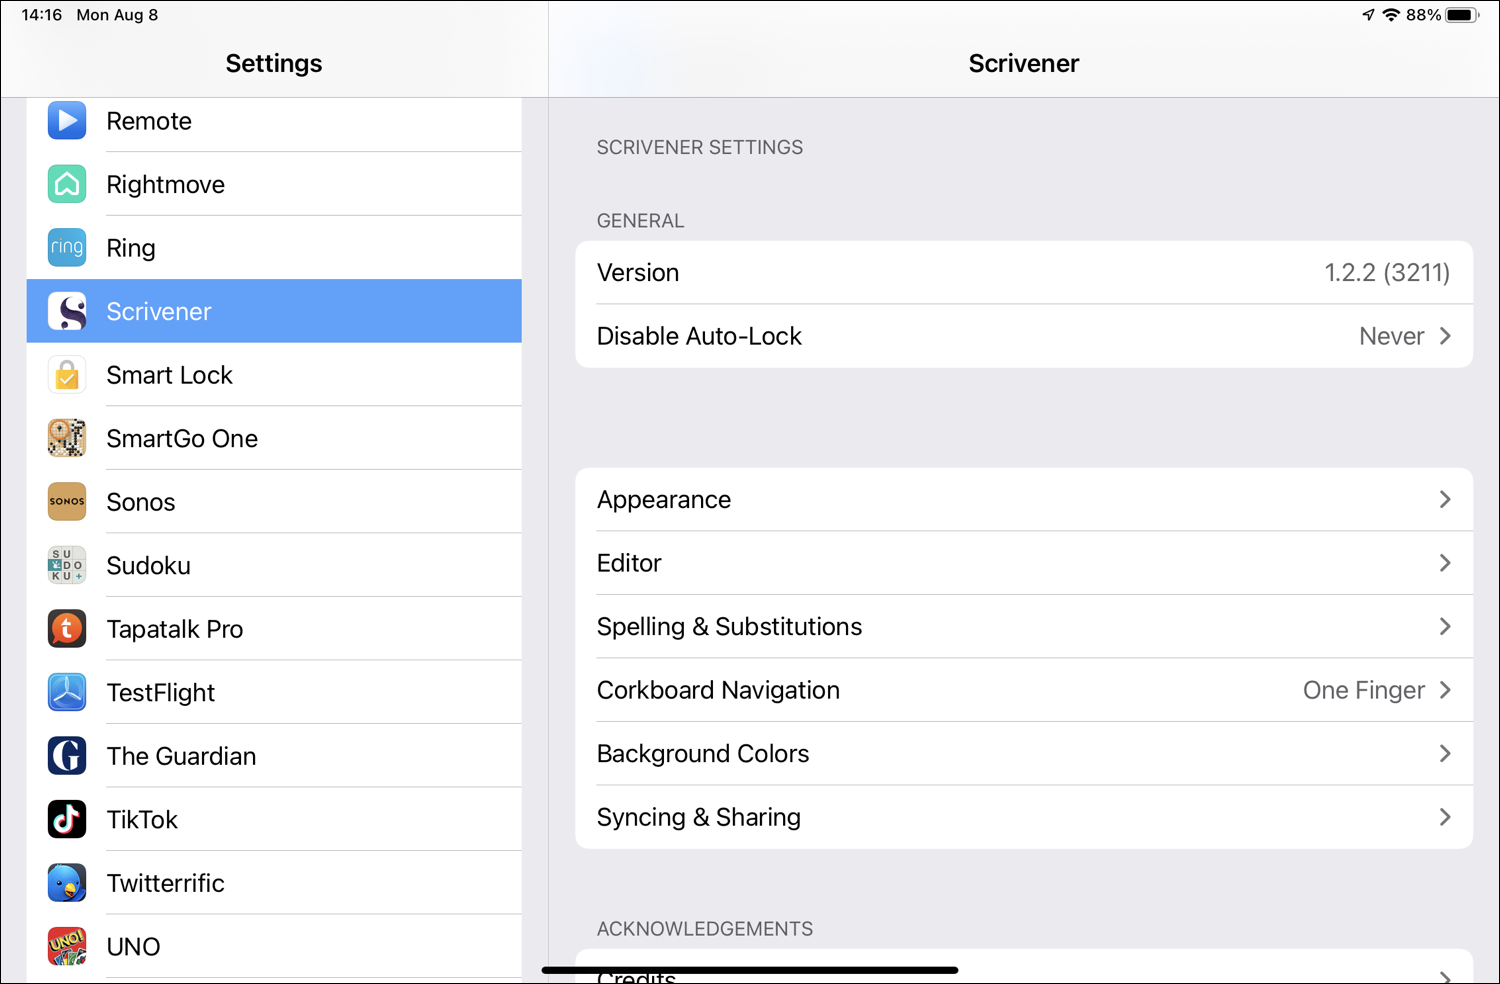
You can toggle the keyboard row, choose how statistics display, show live counts, set how typewriter scrolling works, set the text width, and the default zoom level in the app.
Spelling & Substitution settings allow you to toggle features like auto-capitalization, auto-correction, and auto-complete, as well as spell check and smart punctuation.
You can choose whether you use one finger or two to navigate the corkboard, you can set background colors, and there are some syncing and sharing settings.
Note that I’ve used an iPad mini for the screenshots in this article. Scrivener on a larger iPad looks the same, except there’s more room, and on an iPhone, the interface is compressed a bit, but all the same options are available.
In spite of the more limited interface of Scrivener for iPad and iPhone, and the lack of menus like on a Mac or PC, the mobile app replicates most of the features available on the desktop. Take some time to browse the app and check out what the various buttons do.
To learn more about the features of Scrivener for iPad and iPhone, tap Tutorial in the Help section of the main screen. This opens an interactive tutorial, which gives you an overview of the app’s features. 
In future articles, I’ll look at syncing, importing, and exporting projects, and I’ll explain how you compile a project using the mobile version of Scrivener.
Kirk McElhearn is a writer, podcaster, and photographer. He is the author of Take Control of Scrivener, and host of the podcast Write Now with Scrivener.