

Scrivener’s Binder is flexible, and allows you to use different approaches to organize your projects.
While you do all of your writing in Scrivener’s Editor, the Binder is where you organize your projects. The main advantages of Scrivener’s Binder are the ability to move elements around as you develop a project, and the ability to quickly view any section or chapter; no scrolling required.
You can organize the Binder in several different ways, and the organization you choose for your project affects how you build it as you move ahead with your writing. In this article, I will look at several options to make the Binder work for you.
A brief overview of the Binder
The Binder is where Scrivener organizes all the elements of your project. It holds both texts that will be a part of your finished, compiled project, and other items, such as research, character and setting sketches, and notes.
The top section of the Binder is where you organize your project’s sections, chapters, and scenes. This organization begins in the Draft or Manuscript folder (in fiction templates) and develops from there. Sub-items are indented, and this shows the hierarchical organization of your project. We explain the basics of using the Binder in Use Folders and Texts to Power Up the Scrivener Binder.
Scrivener’s Binder lets you write your project in as granular a fashion as you want. You could use one file per chapter, or each chapter could contain a dozen files, each file being a scene or a part of a scene.
There is also a relationship between the Binder, Outliner, and Corkboard. Everything you create in the Binder is also visible in these other views, and any changes you make to your project’s organization in one of them is reflected in all three. This means that you can change your project’s organization in the Outliner or Corkboard, if that is more appropriate to the way you think, then go back to the Binder and continue writing. See Integrating Scrivener’s Binder, Corkboard, and Outliner.
Here are several ways you can organize the Binder.
1. Chapter folders and scenes
The first, and simplest, method of organizing Scrivener’s Binder is to use chapter folders and scenes. You see this structure if you create a new project using the novel template.
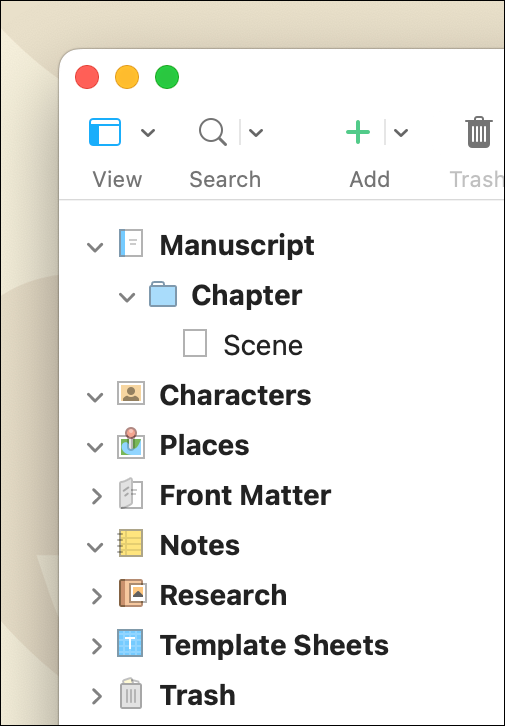
As you progress in your writing, add new files for additional scenes, and add new folders for chapters. For some writers, the scene file will be the entire text of a chapter. Others will break down their chapters into multiple scenes. The latter approach is especially useful if you are not sure where specific scenes will end up in your manuscript. It’s easier to move them around that way, rather than cut them out of longer chapter files.
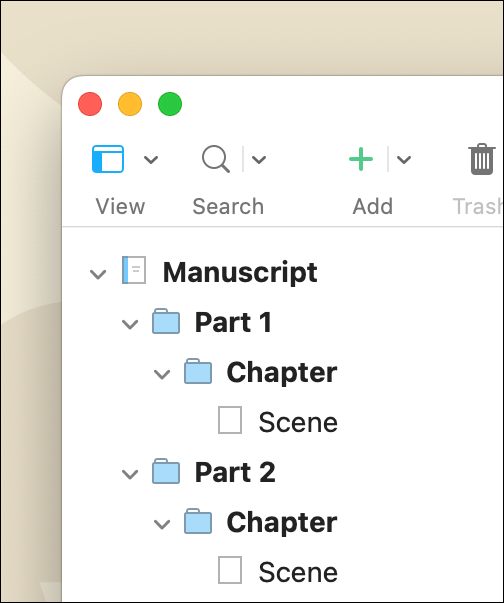
2. Part folders, chapter folders, and scenes
Another approach, if you divide your manuscript into parts or sections, is to use folders for each part, sub-folders for each chapter, and scenes within the chapter folders. You can drag and drop items in the Binder, and organize these as you wish.
Scenes are appropriate for fiction, but also for academic writing, where a chapter may contain several sub-sections.
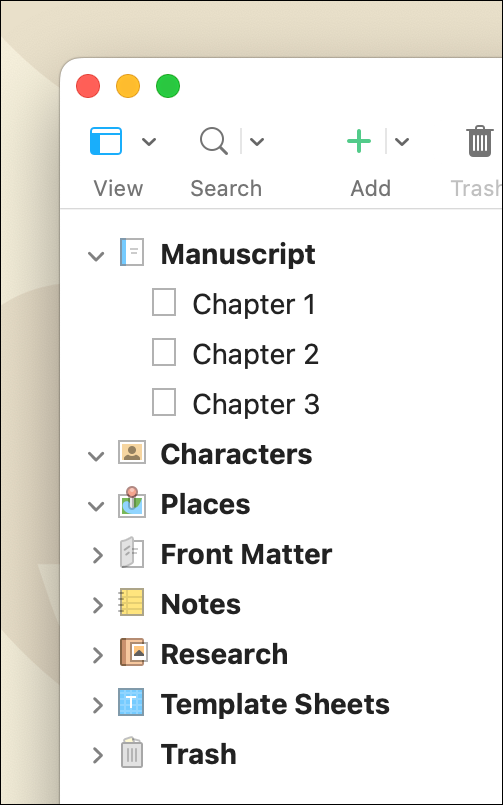
3. Chapter files
Some people compose their manuscripts with just one file for each chapter. In this case, you may simply want to create multiple chapter files within the Manuscript or Draft folder; you don’t need to have any other folders. This still allows you to move around individual chapters, if you wish to change the organization.
You can always split chapter files if you want to move parts of them around. See Merge and Split Files in the Scrivener Binder.
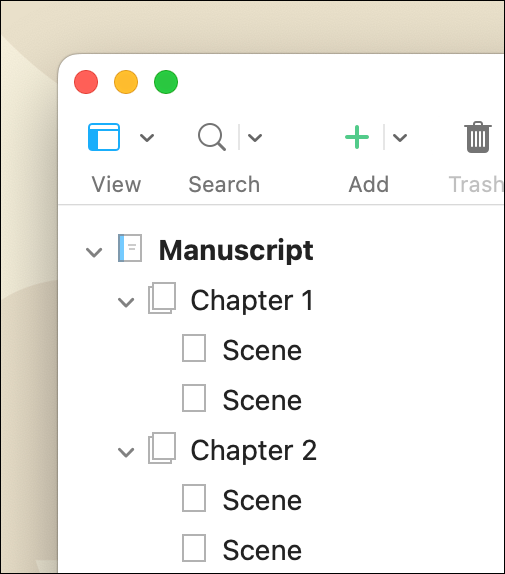
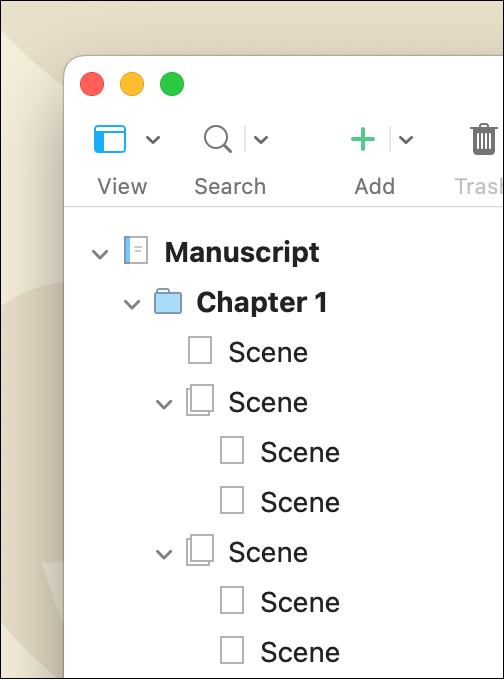
4. File groups
While folders and files are good visual reminders that correspond to the way you organize items on your computer, you can also organize your Binder in file groups. In Scrivener, a file can be a folder and a folder can be a file. This may seem counterintuitive, but you can drag a file onto another file to create a file group. You may want to structure your entire manuscript in file groups, or you may want to use them occasionally. For example, in a chapter with multiple scenes, you can group scenes by putting them in file groups. If you want to move all the scenes in that group, just move the file group, and if you just want to move one scene, you can move that individual file.
Or, you can use file groups within chapter folders, for scenes that are more complex, and that need to be broken down into their constituent parts. This is especially useful if you are writing a script, and have acts and scenes, and want to break the scenes down into smaller beats.
5. Collections
Another way of organizing the Binder is to use collections. These are groups of files, which you create either by searching for specific terms or by adding files manually. Collections offer an alternate view of Binder elements, so you still need to use one of the above approaches to organize your manuscript. But collections are useful in specific cases when writing fiction.
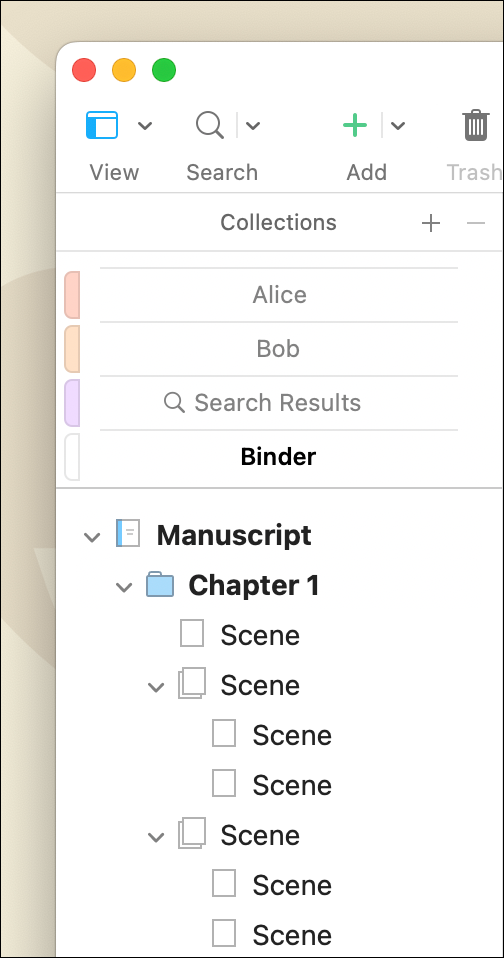
If you have multiple timelines in a story, with chapters and scenes throughout a novel that shift in the timeline, collections allow you to organize all the elements of each timeline to view them sequentially. The same is true if you write a novel with different point of view characters, which alternate as the story progresses. You can create collections for each character, so you can easily view all the chapters and scenes that are told from their point of view.
In the screenshot below, I’ve created two collections for two point of view characters, Alice and Bob. You can drag any items from the Binder onto the collection names, then click a collection to see just those chapters or scenes.
For more on using collections, see How to Use Scrivener’s Collections to Access Groups of Files or Search Results Quickly
Which Binder organization is right for your project?
Scrivener is flexible enough to give you multiple options, and, in the end, it comes down to personal preference. You may want to have one file for each chapter, or you may want to break down your project into smaller parts. It’s useful to be aware of the many options, so you can develop your projects in the way that works best for you.
Kirk McElhearn is a writer, podcaster, and photographer. He is the author of Take Control of Scrivener, and host of the podcast Write Now with Scrivener.