

Here are 5 tips to customize the Scrivener Editor to make it easier to work on your projects.
In recent articles, I’ve looked at how you can customize the Scrivener Editor. I began by explaining how you can set up the editor to your liking, then discussed how to choose default font settings so all your documents look the way you want, and then I introduced styles, showing how you could go beyond the basic font settings.
In today’s article, I want to present a few additional tips you can use to make the Editor work efficiently for you.
Simplify the Editor
The Scrivener Editor does a lot. On the one hand, it’s a digital blank page onto which you write your project, but on the other hand, there are tools above and below the editor that may get in your way once you get going on your writing.
In Tame the Scrivener Window, I explained the three main elements of the Scrivener window, and discussed how you can simplify the overall display. Part of this simplification is around the Editor, with its Format Bar, Toolbar, and more. You can hide many of these elements, making the Editor a minimalist workspace.
Even if you keep the Binder and Inspector visible, you might want to hide some of the elements around the Editor that you don’t need.
Use Typewriter Scrolling
Typewriters were designed in a practical way: the line of text you’re typing is always in the same location. You don’t have to look down, more and more, as you type a page, as is the default with word processors and text editors.
Scrivener offers a Typewriter Scrolling feature, which centers the text you type, or the line you edit, vertically in the Editor. To enable Typewriter Scrolling, choose View > Text Editing > Typewriter Scrolling, or press Command-Control-T (Mac) or Win+Ctrl+T (Windows). The editor looks like this:
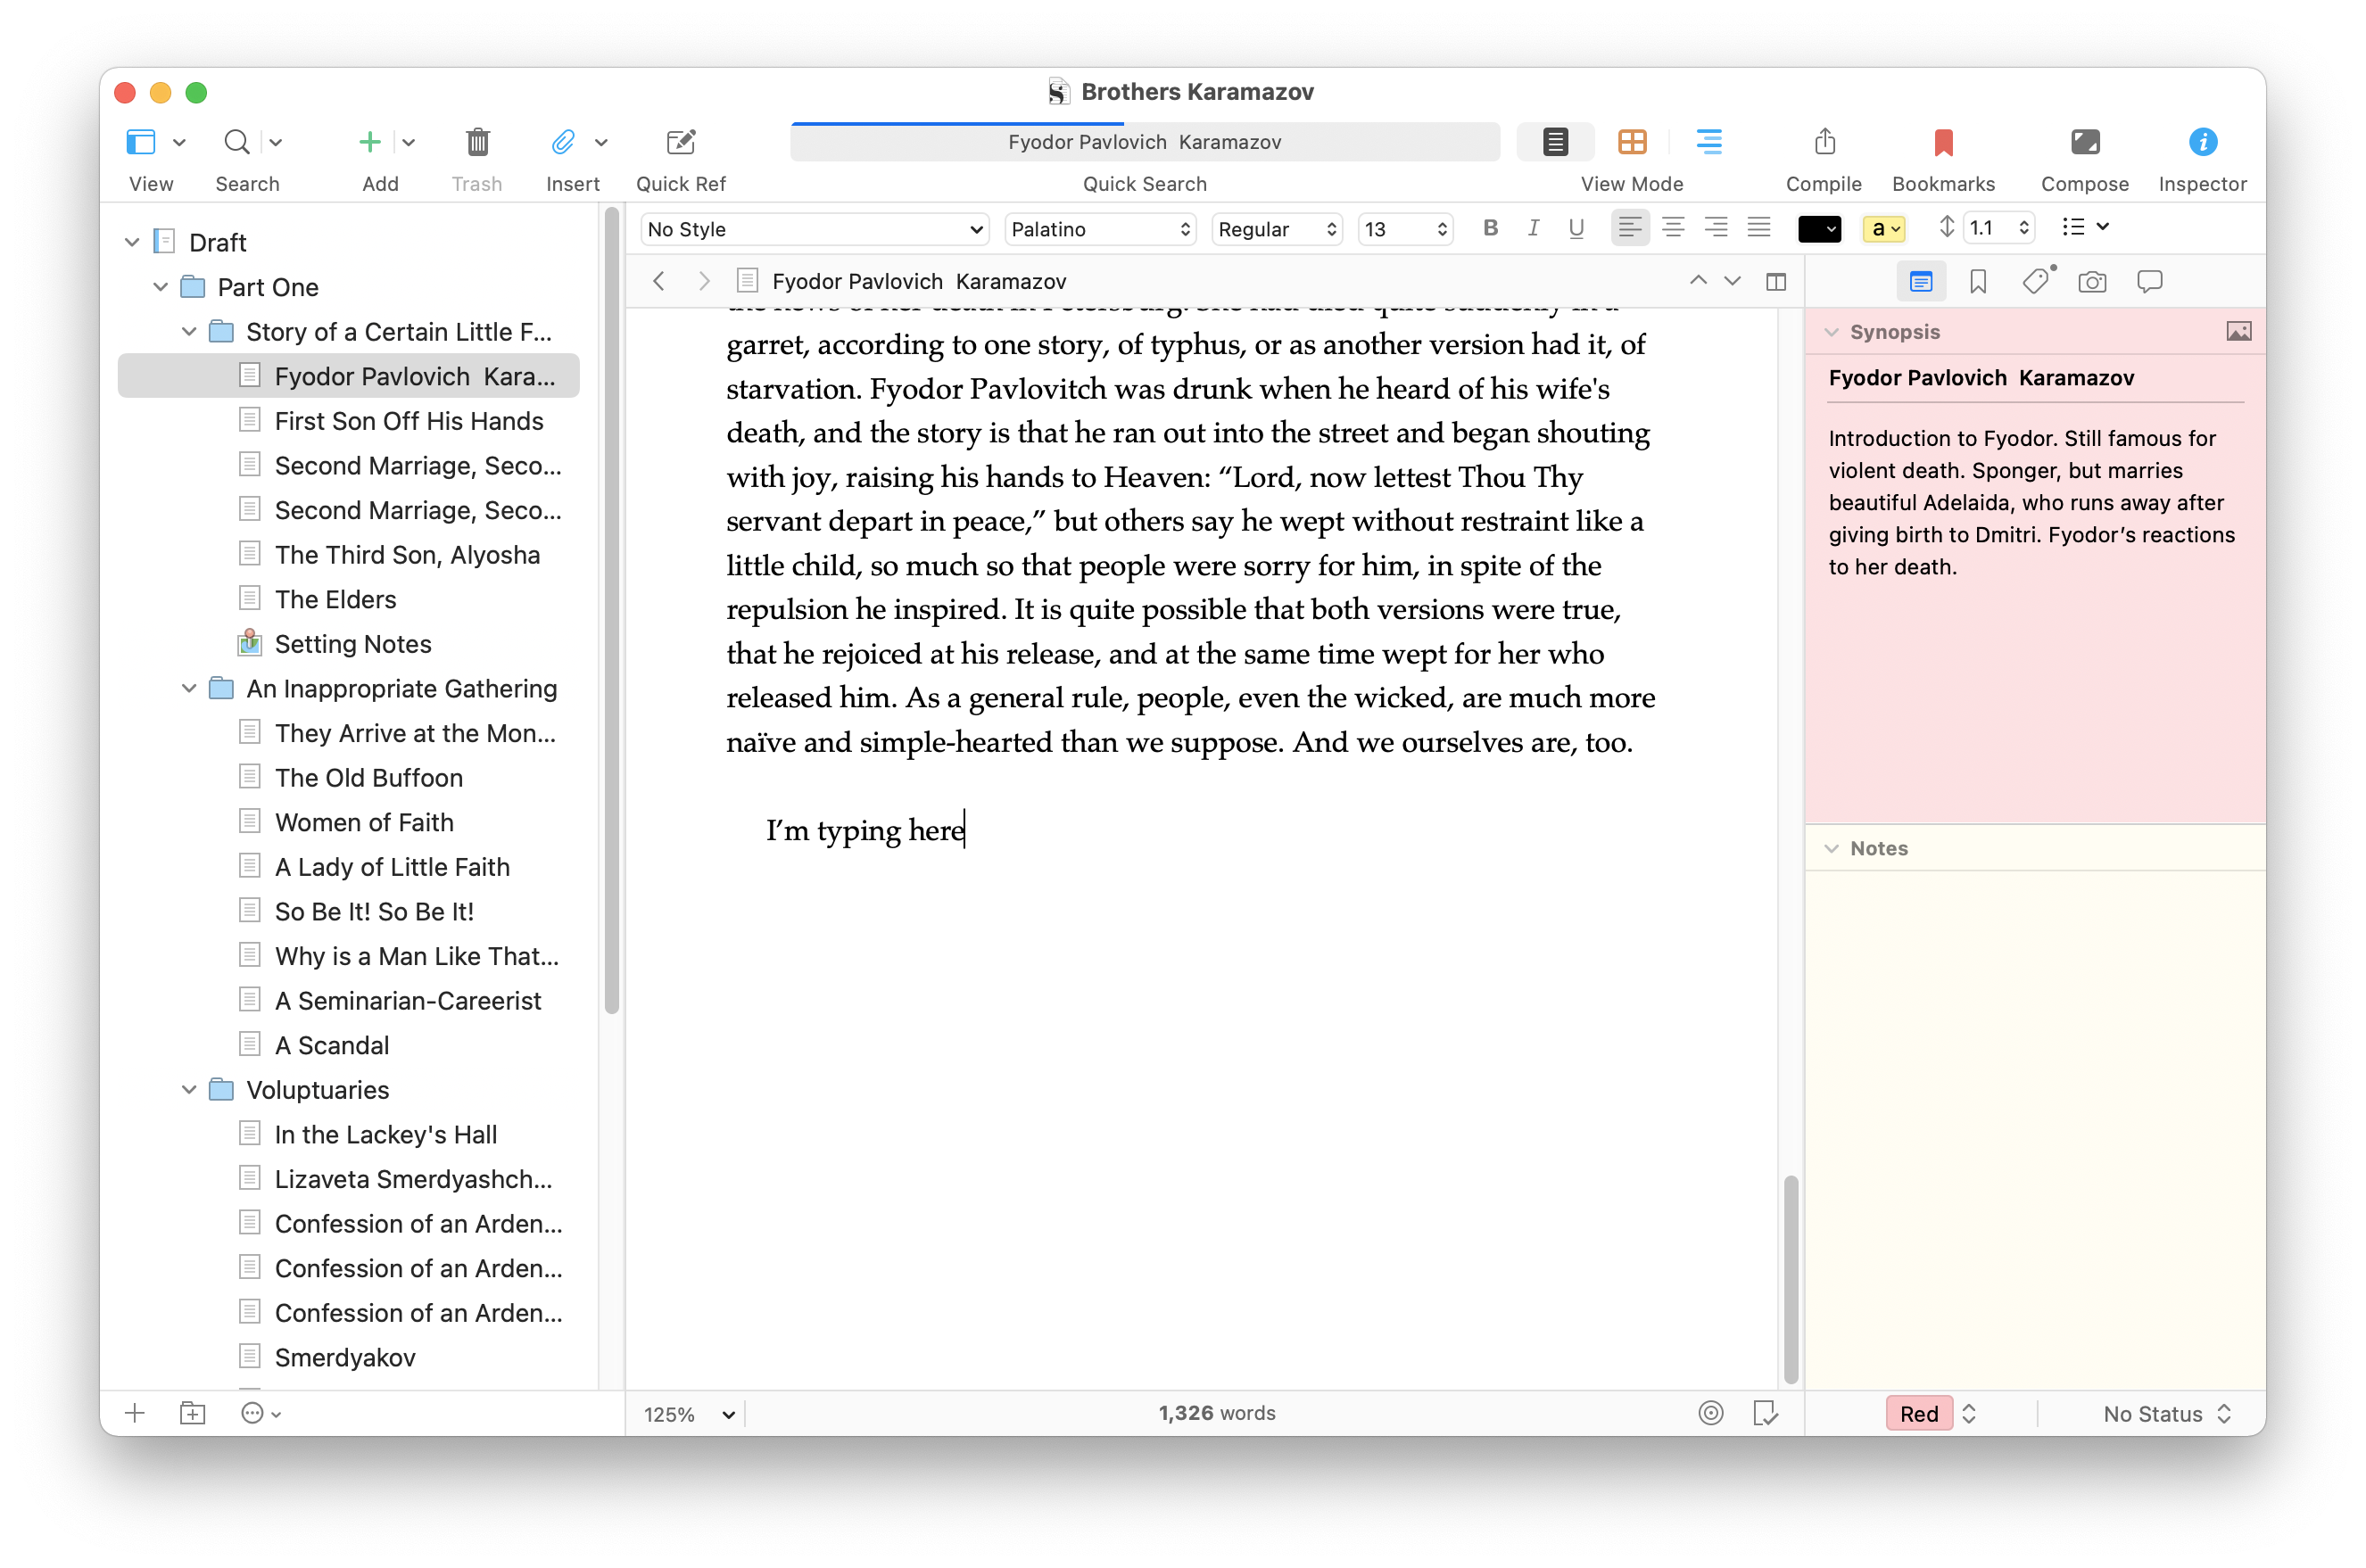
As you type, or position your cursor in text you’ve already typed, the Editor moves so that location is always in the center.
On Mac, if you don’t want this to be the center, you can change this in Scrivener’s settings. Go to Scrivener > Preferences > Editing > Options and choose the position of the Typewriter Scroll Line. You can choose Middle of Editor, Top third of Editor, Bottom quarter of Editor, etc. (On Windows, Typewriter Scrolling is currently only available at the center of the screen.)
You can deactivate Typewriter Scrolling using the same menu command or keyboard shortcut you used to enable it.
Tweak the insertion point
The insertion point is the vertical cursor you see in the Editor, which shows where you are typing. By default it blinks, and some people don’t like this. If you go to the Editing options, as above, you can change this (Mac only for now – please note, in the most recent macOS update, the ability to edit this has been broken. A work-around can be found here: https://macissues.com/2014/12/08/how-to-change-your-macs-text-cursor-blink-rate/ ). At the bottom of the options window, you can disable the insertion point blinking in certain locations, and you can choose to use a block insertion point, which can be easier to see. It’s not really a block, such as was used on early computers, but it’s a thicker insertion point that is a lot more visible.

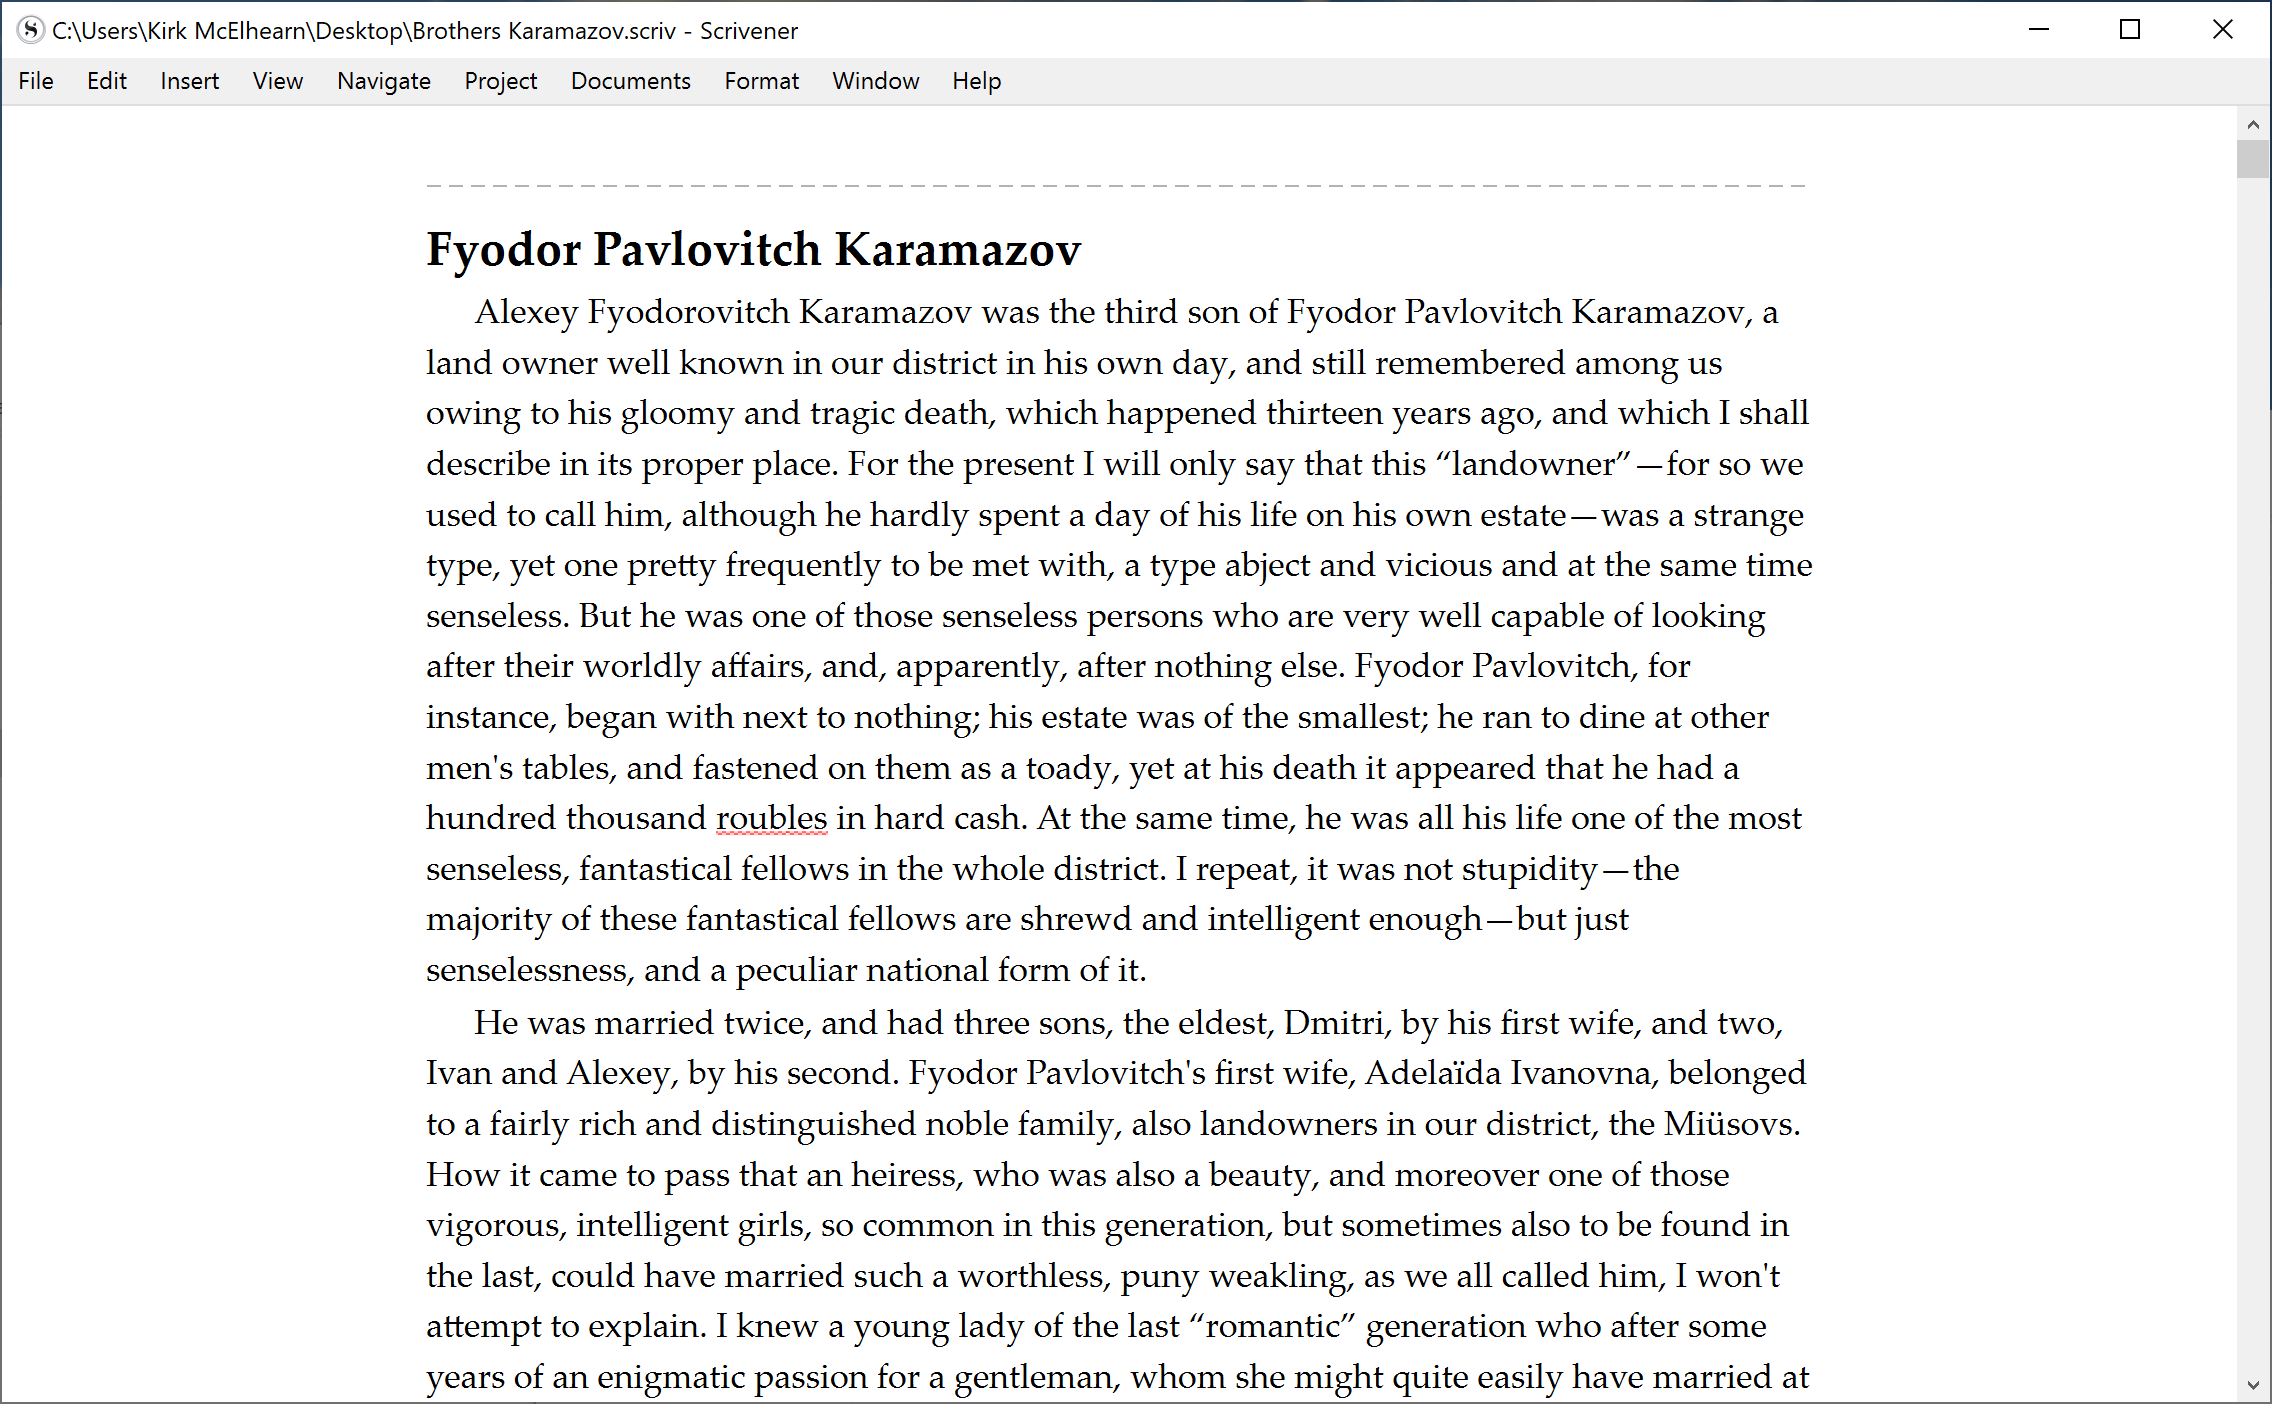
Use Page View
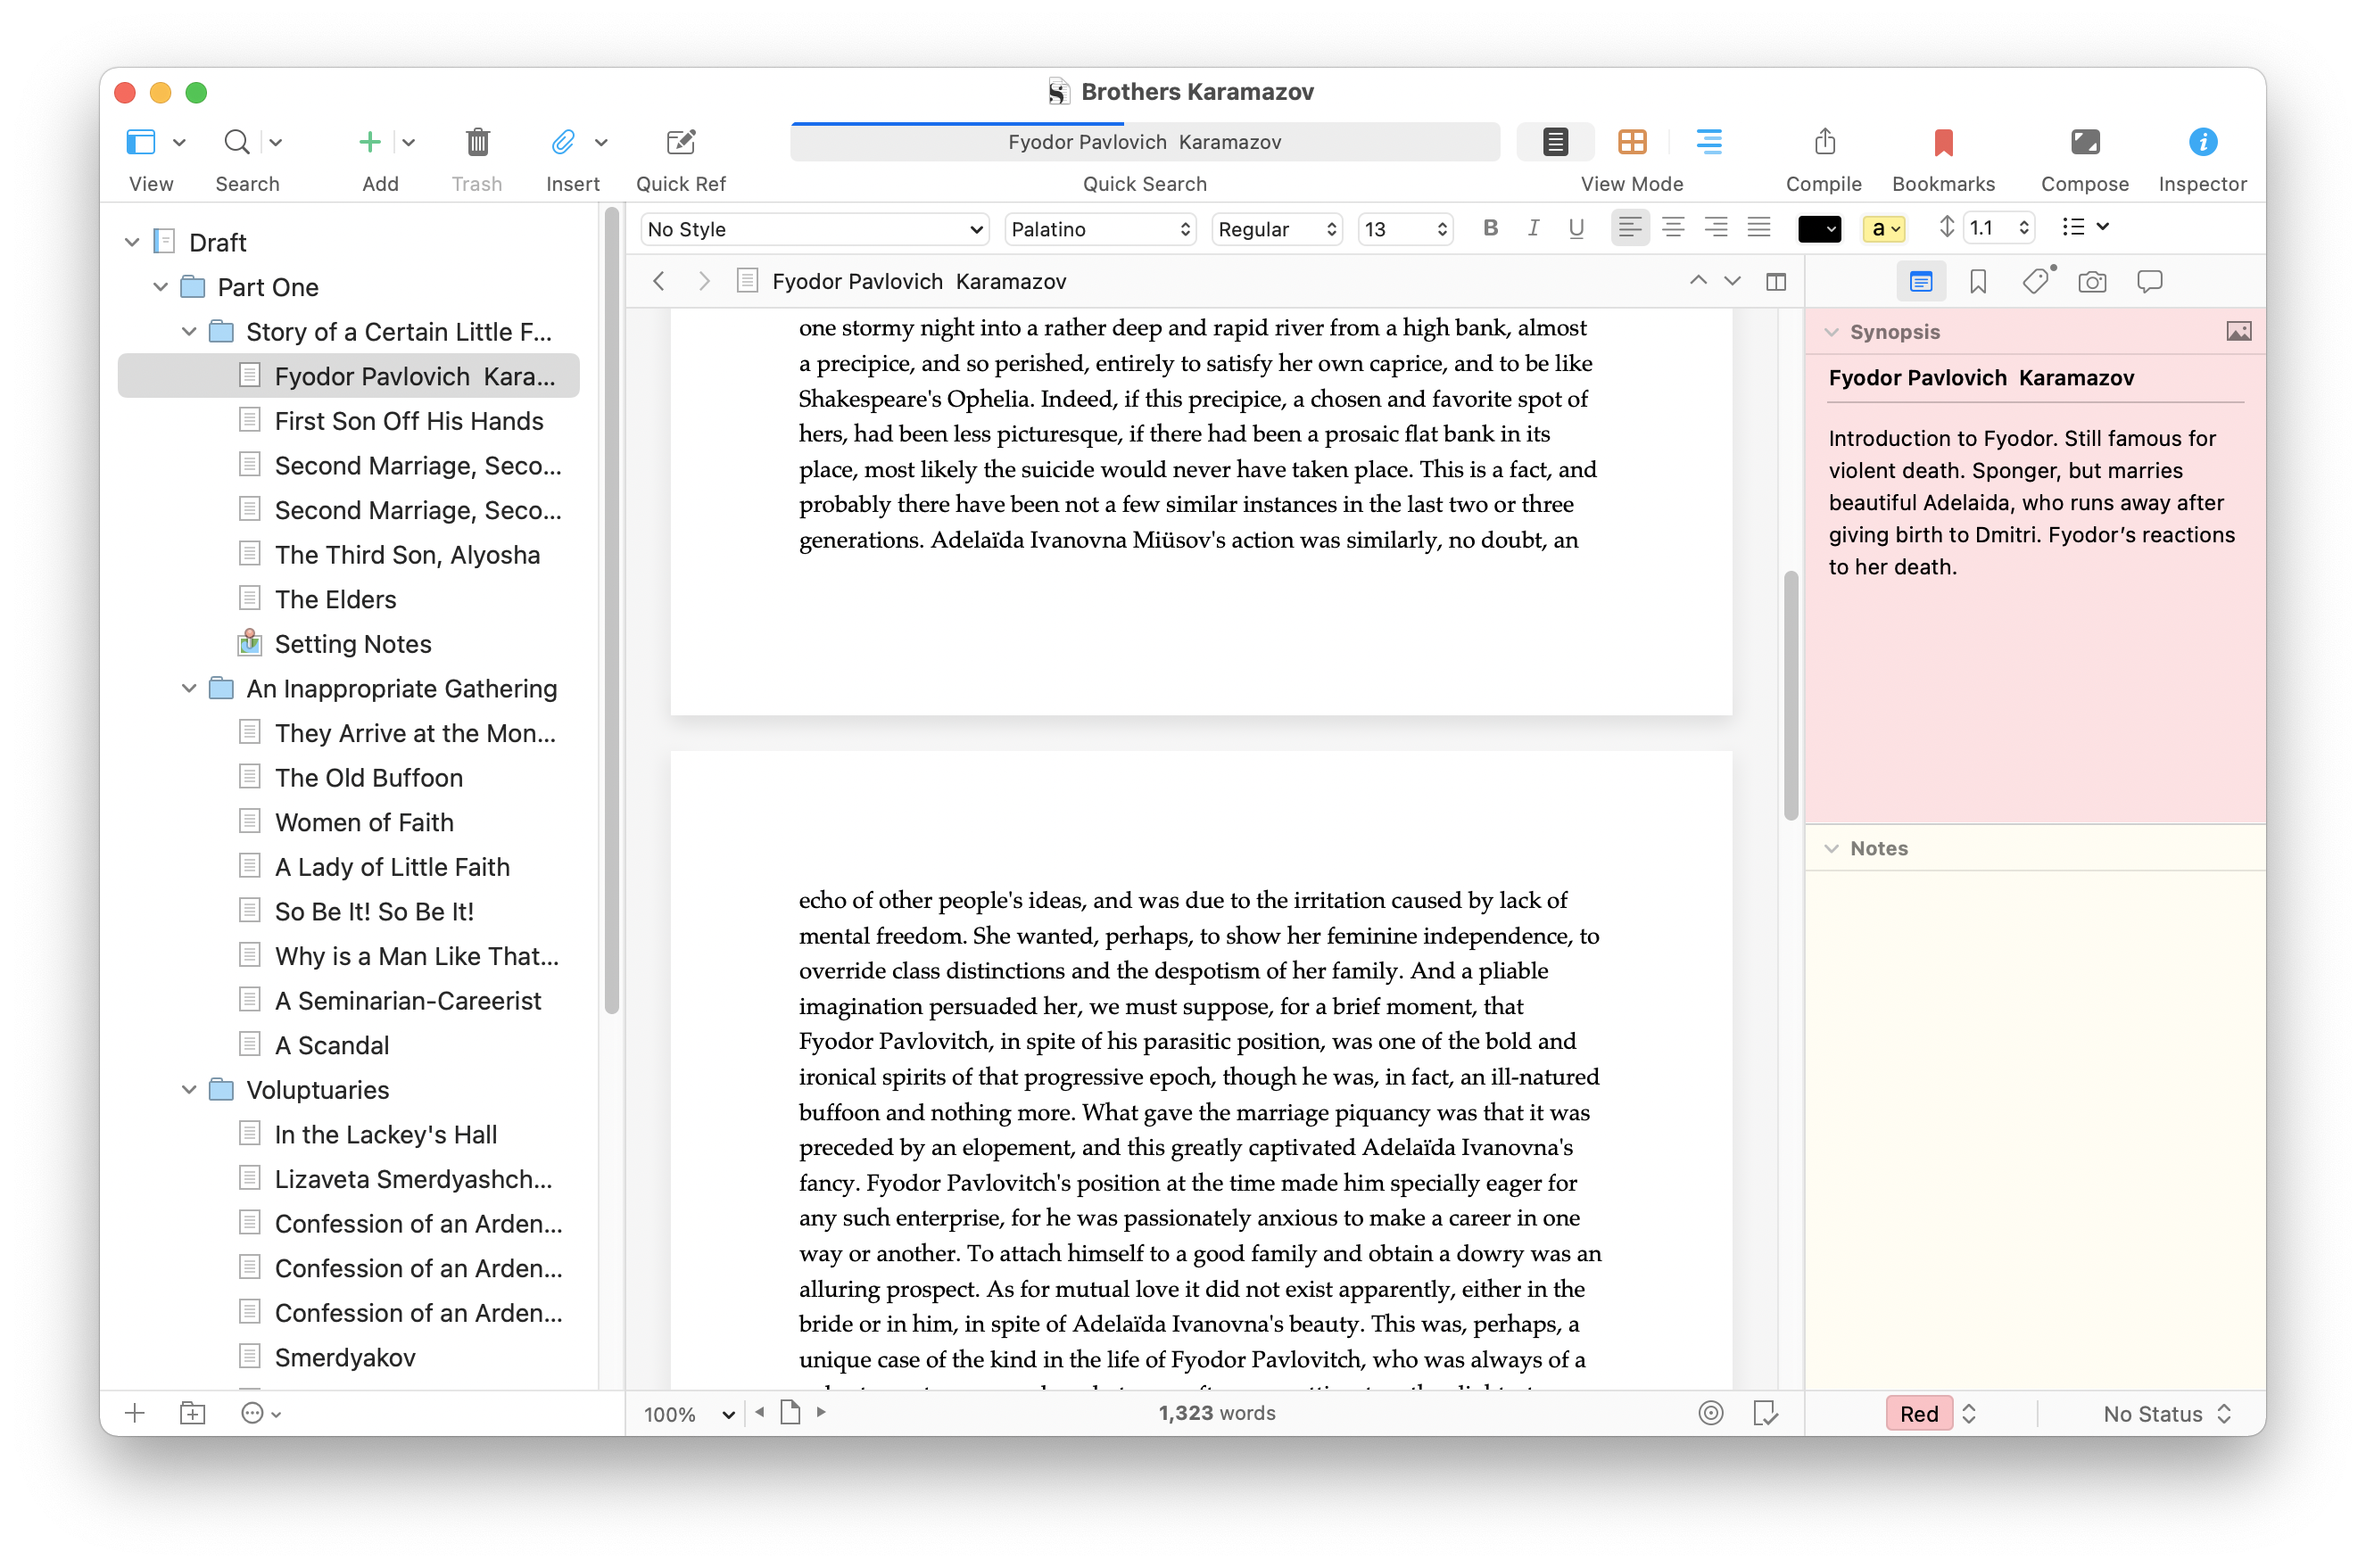
While Scrivener is mainly designed to present a canvas that scrolls endlessly, some writers like to work in Page View, which displays virtual pages, with visible margins, borders, and page breaks. Scrivener can display your work like this: choose View > Text Editing > Show Page View, and you’ll see your project in virtual pages:
This is not exactly how the pages will look when you compile your document, but is mainly provided to give you another perspective on your work. However, Scrivener does use your Page Setup settings to generate Page View; you can adjust these in File > Page Setup, to change the page size, alter margins, and more.
If you have a large enough display, you can even view your project two pages at a time; choose View > Text Editing > Two Pages Across. You portably won’t want to write like this, but using this view gives you a better idea how sections or chapters flow. Note that this two-page view is not available on Windows.
Use Focus Mode to zero in on your text
When you write for a long time, the virtual page can become a bit of a blur. You may want to focus a bit on what you’re writing, and when you’re at the editing stage, this sort of focus can be very helpful. Scrivener’s Focus Mode lets you do this, though it’s only available on the Mac version of Scrivener.
To enable Focus Mode, choose View > Text Editing > Focus, then choose one of the three options: Line, Sentence, Or Paragraph. Scrivener dims all the text in the Editor other than the selected scope around your cursor. So if you choose Line, only the current line – whether you’re typing or editing – will be black; the rest of the text will be gray. If you select Sentence or Paragraph, only that much text will be prominent. Here’s how Focus Mode works, showing the three options, Line, Sentence, and Paragraph:
When you scroll in the Editor, all your text will come back into focus, allowing you to navigate it easily, but as soon as you click in the Editor, the focus will apply.
These small editor tweaks may help make your Scrivener project easier to work with. Try them out and see if you like them.
Kirk McElhearn is a writer, podcaster, and photographer. He is the author of Take Control of Scrivener, and host of the podcast Write Now with Scrivener.