Note: This blog post pertains to upcoming features in Scrivener 3, which will be released on macOS later this year and will follow on Windows during early 2021.
“Scrivenings mode” is Scrivener’s powerful feature that allows you to view sections of your text either in isolation or as part of the larger work. For instance, if you are writing a novel and are writing each scene in a different section, then you can either view and edit each scene on its own, or use Scrivenings mode to see and edit the scene in the context of its chapter or the manuscript as a whole.
This is as simple as switching to Scrivenings mode in the toolbar when viewing a folder, and then clicking on the Draft folder to view the entire manuscript, a chapter folder to view only a single chapter, or a scene document to see only the a single scene.
This feature has been core to Scrivener ever since its inception thirteen years ago, and with Scrivener 3 it sees a few refinements.
Hierarchical Title Sizes
When the option to show Scrivenings titles is turned on (a feature that has now been moved to the View > Text Editor menu), in Scrivener 3, the size of the title font is determined by the outline level of the document in the binder. This makes it much easier to get a feel for where you are in the text as you scroll through.
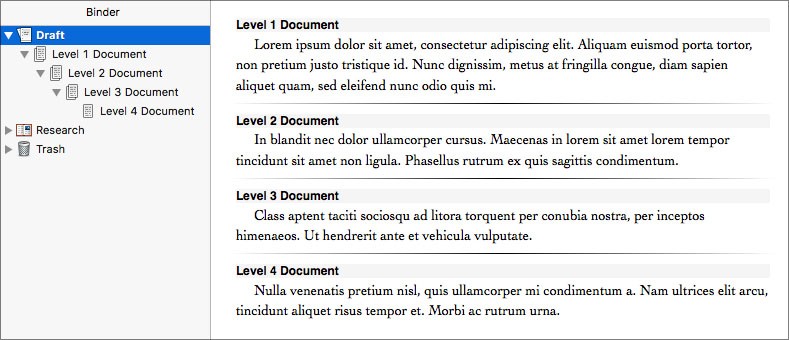
Scrivener 2: Titles in Scrivenings mode were uniform.
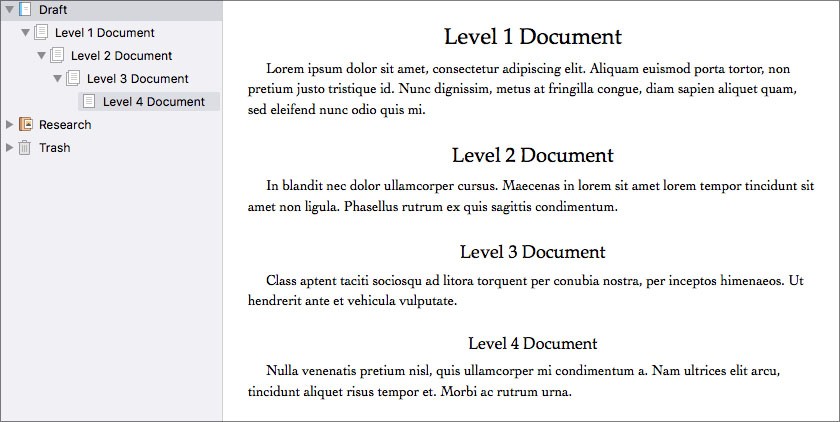
Scrivener 3: Title sizes give an indication of outline level.
Easier Navigation
One thing you’ve always been able to do in Scrivenings mode is lock the editor (View > Editor > Lock in Place in 2 and Navigate > Editor > Lock in Place in 3). When you do this, clicking on any document in the binder that is part of the Scrivenings text scrolls to that section in the editor. This feature is still part of Scrivener 3, but there’s now another easy way to navigate between sections, too.
When in Scrivenings mode, an icon with three lines appears on the right of the header bar. Click this to bring up a popover listing all of the sections in the Scrivenings text. Click on a section and the editor will immediately scroll it into view.
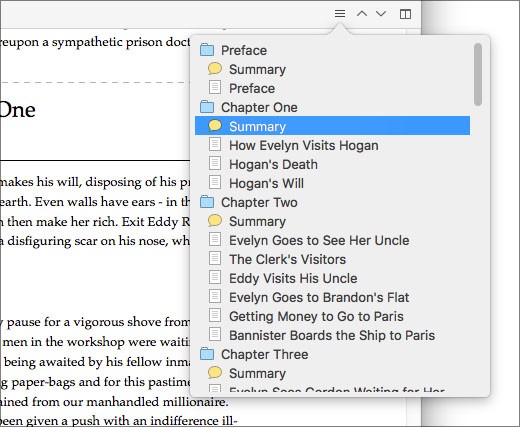
This feature isn’t just limited to Scrivenings, either: it can also be used to navigate through an outline in a PDF file or through groups in the outliner.
A More Beautiful Experience
By default, Scrivener 3 uses dashed separators, which are much more subtle than the dark lines used in Scrivener 2. When titles are displayed, separators aren’t shown at all, keeping things cleaner (you can see this in the screenshot showing outline levels above).
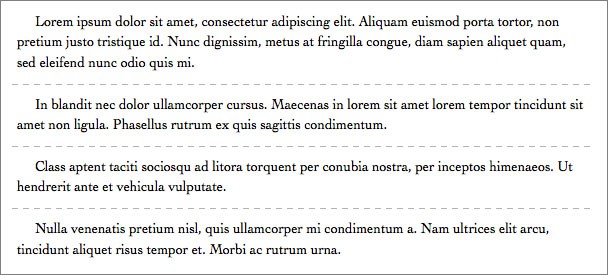
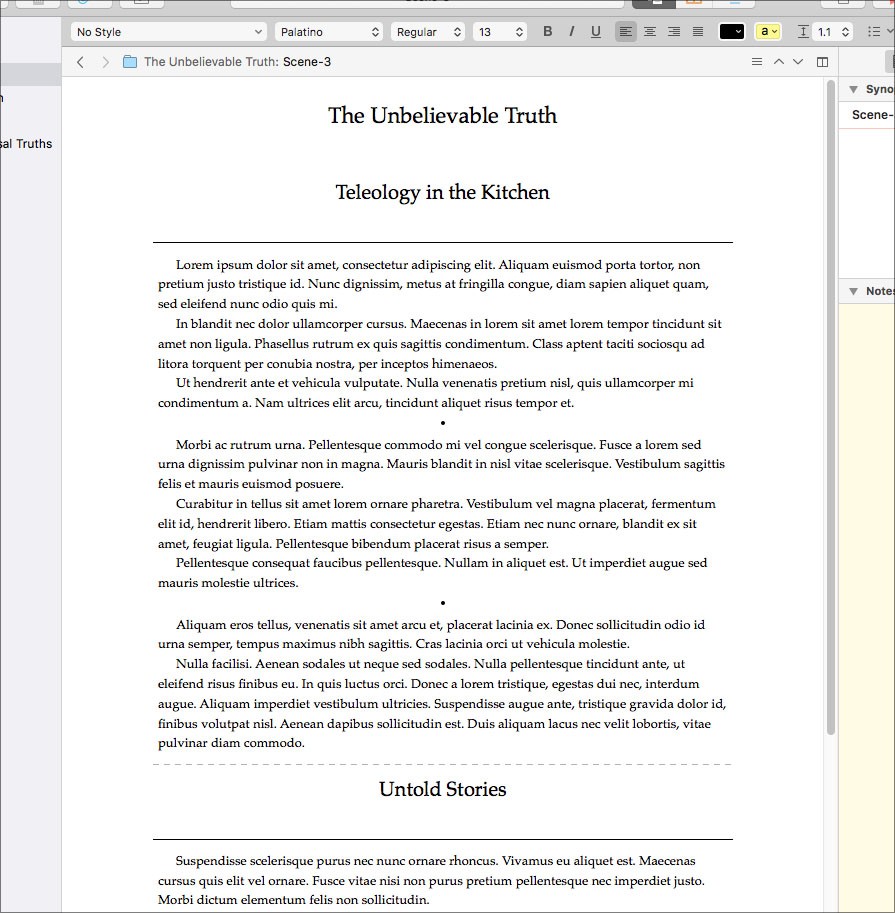
For those who would prefer a more book-like appearance to the editor, though, there’s a new “Bookish” separator option in the “Appearance” pane of the Preferences. When this is combined with the new option to show only folder titles in Scrivenings mode (another option under View > Text Editor), Scrivenings becomes a particularly attractive writing mode unto itself (it’s my favourite, anyway):
That’s all for now—but fingers crossed that there won’t be too many more of these blog posts before we get Scrivener 3 into your hands.

