

When it’s time to revise the first draft of your novel, Scrivener has powerful features to help you move ahead.
For many people, completing a first draft of a novel is a huge accomplishment. You may have taken the NaNoWriMo challenge and reached 50,000 words or more, or you may have been writing on weekends for years to finally get to The End.
But the first draft is just that: a draft. Most first drafts need a great deal of work to reach the state where they can be shared with potential agents or publishers, or even beta readers. Ernest Hemingway famously said, “The first draft of anything is shit.”
In the introduction to his novel The French Lieutenant’s Woman, John Fowles writes:
“I wrote the first draft of The Collector in under a month; sometimes ten thousand words a day. Of course a lot of it was poorly written and had to be endlessly amended and revised. First-draft and revision writing are so different they hardly seem to belong to the same activity. I never do any ‘research’ until the first draft is finished; all that matters to begin with is the flow, the story, the narrating. Having research material then is like swimming in a straitjacket.”
When you’ve completed your first draft – and, ideally, stepped away from it for a time, so when you come back it’s not too familiar – you should start thinking about refining it. The revision process can be difficult and painful, as you hack away at your early excesses and fill in the blanks in the story. While you may expand your manuscript a great deal, Stephen King suggests that you cut it by 10%. Elmore Leonard says, “Leave out the parts readers tend to skip.”
And John Fowles says:
“During the revision period I try to keep some sort of discipline. I make myself revise whether I feel like it or not; in some ways, the more disinclined and dyspeptic one feels, the better – one is harsher with oneself. All the best cutting is done when one is sick of the writing.”
When it’s time to get from your first to your second and even final draft in Scrivener, here are some tips that can help you manage the revision process.
Enter synopses for all your files in the Binder
It can be helpful to summarize each file in the Scrivener Binder; this makes you think about what is really happening in each scene or chapter, and helps you focus. You can enter synopses in the Inspector, and these synopses are visible in the Outliner and Corkboard. These capsule descriptions are useful when you want to rearrange elements of your manuscript, and they can serve as a reminder of what happens in each file.
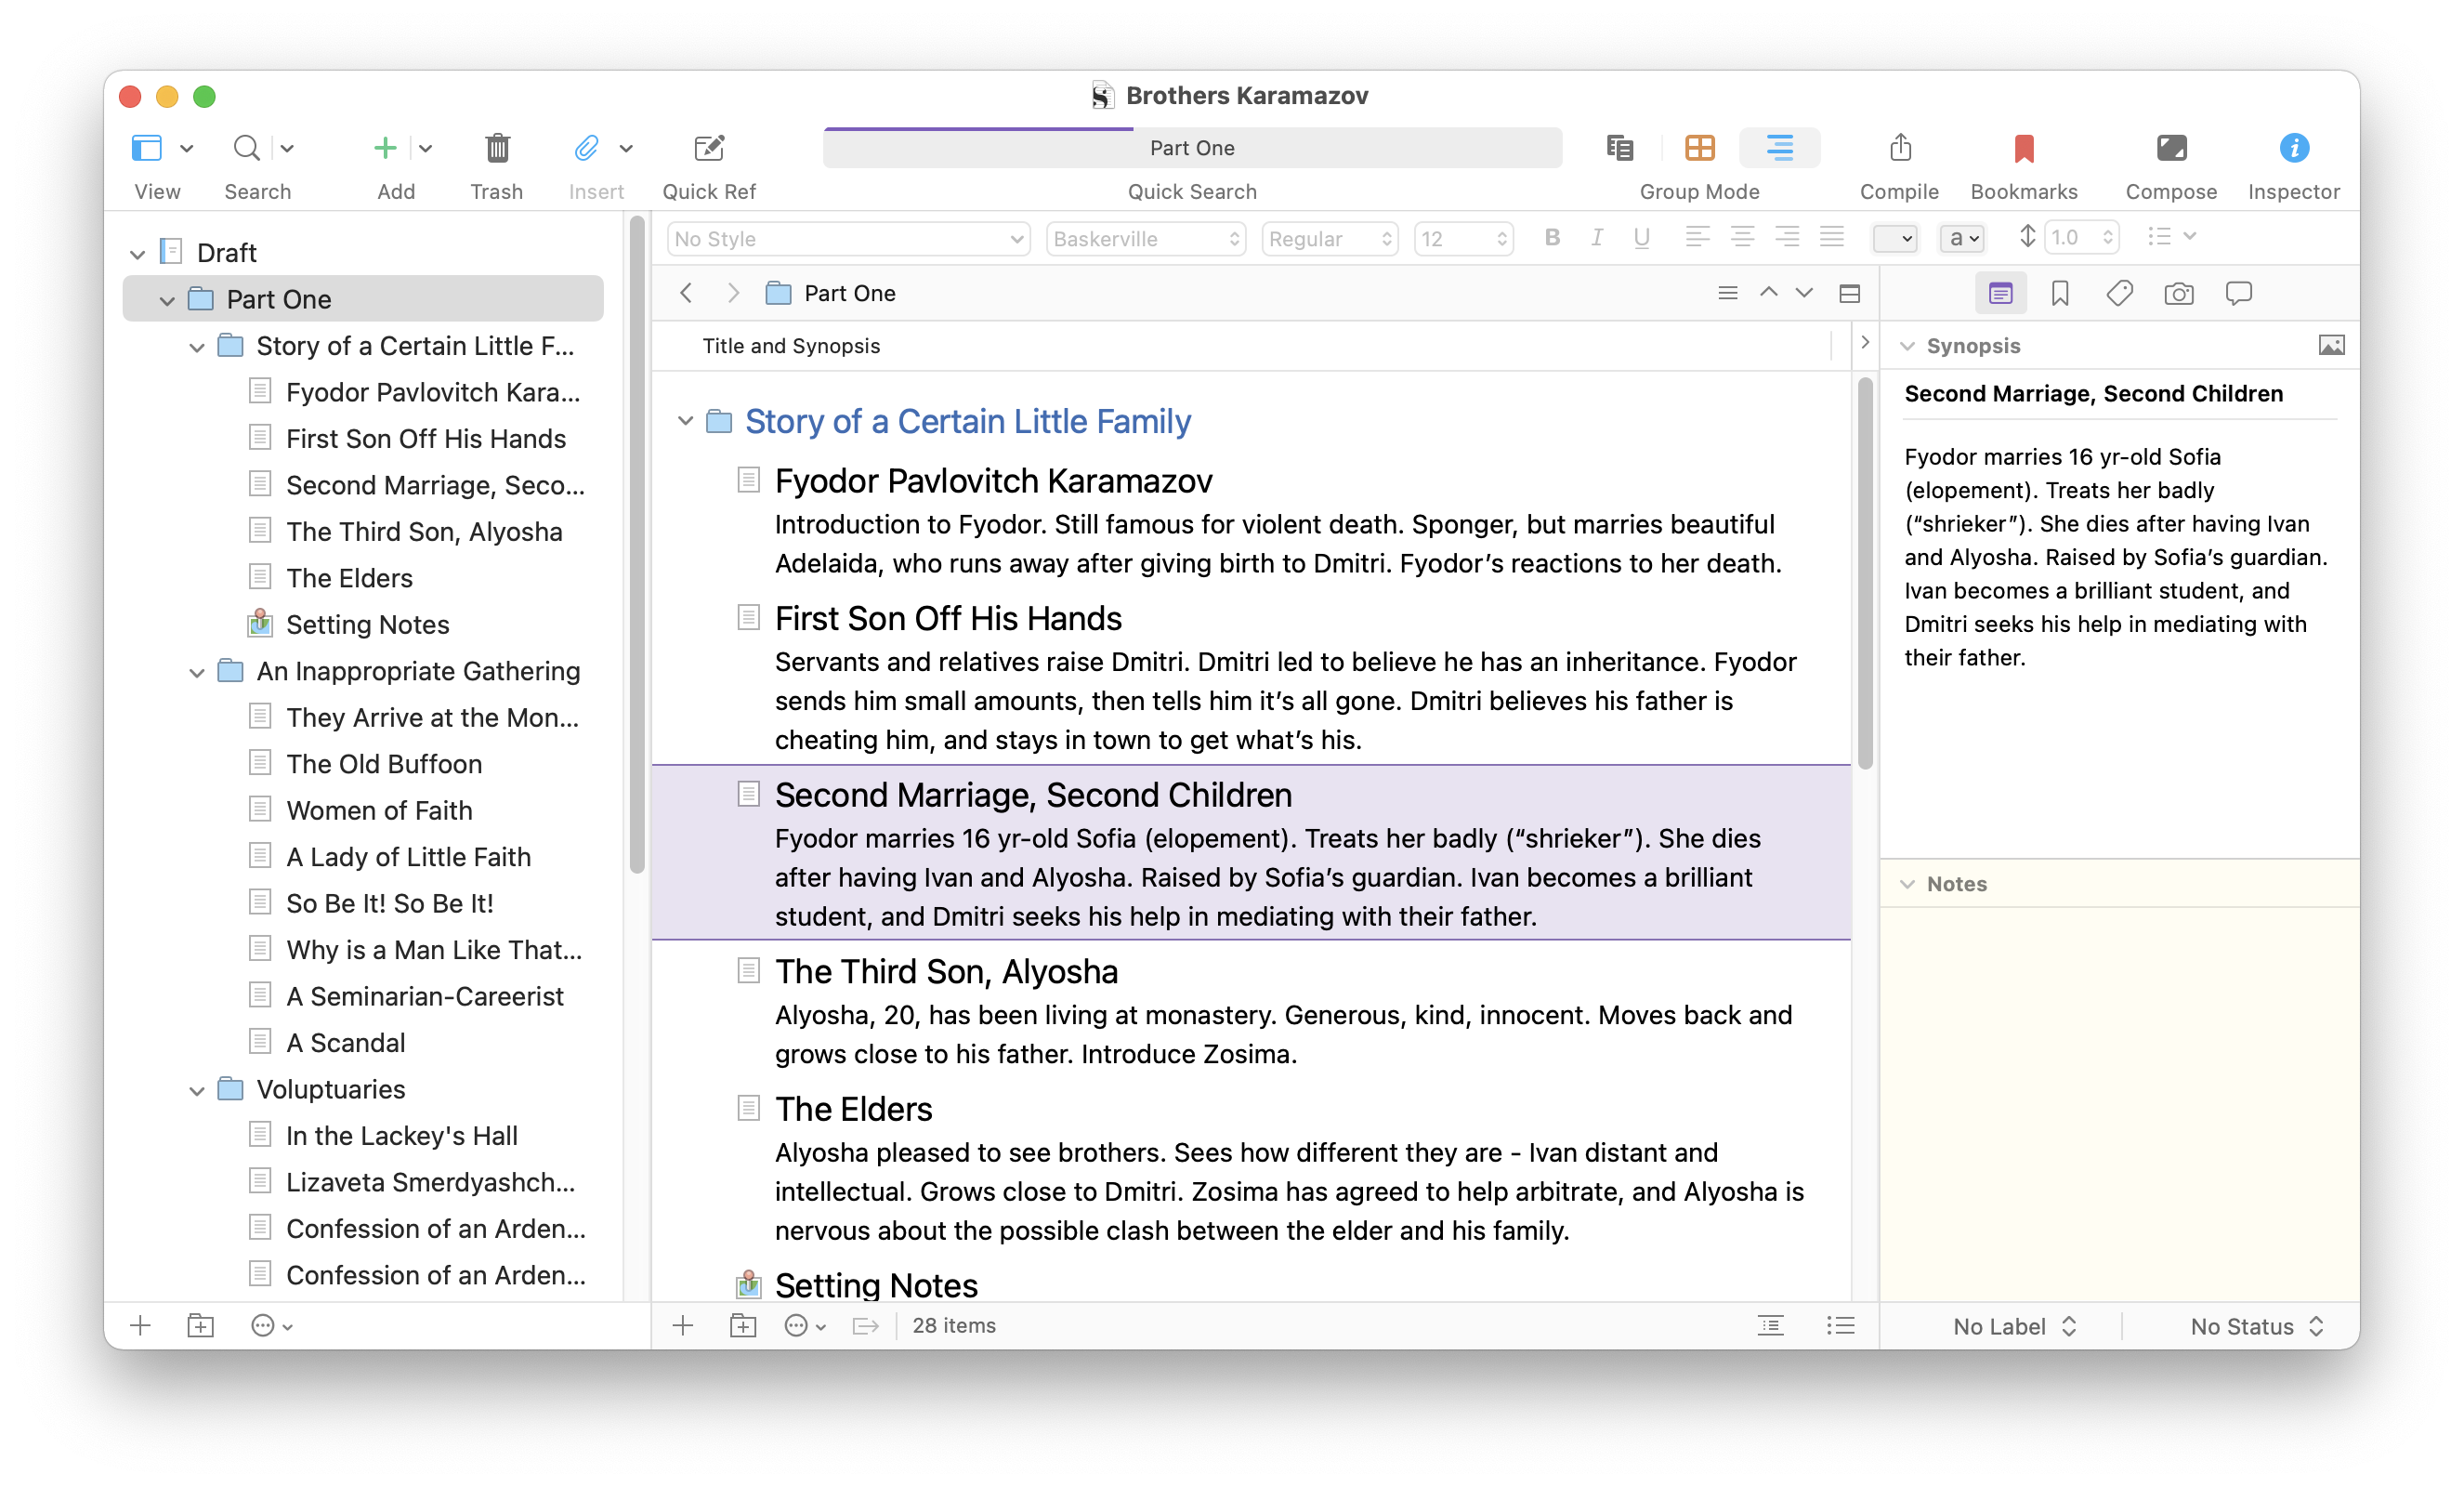
See Get to Know the Scrivener Inspector and Integrating Scrivener’s Binder, Corkboard, and Outliner.
Add notes to your files
Also in the Inspector is the Notes pane. This is where, for each file, you can enter notes to yourself for things you need to check, characters you need to flesh out, and sections where the dialogue doesn’t ring true. You can also use the Scrivener Scratchpad for notes that aren’t linked to specific files. This tool is great when you’re doing research in another app, because the window floats above other windows on your computer.
See Working with Notes in Your Scrivener Projects.
Think about structure
If the first draft is about getting the story on paper, the second draft is when you think about the broader structure of your novel. You consider character arcs, timelines, and how events relate to each other.
Scrivener’s Outliner can be used to prepare a project, but it is just as useful in the revision phase, giving you a bird’s eye view of what happens in your novel. The Corkboard gives a different overview of your manuscript, and both of these tools allow you to move files around and try out different sequences.
See Plan Your Project with Scrivener’s Outliner and Organize Your Scrivener Project with the Corkboard.
Use Scrivener’s revision mode to edit your draft
When editing your first draft, you don’t want to hack away radically, because you might later regret removing elements that were worth keeping. Scrivener’s revision mode works similar to change tracking in word processors, allowing you to see which bits of text you have added and deleted. After you’ve edited a file, you can reread it with all those changes visible, and decide which ones you want to keep. When you are satisfied, it’s a simple process to remove all the marked changes and finalize your files.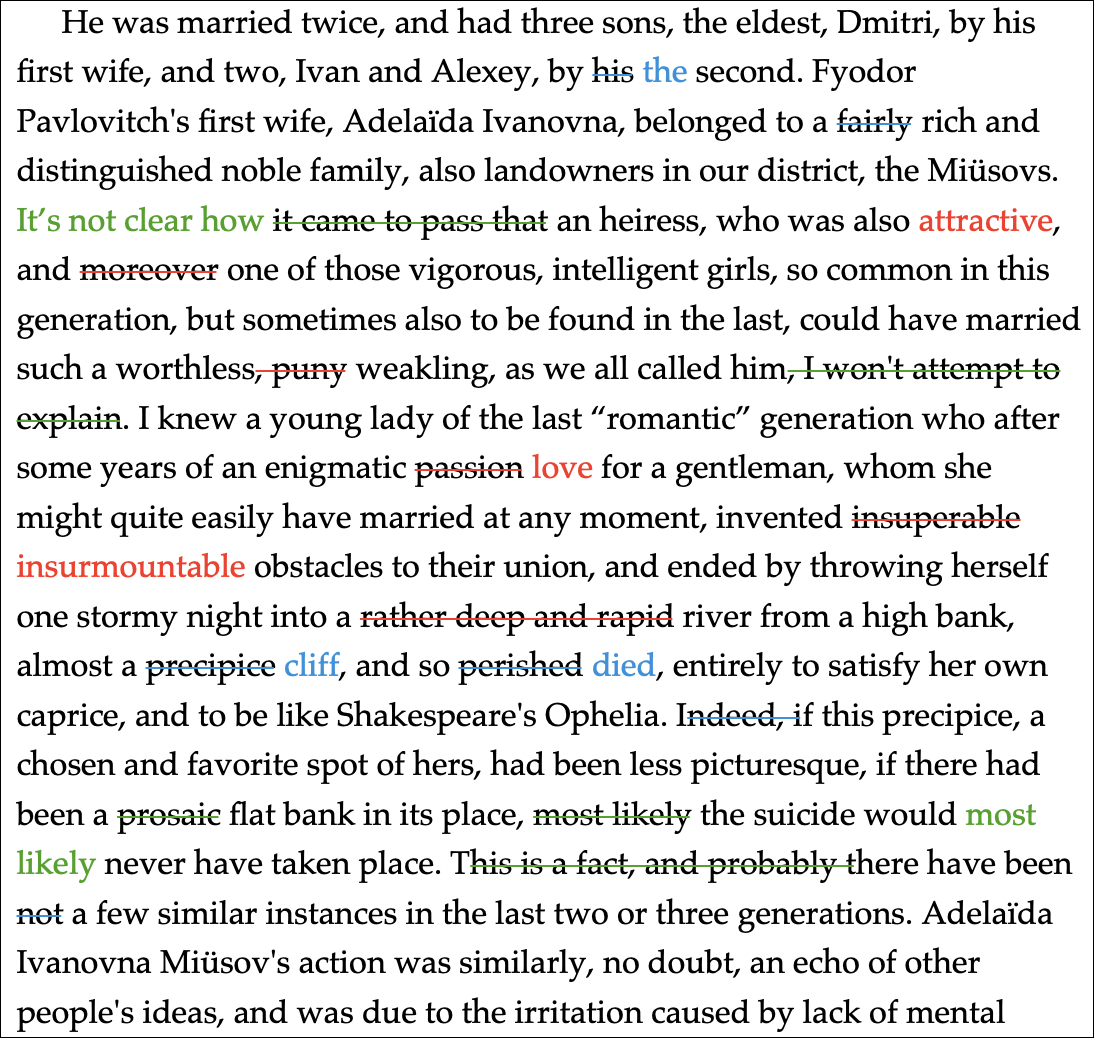
See How to Use Revision Mode to Edit Your Scrivener Projects.
Use snapshots to save versions of your files
Sometimes you edit your manuscript and regret something that you cut out. Even if you have used revision mode, as described above, it’s good to be able to go back to previous versions of your files just in case. Scrivener’s snapshot feature lets you save versions of your files: the first draft, the edit, the second draft, and so on. You can go back and compare your current version to previous snapshots at any time.
See Use Snapshots in Scrivener to Save Versions of Your Projects and How to Manage, Compare, and Restore Snapshots in Your Scrivener Projects.
Do research
Many writers like to do research in advance. For some, research is essential, especially for non-fiction books. Biographer Charles Shields spent about three years researching each of his biographies, but novelists don’t need to spend that much time. You may want to get some ideas of locations when writing the first draft, but, as John Fowles said, “Having research material [when writing the first draft] is like swimming in a straitjacket.”
If you haven’t done research prior to writing the first draft, you can now use Scrivener’s Research folder to collect the research you need for your revisions. You might want to spend some time doing the research between finishing the first draft and when you start revising. When you get to the edit stage, all that research is just a click away.
See Use Scrivener’s Research Folder to Store Information About Your Project.
Focus on dialog
Dialogue in a novel is mixed in with narrative, but should also stand on its own. It should flow from character to character, and it can be helpful to look at dialog without being distracted by the rest of your texts. Scrivener’s dialogue focus lets you see your dialog while the rest of your text is dimmed, so you can read it as it occurs, ignoring the “she said,” “he said,” and everything else that gets in the way. You can use this to easily read your dialogue out loud to see if it sounds natural.
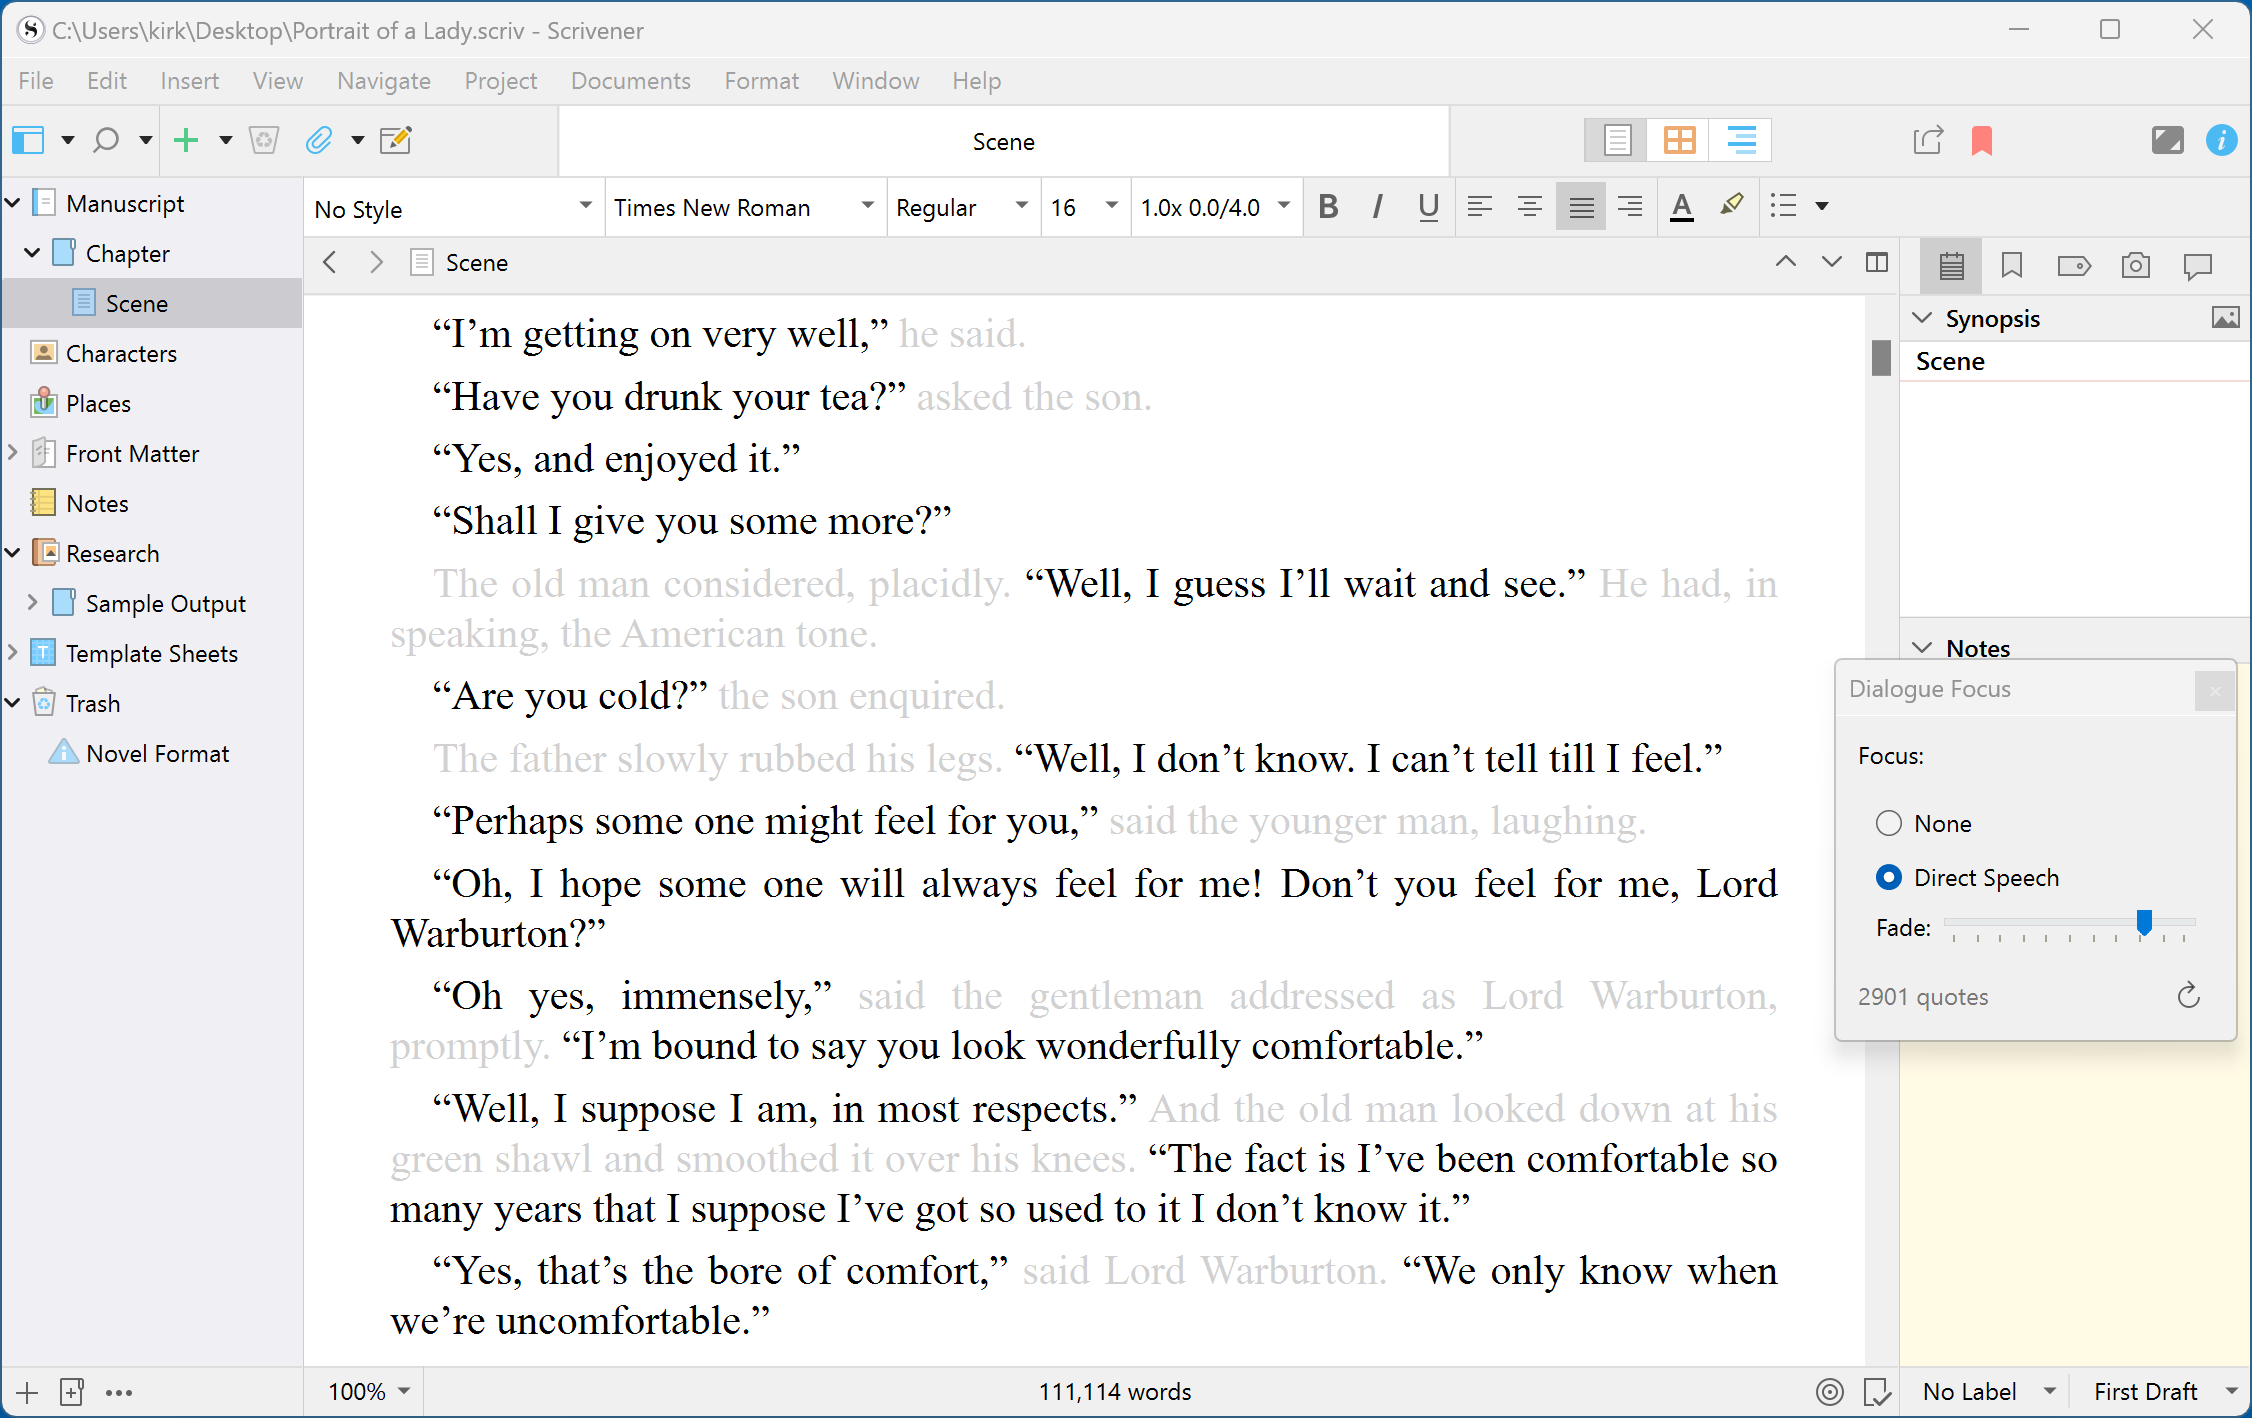
See Use Dialogue Focus and Linguistic Focus to Revise and Edit Your Writing in Scrivener.
Check your grammar with a powerful tool
Scrivener uses the built-in spelling and grammar checking features of macOS and Windows, but if you want to use a more powerful tool to check spelling and grammar, ProWritingAid interfaces directly with Scrivener. The app can check your Scrivener project directly and save changes to the project, unlike other such apps that require you to copy and paste text into their app or into a web browser.
See Check Grammar in Your Scrivener Projects with ProWritingAid
Back up your project regularly
As you progress through writing, and editing your first draft, it’s important not to lose any of the changes you have made. It’s also important to ensure that you have previous versions in case you need to go back. We mentioned using Scrivener’s snapshots above, but it’s also important to back up your project regularly and save those backups, just in case.
See How to Back Up Your Scrivener Projects.
This may seem like a lot, but writing a novel is a huge project. When you’ve completed your first draft, take advantage of Scrivener’s powerful features to move ahead to the next step.
Kirk McElhearn is a writer, podcaster, and photographer. He is the author of Take Control of Scrivener, and host of the podcast Write Now with Scrivener.