As you progress in your Scrivener project, you may want to clean up the Binder, where all your folders and files are. Here are some tips to help you make it tidier.
Sometimes, when you are writing your first draft, you may prioritize getting the words down rather than writing sequentially. You don’t need to write your novel from beginning to end; you may want to write scenes or chapters out of order, since you can move scenes in chapters around in Scrivener’s Binder so easily.
But Scrivener’s Binder can get messy if you work like this. At some point, before you compile your project, you need to start reorganizing things, rearranging files and folders in the Binder, and getting things in order. Here are some tips for working with the Binder and re-organizing what you’ve written. 
Freewriting
Some people like to freewrite. They start writing without a goal, and let their subconscious guide them, perhaps for a set time, such as 15 or 30 minutes. Or some writers get an idea for a scene and start writing, even if it’s not the next chapter or scene to come following what they’ve already written.
With Scrivener, you can write scenes and chapters in any order and re-arrange them later. Just create new text files at the bottom of the Binder and write. Don’t worry about where these pages go in your draft; just write. You may find that your creative juices flow better when you don’t write in the order of your story, but rather write the parts of your story that inspire you.
When you go back and look over what you’ve written, you can slot then these scenes into your narrative. You can move files in the Binder by dragging and dropping, using keyboard shortcuts, pressing toolbar buttons, or from the Edit menu. Use these techniques to move files and folders around quickly and easily.
Create folders both within and outside the Binder
If you write chronologically, in the order in which your story takes place, you generally either use files for chapters or folders for chapters with files for scenes. You write them in order, you add each new folder or file below the existing ones. But you don’t have to organize your writing that way, at least not until you’re ready to compile your draft.
If you want to write parts of your story out of order, it can be useful to create folders to hold these sketches until you put them in their final locations in the Binder. Make a Sketches folder to write in when you’re just riffing on something. Make a Characters folder to write your characters’ backstories, though you can also use character sketches.
Pro tip: use the Inspector and write synopses for each file so you can quickly tell what’s in them.
It’s also a good idea to create a folder outside the Binder to hold texts that you cut from your draft. These could be texts you’ve removed when editing, or scenes or chapters that you’ve dropped or rewritten. Hold onto those cut texts because you might find that they can become helpful later, as you revise your draft. This is different from using snapshots, which keep versions of files in the Binder.
Folders in the Binder that are not in the Draft folder don’t count in project statistics, so this is a good way to stay on track for your writing targets without them being inflated by texts you’ve removed.
Use file groups
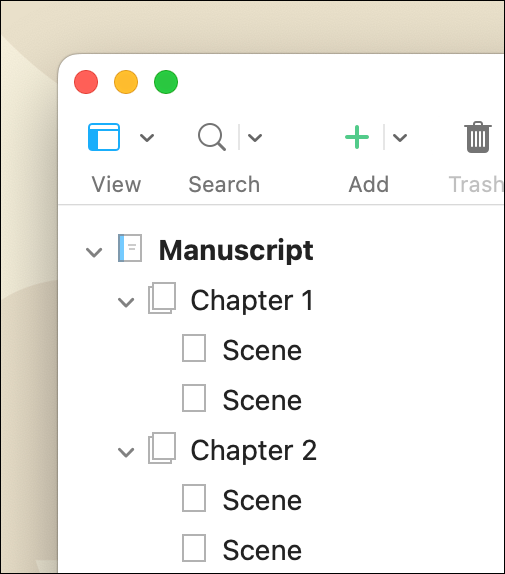
In Scrivener, you can work write in individual files, and you can place files in folders, but you can also create file groups, which combine files visually in the Binder. File groups are a great way to combine files you don’t want to merge, but that you want to view as a single unit. When you expand a file group, you see its contents, and you can write, edit, or move the individual files within it. You can then click the disclosure triangle to close the file group, simplifying what you see in the Binder.

Merge or split files
Let’s say you’ve written three scenes that you want to put together in a chapter. You could paste the text from the second and third scenes into the file with the first scene. But an easier way is to use Scrivener’s merge feature. Select two or more texts in the Binder, then choose Documents > Merge. One advantage to this is that Scrivener combines the synopses of each file in the Inspector.
And if you’ve written a chapter containing several scenes, and you decide that you want to split it into several files, Scrivener can easily do this as well. Put your cursor where you want to split the text, then choose Documents > Split at Selection. You can move each individual file where you want it to go.
Use colors and customs icons in the Binder
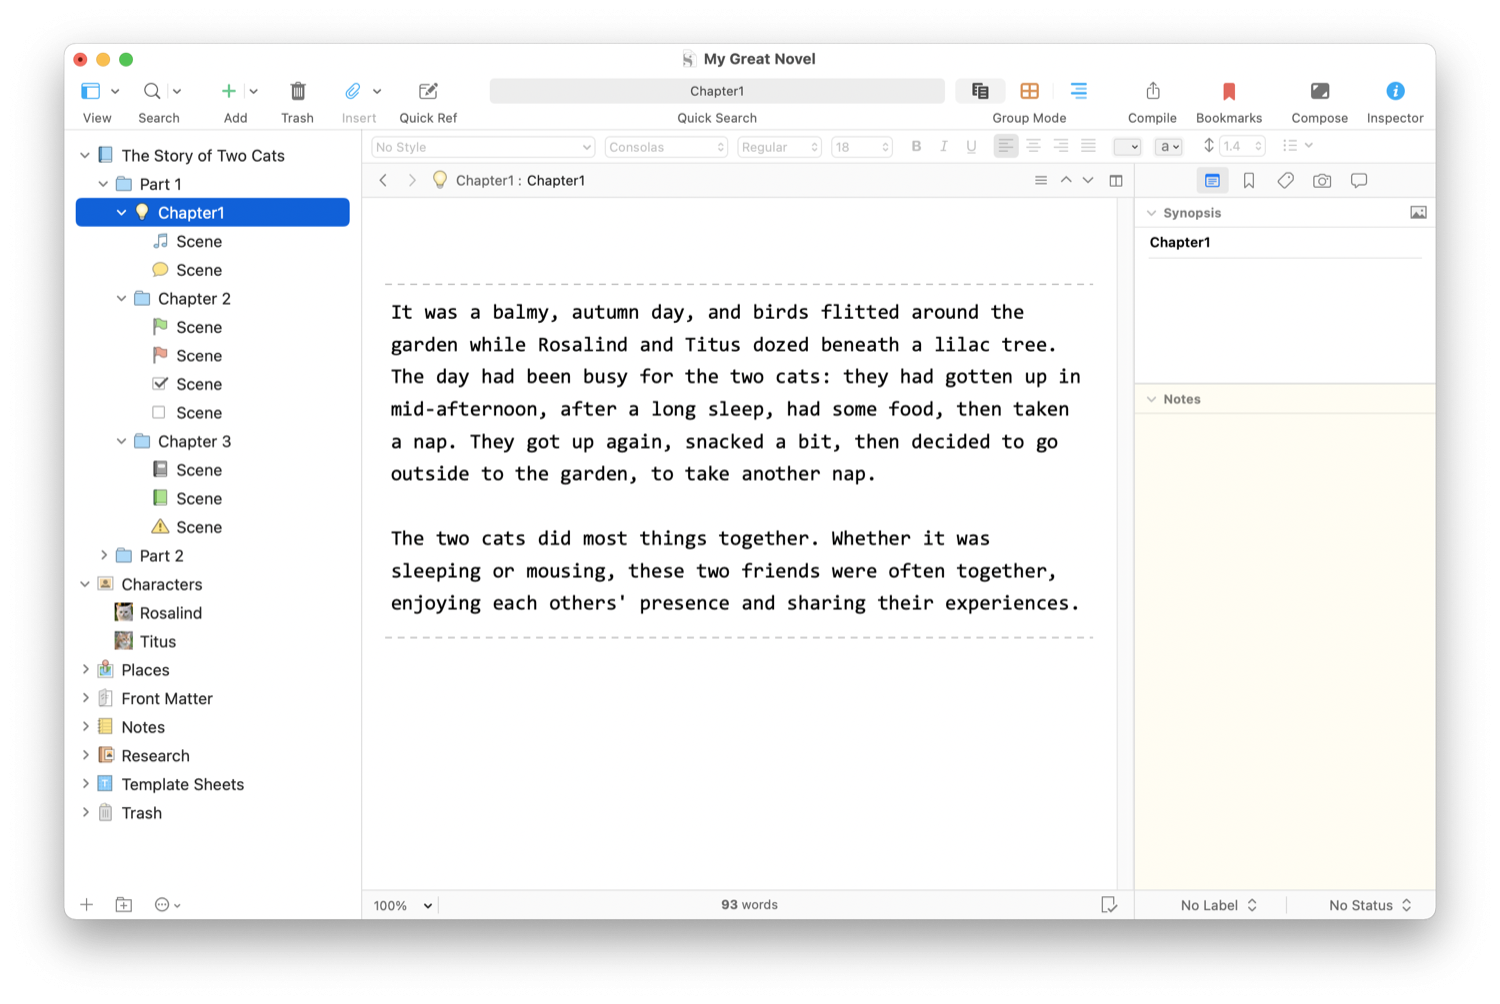
One way to make even the messiest of Binders more easily navigable is to apple color labels or custom icons to files and folders in the Binder. While these visual elements don’t rearrange anything in the Binder, they allow you to see the contents of your project more easily.

You may want to set a color for each point-of-view character, so when you glance at the Binder you can see all their scenes more easily than by checking synopses in the Inspector. You can use custom icons to tell you what state files and folders are in, how much progress you’ve made, or just to highlight certain items or completed files. This can allow you to visually sort your Binder and can help as you progress in your draft and move to the revision stage.
Writing a novel is messy, and it’s important to embrace this messiness, but a time comes when you need to tidy things as you prepare to complete your draft.
Kirk McElhearn is a writer, podcaster, and photographer. He is the author of Take Control of Scrivener, and host of the podcast Write Now with Scrivener.

