

Freewriting, or writing for a period of time without correcting, editing, or judging, can be a good way to generate ideas. Here’s how you can use Scrivener for freewriting.
There are lots of ways you can help your subconscious mind generate new ideas. You can take naps, go for a walk, or daydream. Another way to bring ideas from the depths of your mind is through freewriting. This is a technique where you write for a set period of time without judging what you write. You don’t worry about grammar, spelling, or structure, you just let thoughts flow freely without self-editing or interruption.
You can freewrite using a writing prompt, or you can just start from nothing, using any thought or idea as a starting point. Scrivener is a great tool for freewriting; here are some tips on using Scrivener to free write.
Set up a freewriting project in Scrivener
You can practice freewriting in an existing project, but it might be a good idea to create a new project for freewriting, so you won’t be distracted by the rest of your work. Choose File > New Project, then choose the Blank project or the Novel project. The former contains nothing other than a Draft folder, a Research folder, and Trash; the latter is set up with all of the basic elements of a Scrivener project, though this may be distracting.
Start with the Corkboard
Scrivener’s Corkboard is designed to resemble a simple corkboard with index cards. Each card displays a title and a synopsis, and when you create cards, they are also created in the Binder and Outliner. All three of Scrivener’s main interface elements display different aspects of the same content.
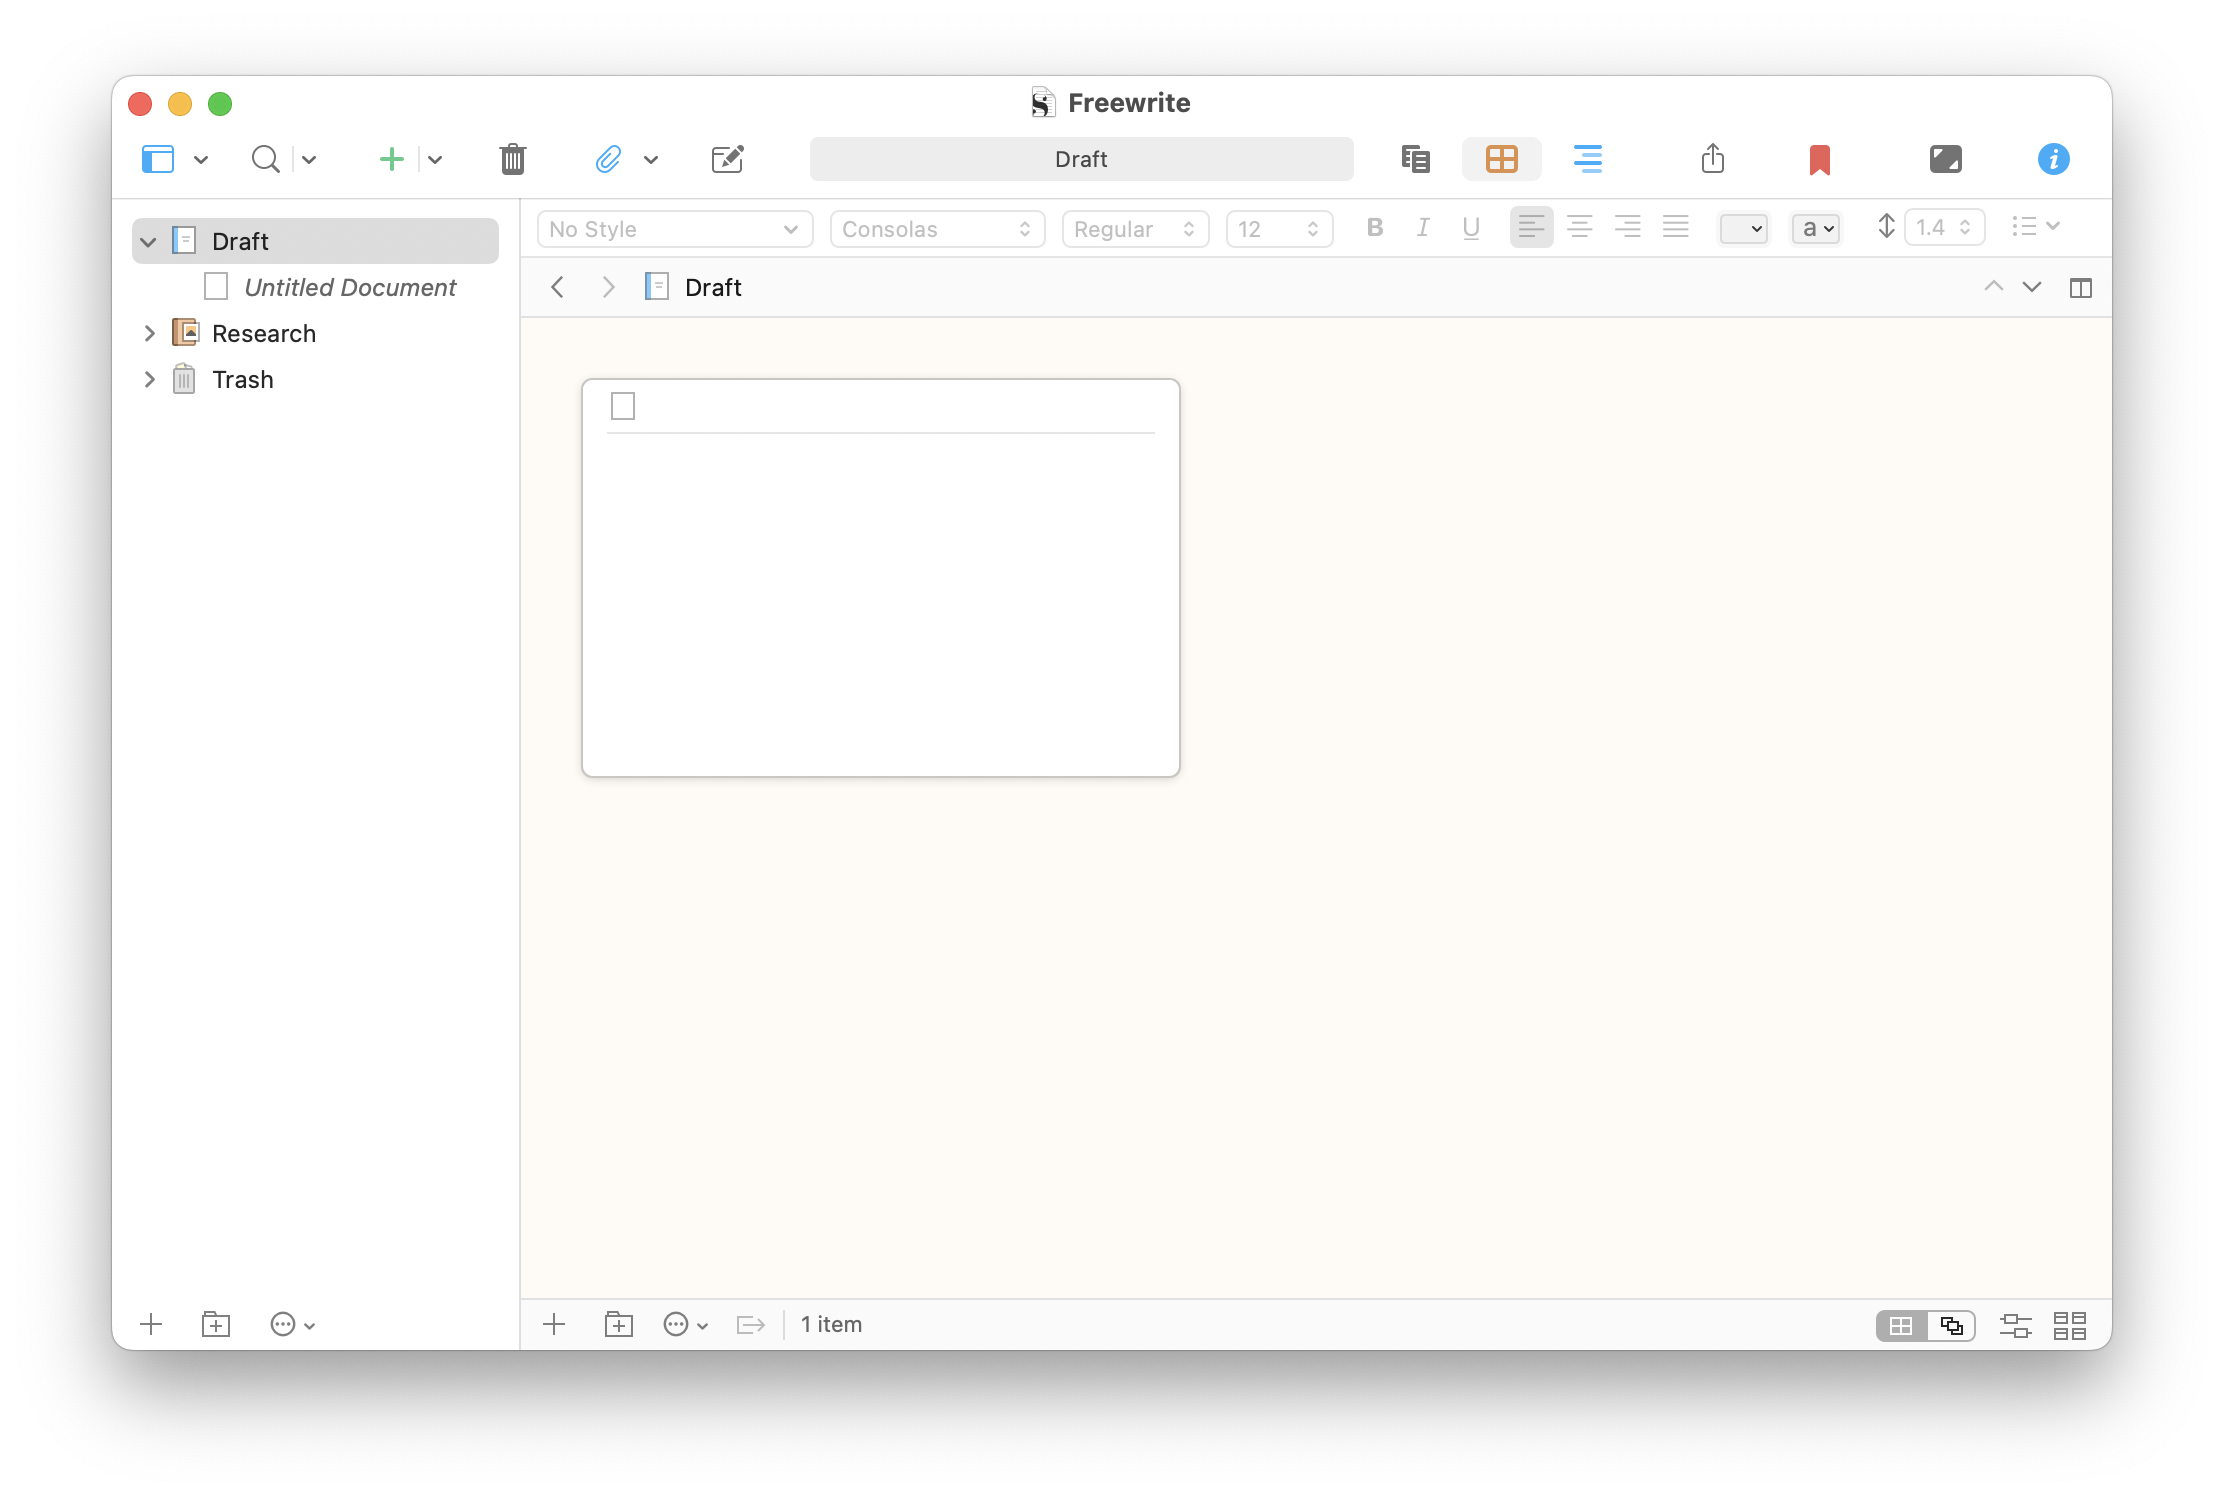
If you use the freeform Corkboard, you can jot down ideas quickly on cards. Click the Draft folder, then click the Corkboard button in the toolbar. You’ll see one empty card. Click its header and type. You can jot down an idea, but don’t write any more. Press Command-N (Mac) or Ctrl+N (Windows) to create a new card. Type another idea. Keep going until you have several ideas, then click in the body of one of the cards and start writing a synopsis to flesh out the original idea.
Freewrite in the Binder
After a while, you may want to switch to text files and write more. Just click one of the files in the Binder, which is a different view of the same content you started writing in the Corkboard. From here, you can write as much as you want.
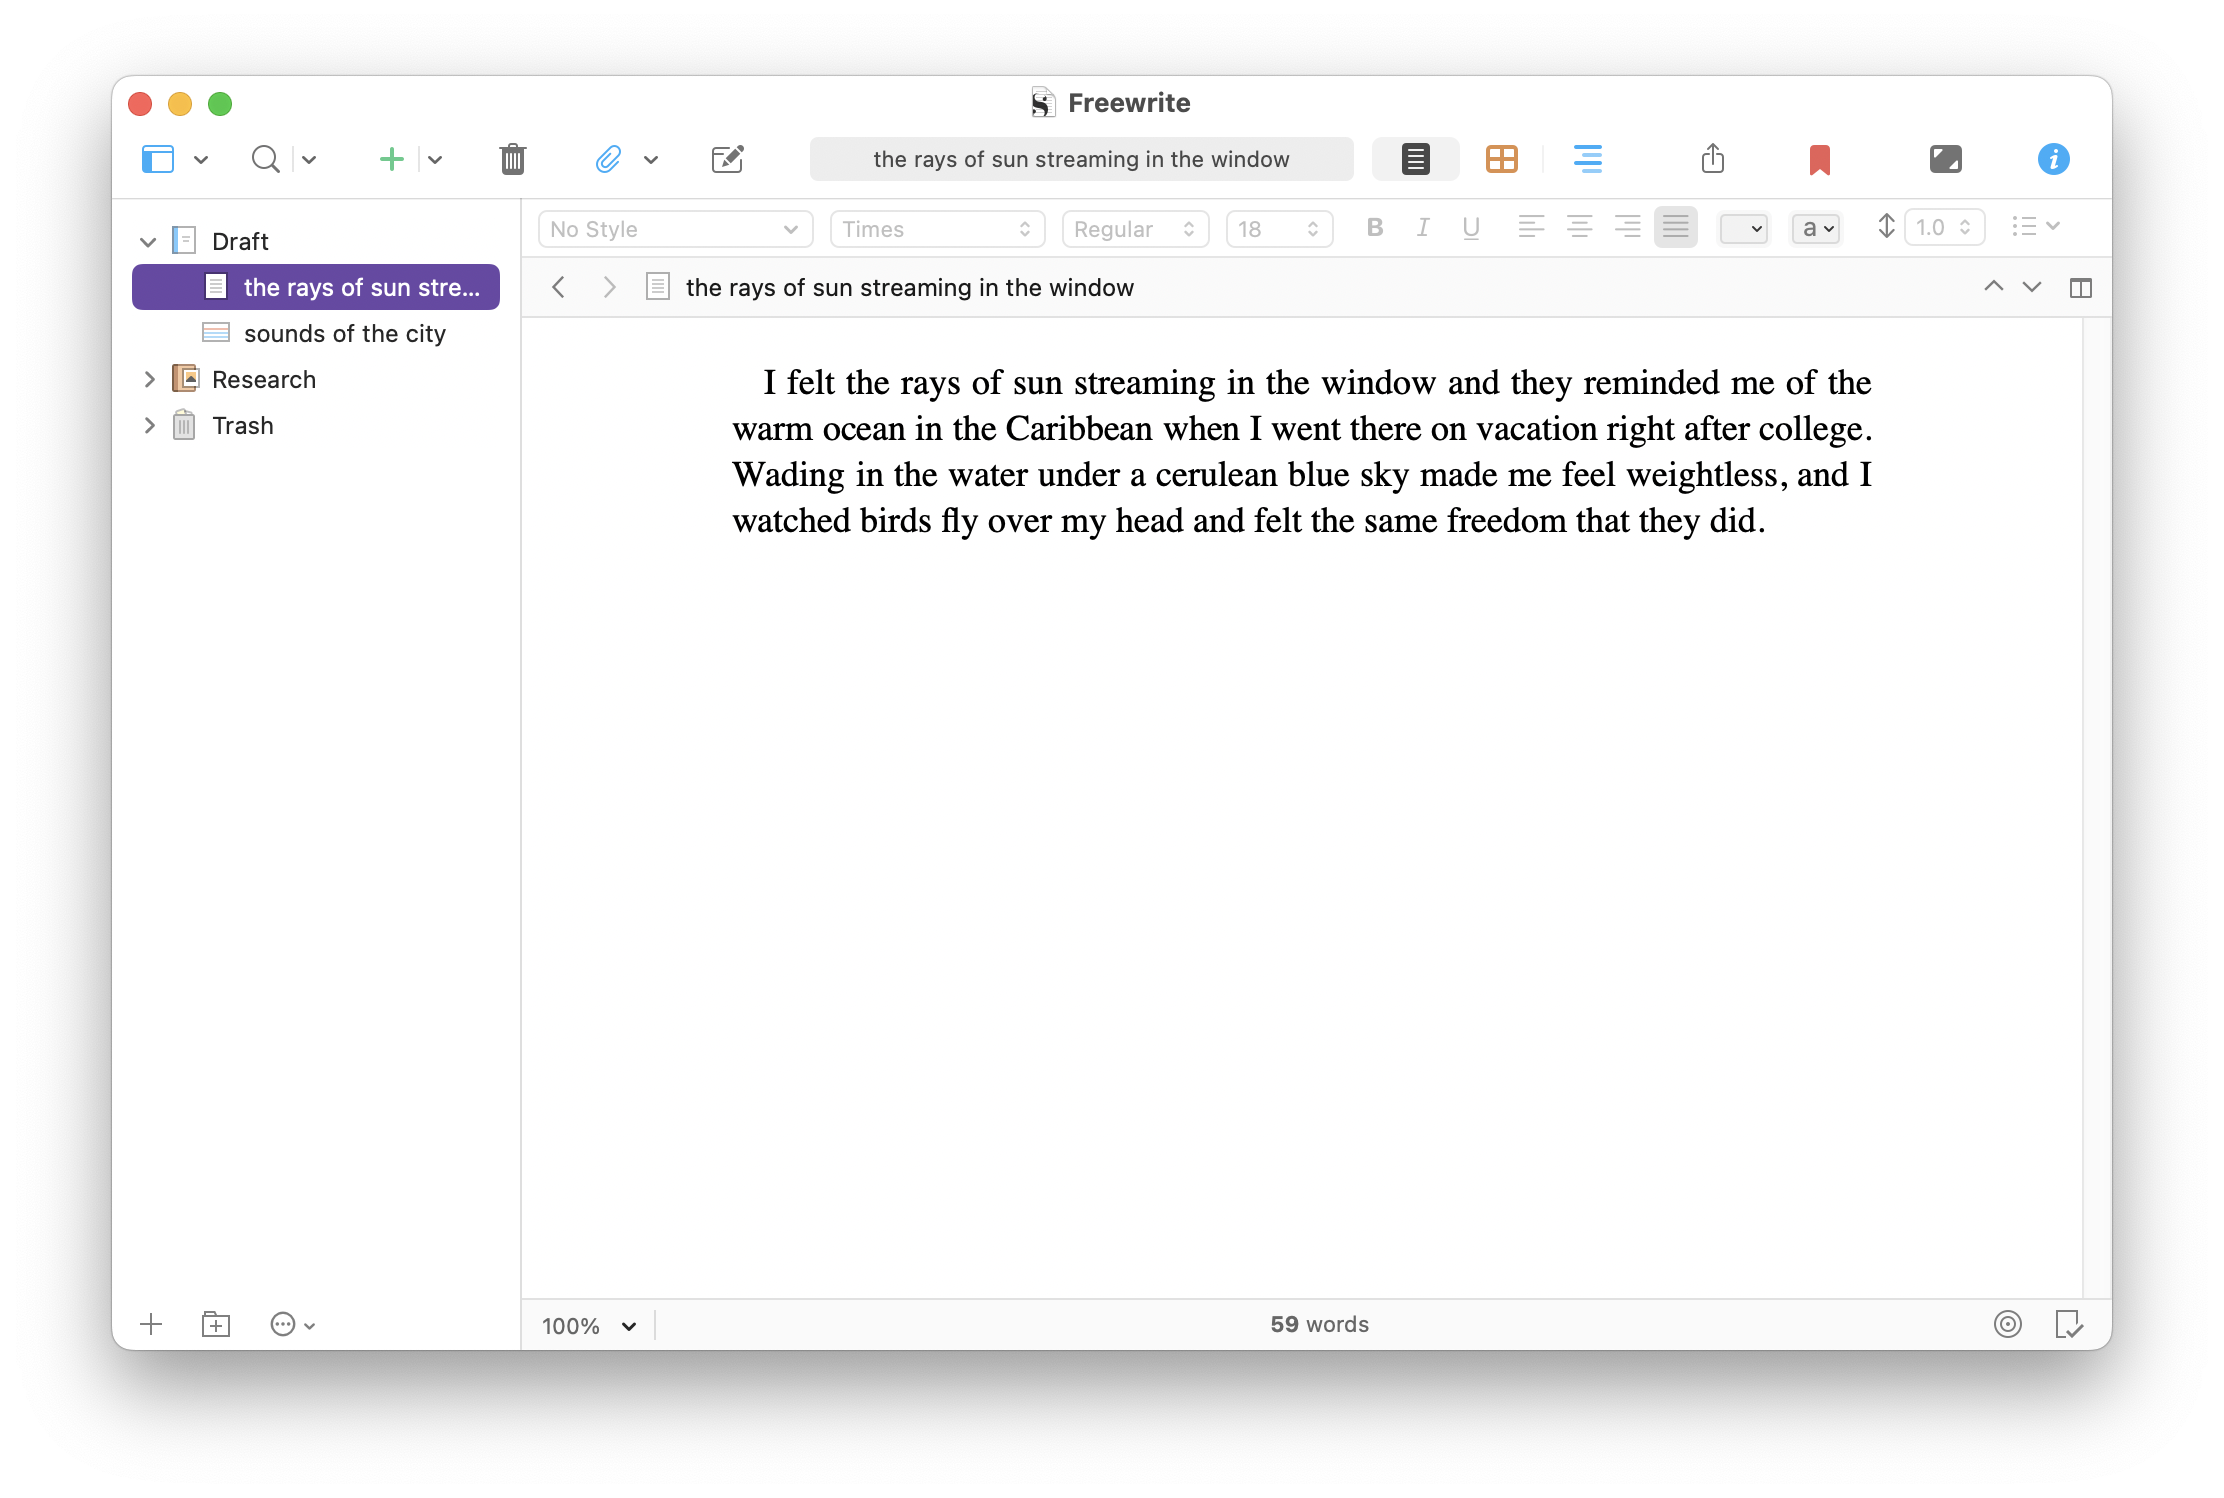
Or, if you prefer starting in the Binder instead of the Corkboard, and not worrying about titles or synopses, you can click the Draft folder, press Return, and start writing in a new file.
When you press do this, the new file is selected in the Binder so you can type a title if you want to keep track of what you’re writing. If you use this project often, you may want to add dates to the title, or at the beginning of each file.
Each file in the Binder can be one idea or one freewriting session. If you use a dedicated freewriting project, you can go back to these files and spelunk for ideas.
The goal of freewriting isn’t necessarily to create a scene or chapter, though you may end up doing that. The main reason to practice this is to exercise your subconscious and potentially find ideas that you can transfer to your main writing project. Though you may find that your freewriting session has generated enough good writing that you can use in your current project. Just copy it, open your project, and paste it where you want.
Use Composition Mode
When freewriting, you should try to avoid as many distractions as possible. Scrivener’s Composition Mode is a great way to block out everything other than the words you’re writing. When you enable Composition Mode, your screen shows a page and a dark background, and nothing else. You can navigate through your project by moving your cursor to the bottom of the screen, which displays the Control Strip. Here, if you click Go To, a menu displays showing the contents of your Binder. You can select any item from the Binder to open it.

Using Composition Mode when freewriting is less for moving around through your binder than to have a blank page with nothing at all to distract you. When you’re finished writing, click the rightmost icon in the Control Strip to return to the full Scrivener interface.
Set a time for freewriting
It’s a good idea to set a time limit for freewriting. This has two advantages. First, you should decide that you won’t stop or give up until the end of this time period. Second, it keeps the idea of a deadline in your mind, which can help spur ideas. You can, of course, continue writing after the end of this time limit, but having a goal can be motivating.
One way to do this is to use the Pomodoro Technique, where you write for 25 minutes, then take a five-minute break. You may not want to freewrite for multiple sessions, and 25 minutes is a good length of time to get your mind in gear. Otherwise, you can use a timer, such as one on your phone or computer, to set whatever length works for you.
Freewriting is a great way to warm up for a writing session. You might want to spend some time every day freewriting, or do it when you need inspiration. If you set up a dedicated Scrivener project for freewriting, you’ll have a warehouse of ideas you can use when you need inspiration for your writing.
Kirk McElhearn is a writer, podcaster, and photographer. He is the author of Take Control of Scrivener, and host of the podcast Write Now with Scrivener.