Scrivener's Binder is a powerful tool for organizing long writing projects. Here are five ways you can move files and folders around in the Binder.
5 Ways to Move and Rearrange Files and Folders in the Scrivener Binder
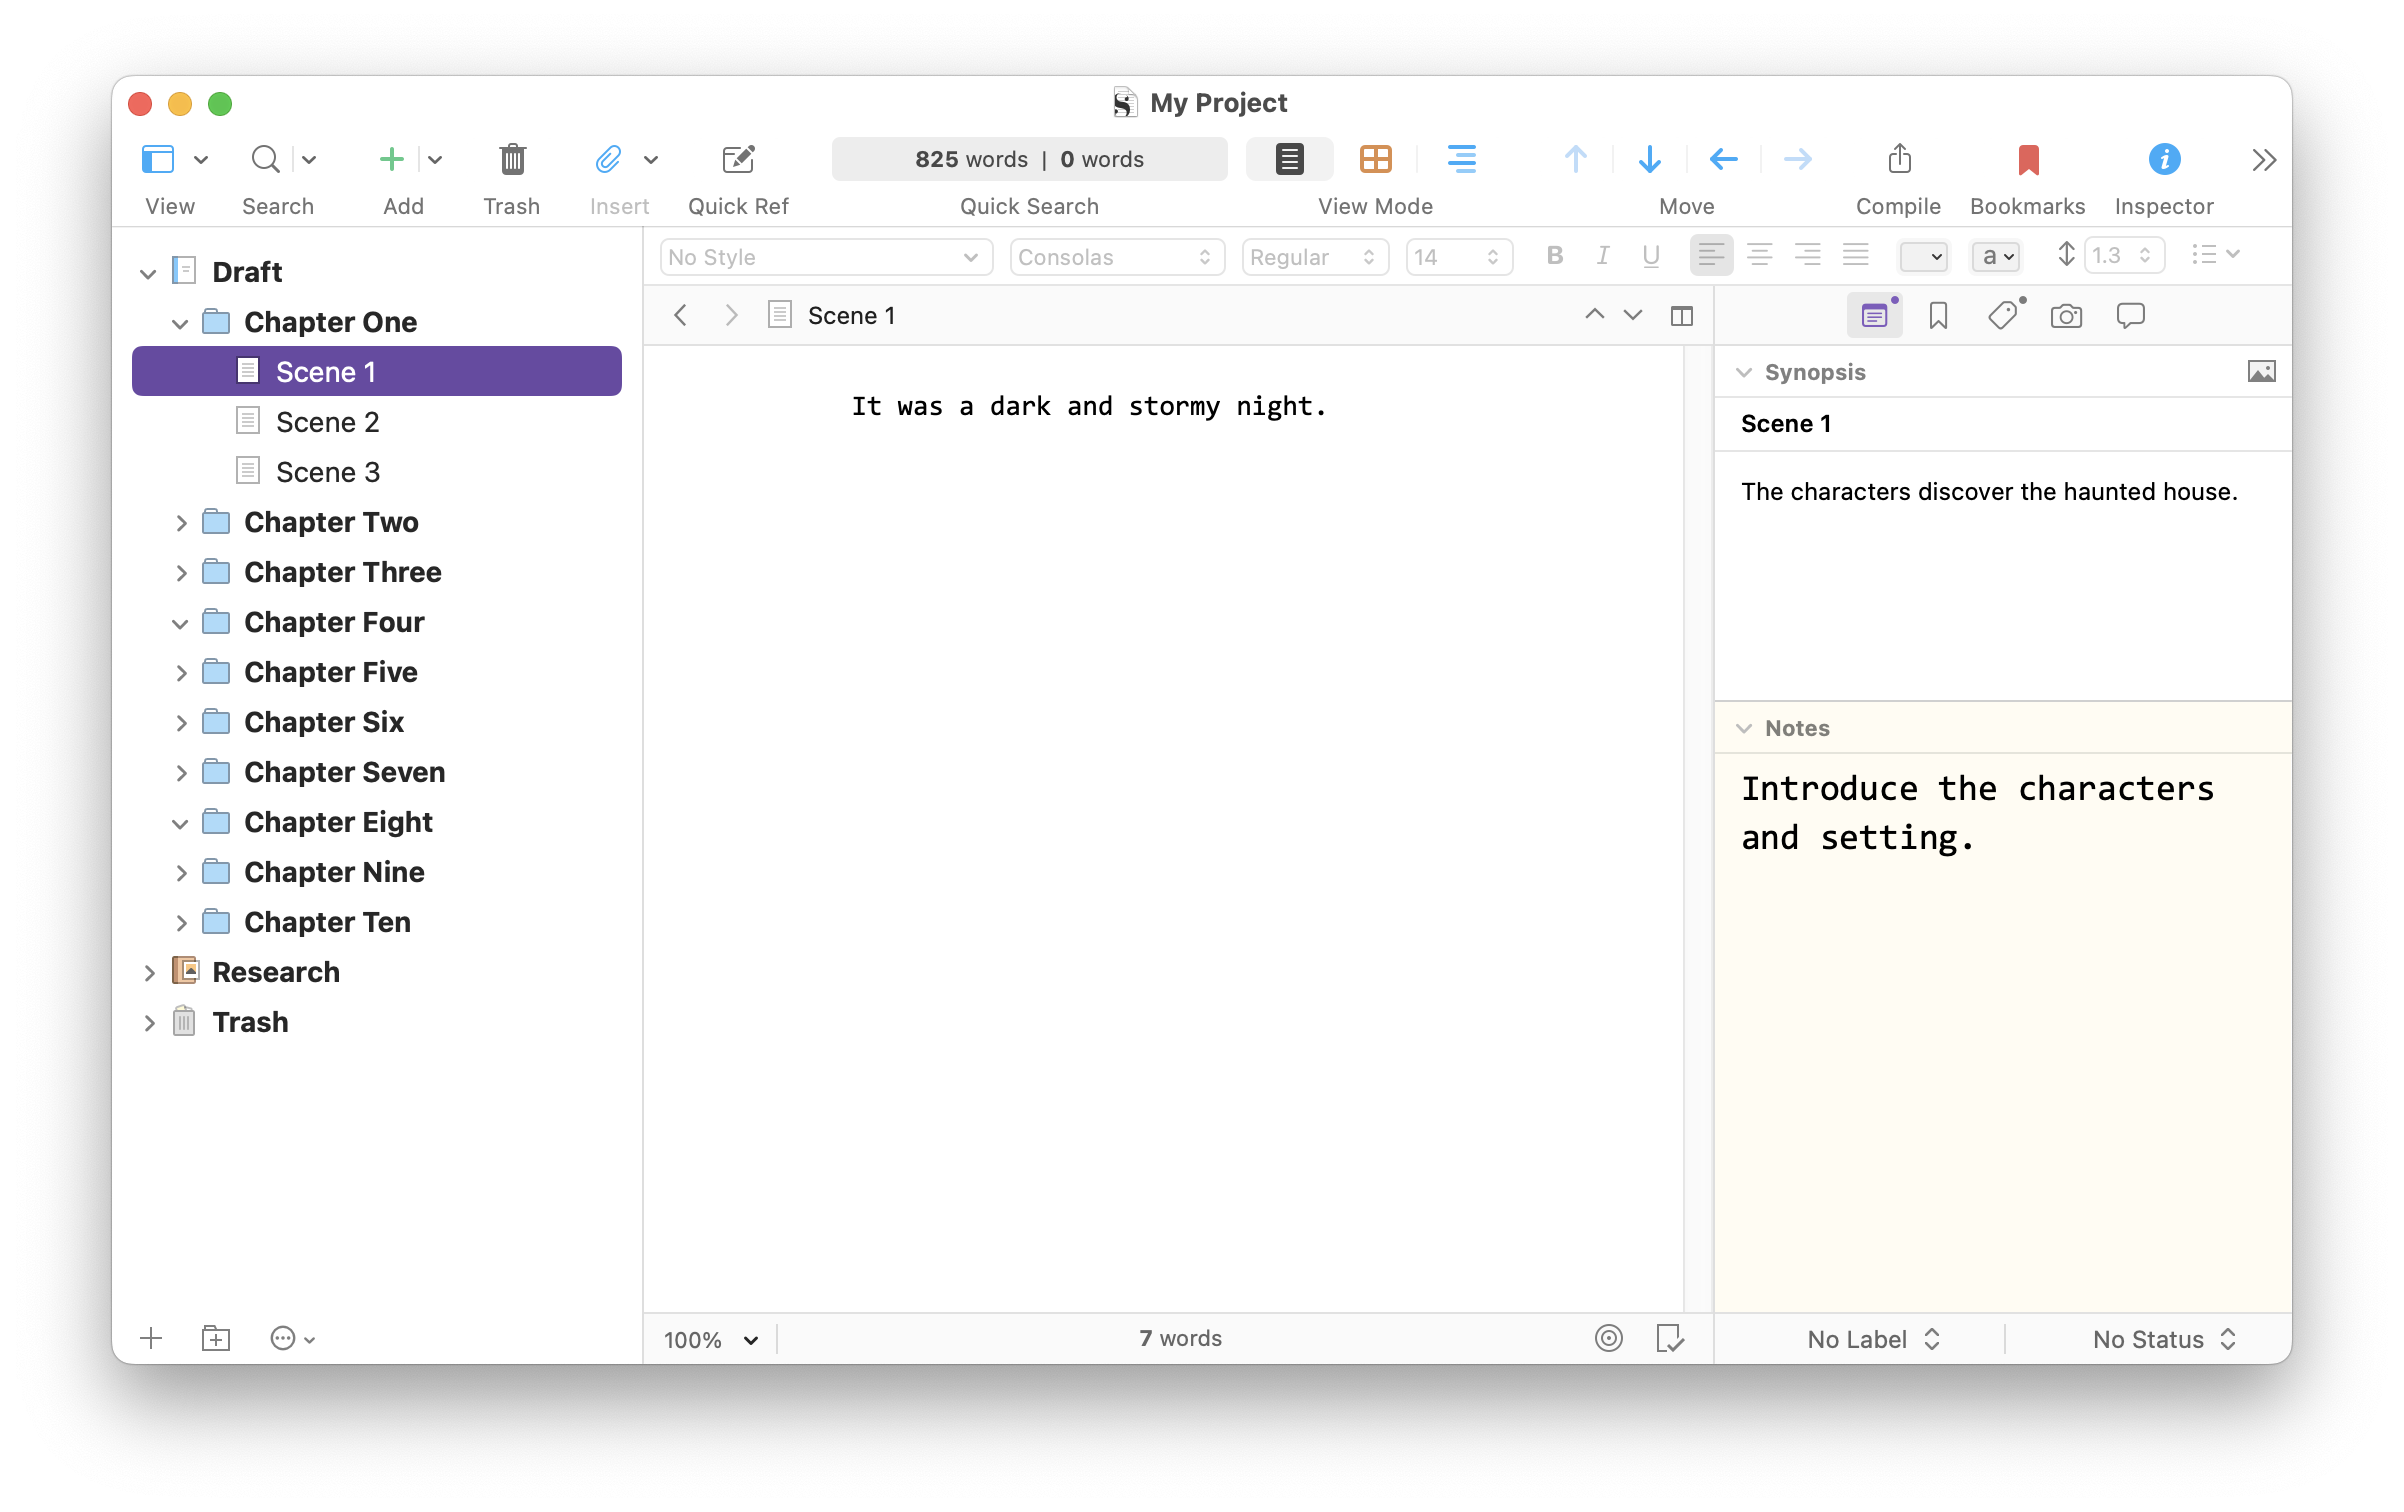
One of the most useful elements of Scrivener is the ability to write scenes and chapters in any order then move them around in the Binder; the sidebar at the left of the Scrivener window. Instead of scrolling up and down in a long document, you can write projects in documents of any length, and rearrange them at will.
There are several ways to rearrange items in the Binder. In this article we will look at five ways you can move and rearrange files and folders.
1. Drag and drop
The basic method of moving files and folders in the Binder is to drag and drop them with your mouse cursor. Click an item, drag it, and you will see a horizontal line; move that line between the items where you want to situate the document or folder you're dragging, then release the mouse button.

If you drag an item onto another item, Scrivener places the first item inside the second item. If you drag a file or folder onto a folder, then that item is added to the folder at the bottom. If you drag a file onto another file, the first file is added to the second in what is called a file group.
You can also move multiple items together, such as when you want to move a lot of files into a folder containing old versions, for example. To select multiple items in the Binder on the Mac, click one document, then press the Command key and click others; each click will add a document to your selection. On Windows, click one document, then click Ctrl, then click others.
Note: If you drag an item into the wrong location, you can always undo the drag by pressing Command-Z (Mac) or Ctrl-Z (Windows).
2. Use keyboard shortcuts
You can move items using the keyboard. Once you've clicked anywhere in the Binder, you can use the up and down arrow keys to move around and select items. When an item is selected, you can move it by pressing the following keys:
Mac

- Control-Command-Up-Arrow
- Control-Command-Down-Arrow
- Control-Command-Left-Arrow
- Control-Command-Right-Arrow
Windows
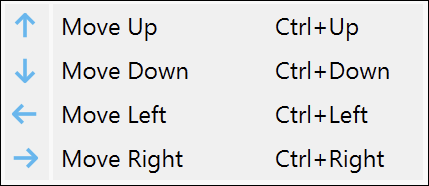
- Control-Up
- Control-Down
- Control-Left
- Control-Right
You cannot move a file from one folder to another using this method, but you can move files around within a folder, or change the arrangements of folders in the Binder. You can also move a file out of a folder by pressing the keyboard shortcut to move it to the left. Or you can move a file into a file group, if it's below another file, by pressing the keyboard shortcut to move it to the right.
Tip: You can navigate the Binder from the keyboard. If all your folders are closed - if you don't see any files in them - you can press the right-arrow key when a folder is selected to open it, then press the left arrow key to close it.
3. Use the Edit menu
You can move items using the Edit menu; the screenshots above are taken from the Edit > Move submenu. It will certainly take longer to use the menu than to use the keyboard, but some people prefer using menu items.
4. Use toolbar buttons
Scrivener's toolbar - the section of the window at the top, which, by default, shows a set of icons - is customizable. You can add buttons for moving items to the toolbar.
To do this, choose View > Customize Toolbar (Mac) or View > Customize Toolbars (Windows). On the Mac, drag any of these button sets to the toolbar, in the location where you want to store them.

On Windows, you see a dialog allowing you to customize the Format Bar and the Main Toolbar. You want to put the Move icons into the Main Toolbar by selecting them, pressing the right arrow button, and then rearranging them. Click Apply to save your changes.

You can then move any seleced item by clicking these buttons. Buttons that cannot be used according to the current selection are dimmed, so in the example below, I've selected a file at the top of a folder, and I can only move it down (to change its order in the folder's files) or to the left (to remove it from the folder, and bring it up one level in the Binder).
Note: After you add the additional buttons, you may not see all your toolbar buttons. These additional buttons will be accessible by clicking the >> icon at the right of the toolbar.
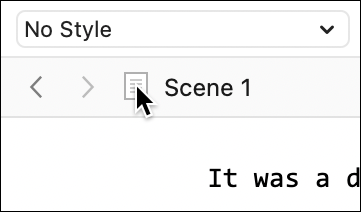
5. Use proxy icon
The proxy icon is the small icon in the Header Bar at the top of the editor, which displays when you have selected a file or folder. You can drag this icon to move an item to a new location in the Binder.
You can also drag an item in the Outliner or Corkboard and move it anywhere in the Binder, as well as rearranging that item in the Outliner or Corkboard. You can select and move multiple items in the Outliner and Corkboard as you do for the Binder.
Depending on how you write, you may move items around in the Binder often, or only when you've finished the first draft of your project. Dragging and dropping items is easy, but using some of these other methods can make it much easier to rearrange a Binder with lots of items.
Kirk McElhearn is a writer, podcaster, and photographer. He is the author of Take Control of Scrivener, and host of the podcast Write Now with Scrivener.