Labels provide visual markers that help you distinguish certain types of files and folders in the Scrivener Binder, Corkboard, and Outline.
5 Tips for Using Labels in Scrivener
Scrivener labels are a type of metadata you can apply to folders and files in your projects. Labels are a great way to highlight certain elements, because labels have colors, and you can display these colors in various project views. You can create your own labels, and use them to sort files, get a high-level view of a project, and more.
In this article, I'll show you five tips to help you leverage labels in Scrivener.
1. What to use labels for
Scrivener labels are a quick way to tag files and folders in the Binder, as well as index cards and Outline rows, to highlight information about the items. Some people use labels to indicate scenes or chapters with different point-of-view characters; others to show present time and flashbacks; or you could use them to indicate different settings. You could also use labels to indicate how much work is done or needed on a scene or chapter: for example, red to indicate an early draft, yellow for a draft that's been revised, or green for a final draft.
2. Apply labels from the Scrivener window footer
Scrivener treats labels as metadata, or data that describes parts of your projects. As such, the Labels menu is in the footer of the Scrivener window below the Inspector. If the Inspector - which is the sidebar to the right of the Editor - isn't visible, choose View > Show Inspector, or click the i button in the toolbar.
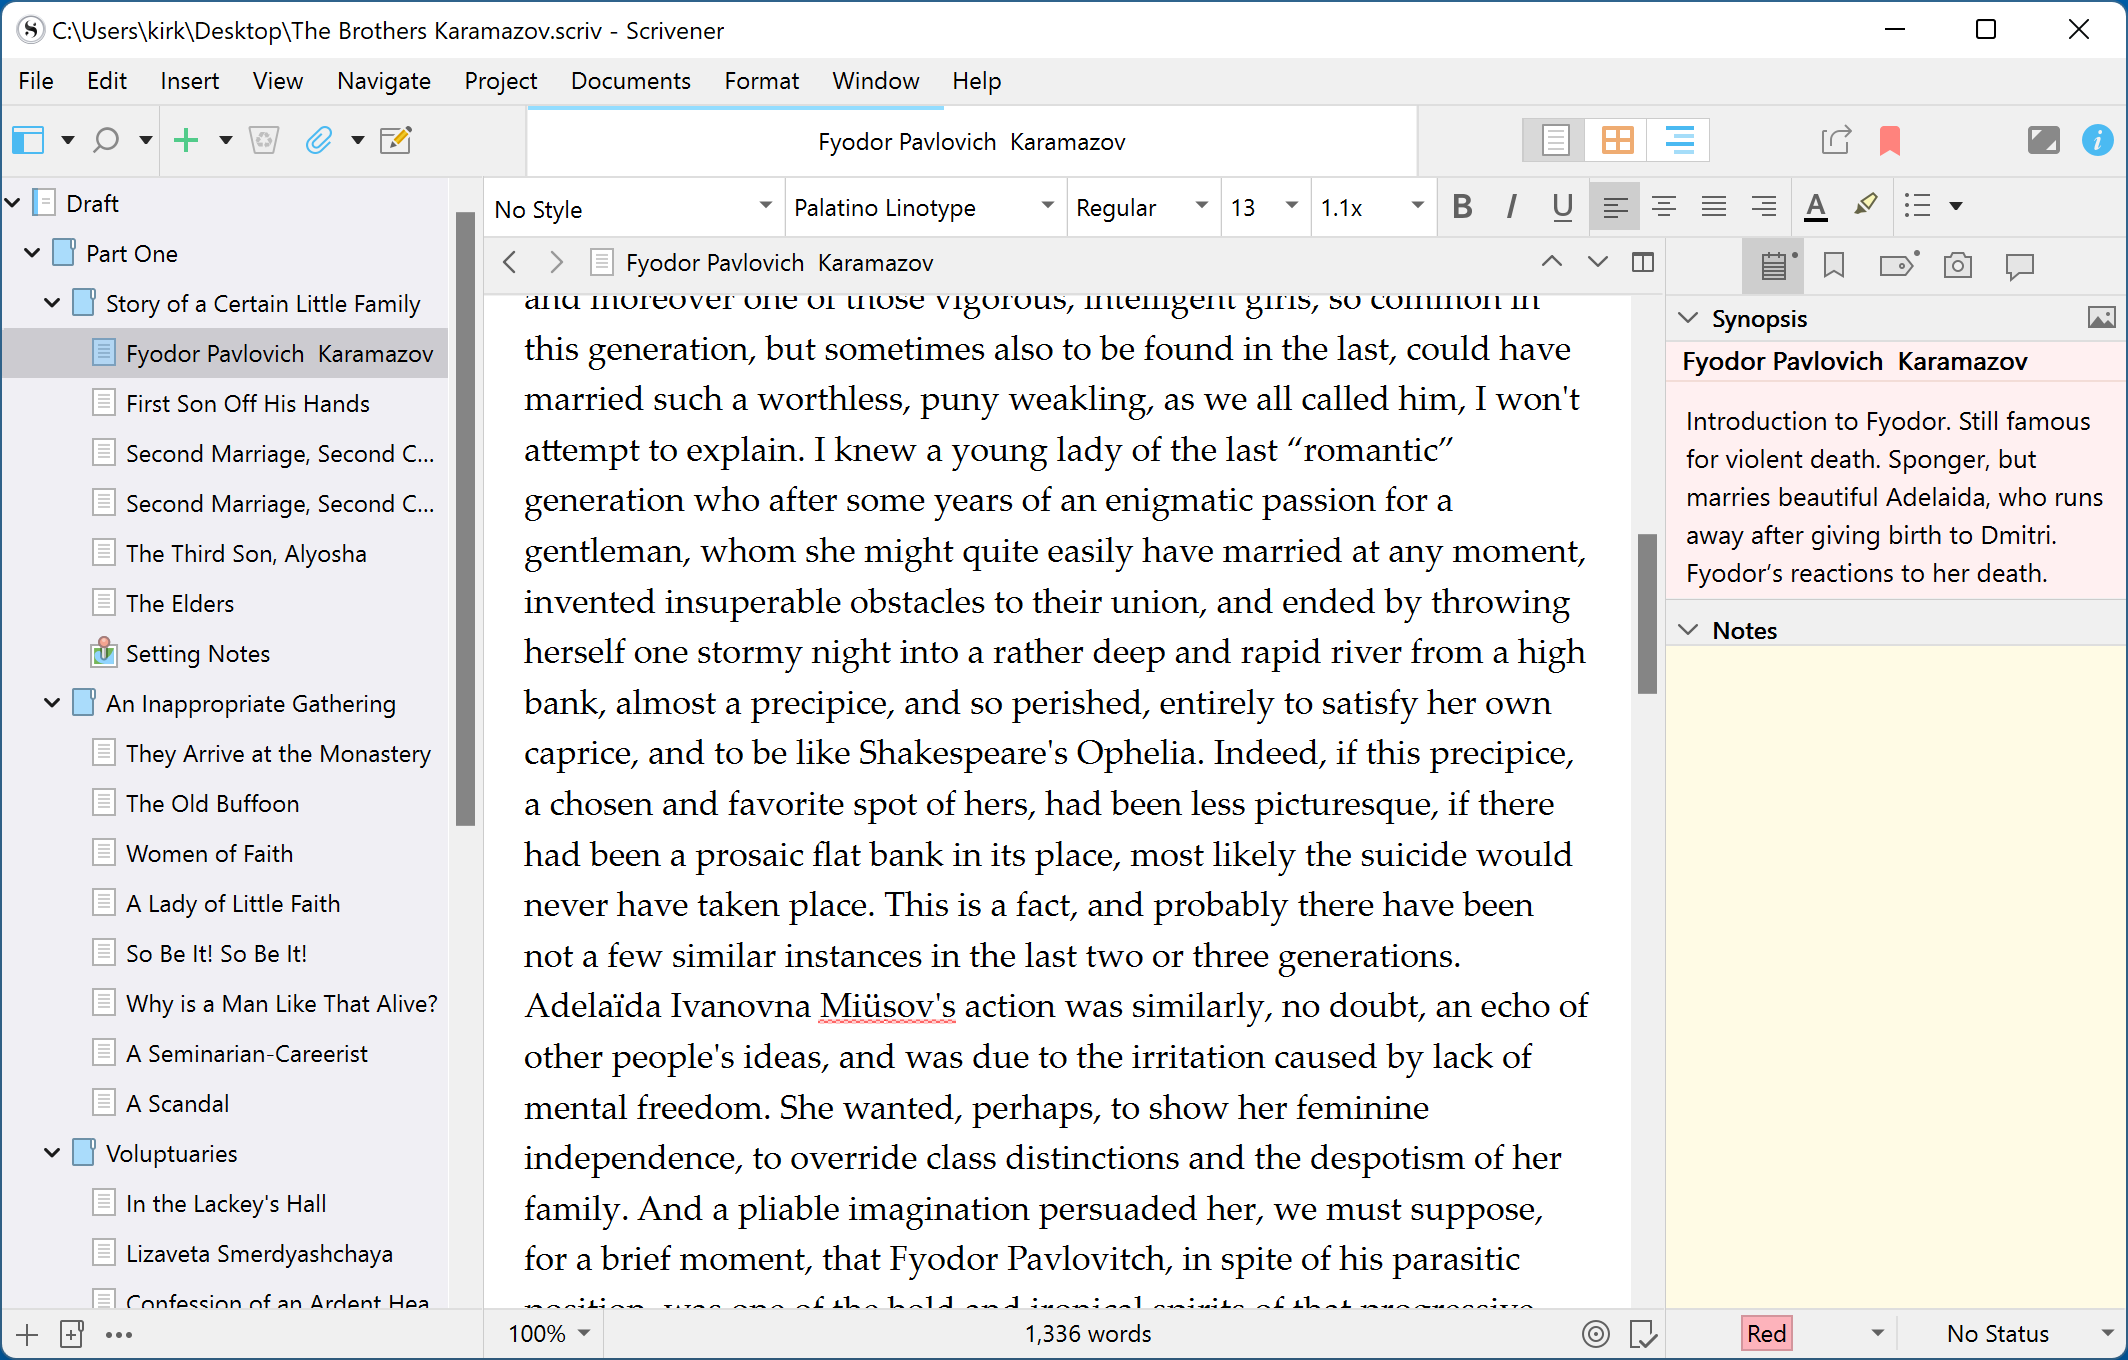
When you've selected an item in the Binder, Corkboard, or Outliner, you can click on the Labels menu below the Inspector to apply a label. In this screenshot, the Red label has been applied to this document; if there was no label applied, the footer menu would say No Label. Click this menu to choose from the available labels.
3. View labels in the Binder
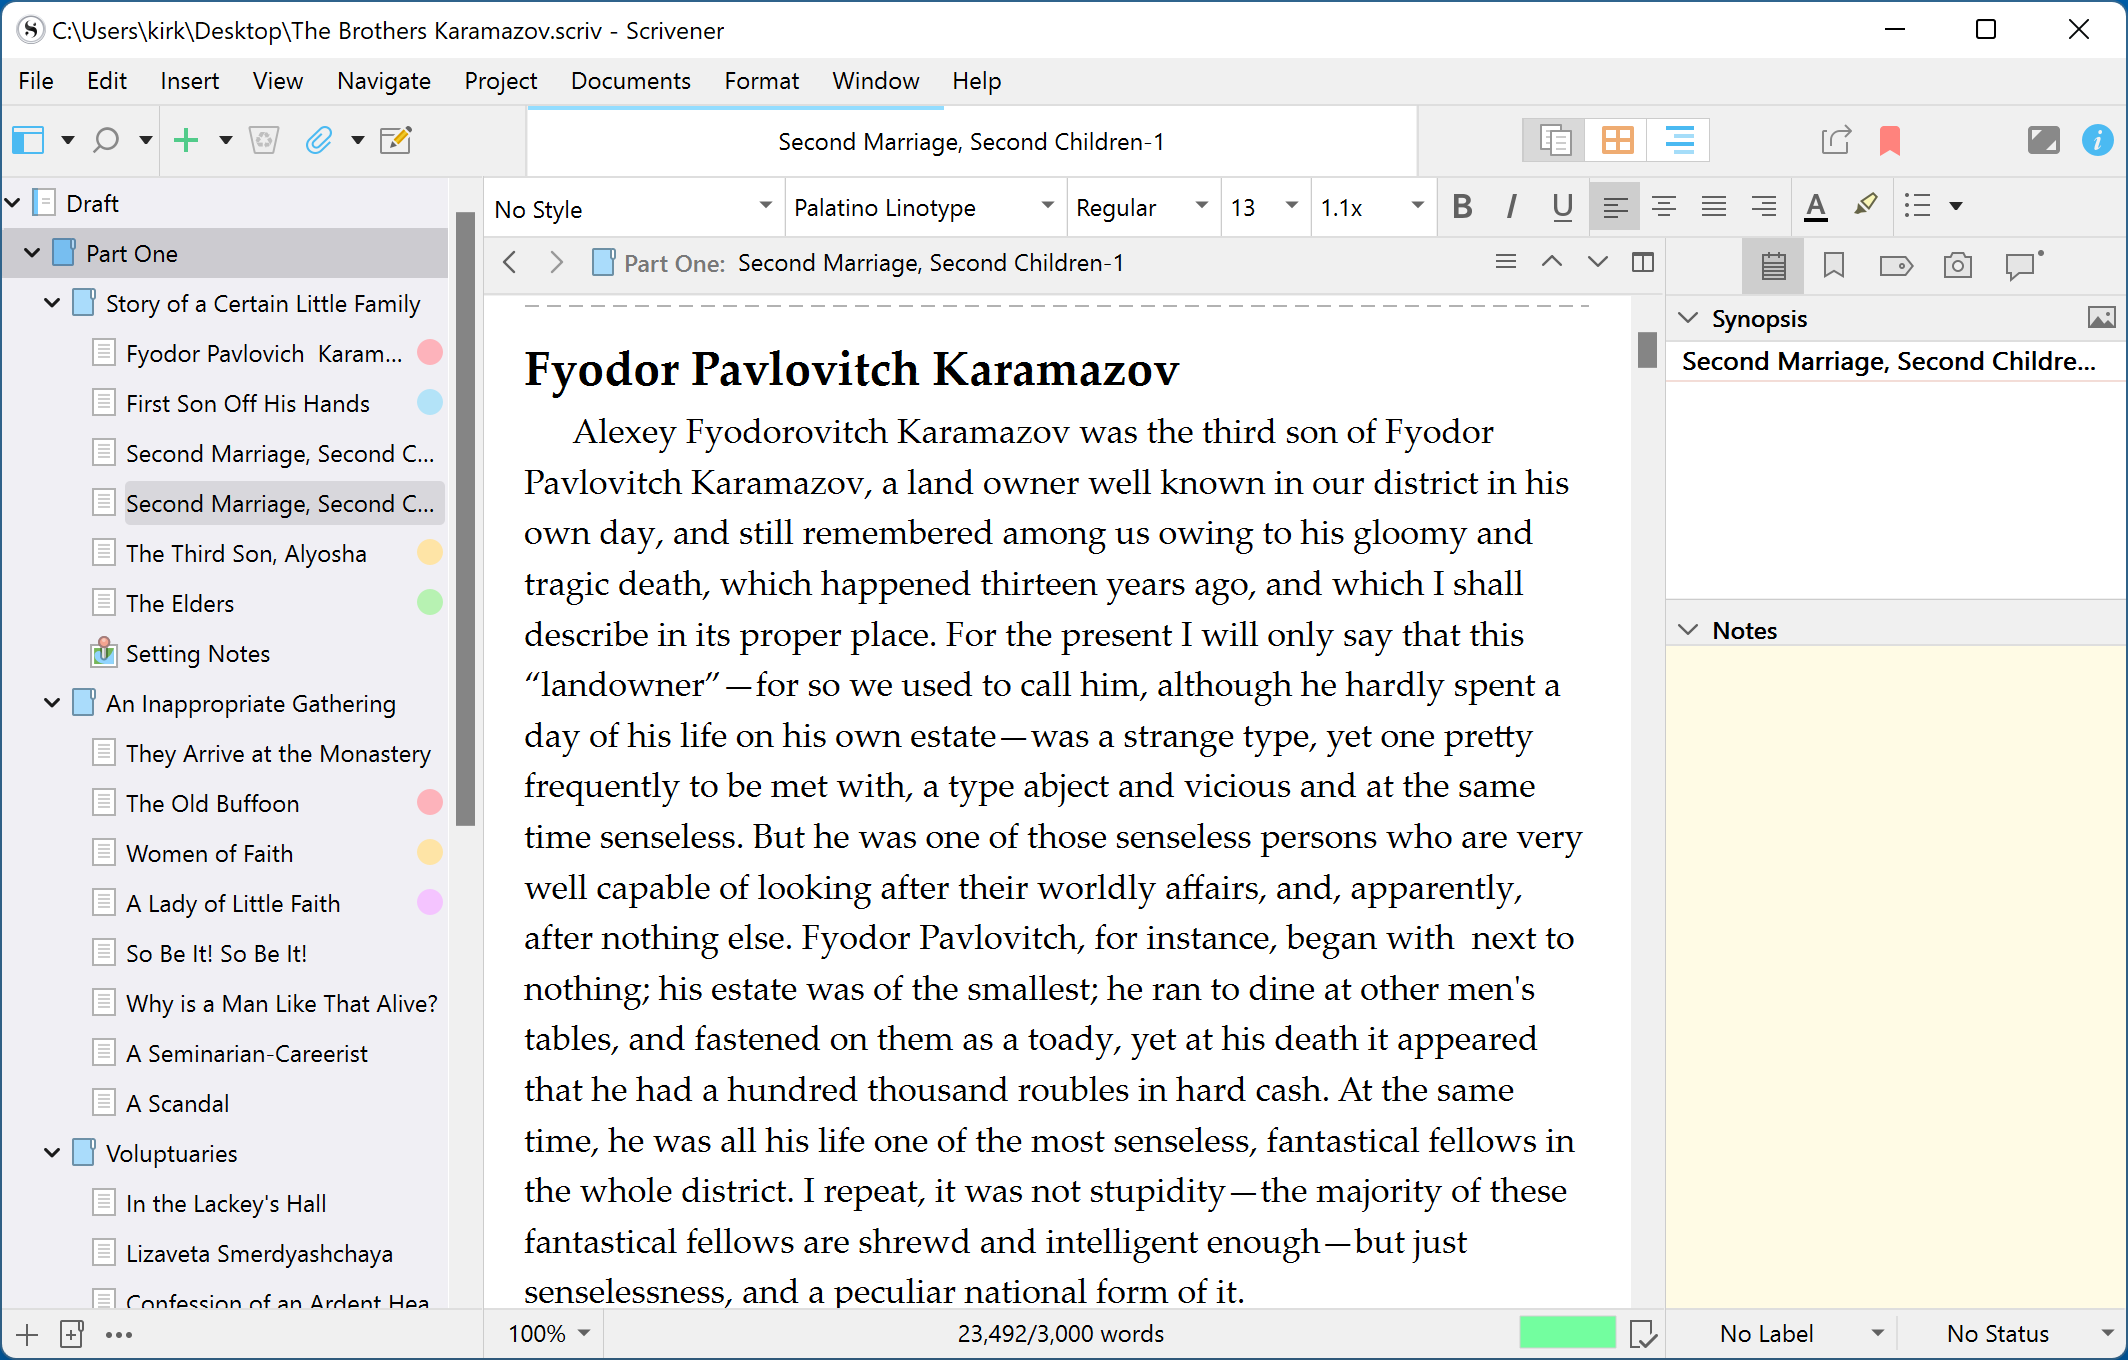
While you can make out the label in the footer below the Inspector, it's not very large. You may want to display labels more prominently. If you choose View > Label Color In, you have a number of options: Binder, Icons (icons of Binder items), Index Cards (those at the top of the Inspector and on the Corkboard), Outliner Rows, and Scrivenings Titles. Here's how labels display as dots in the Binder:
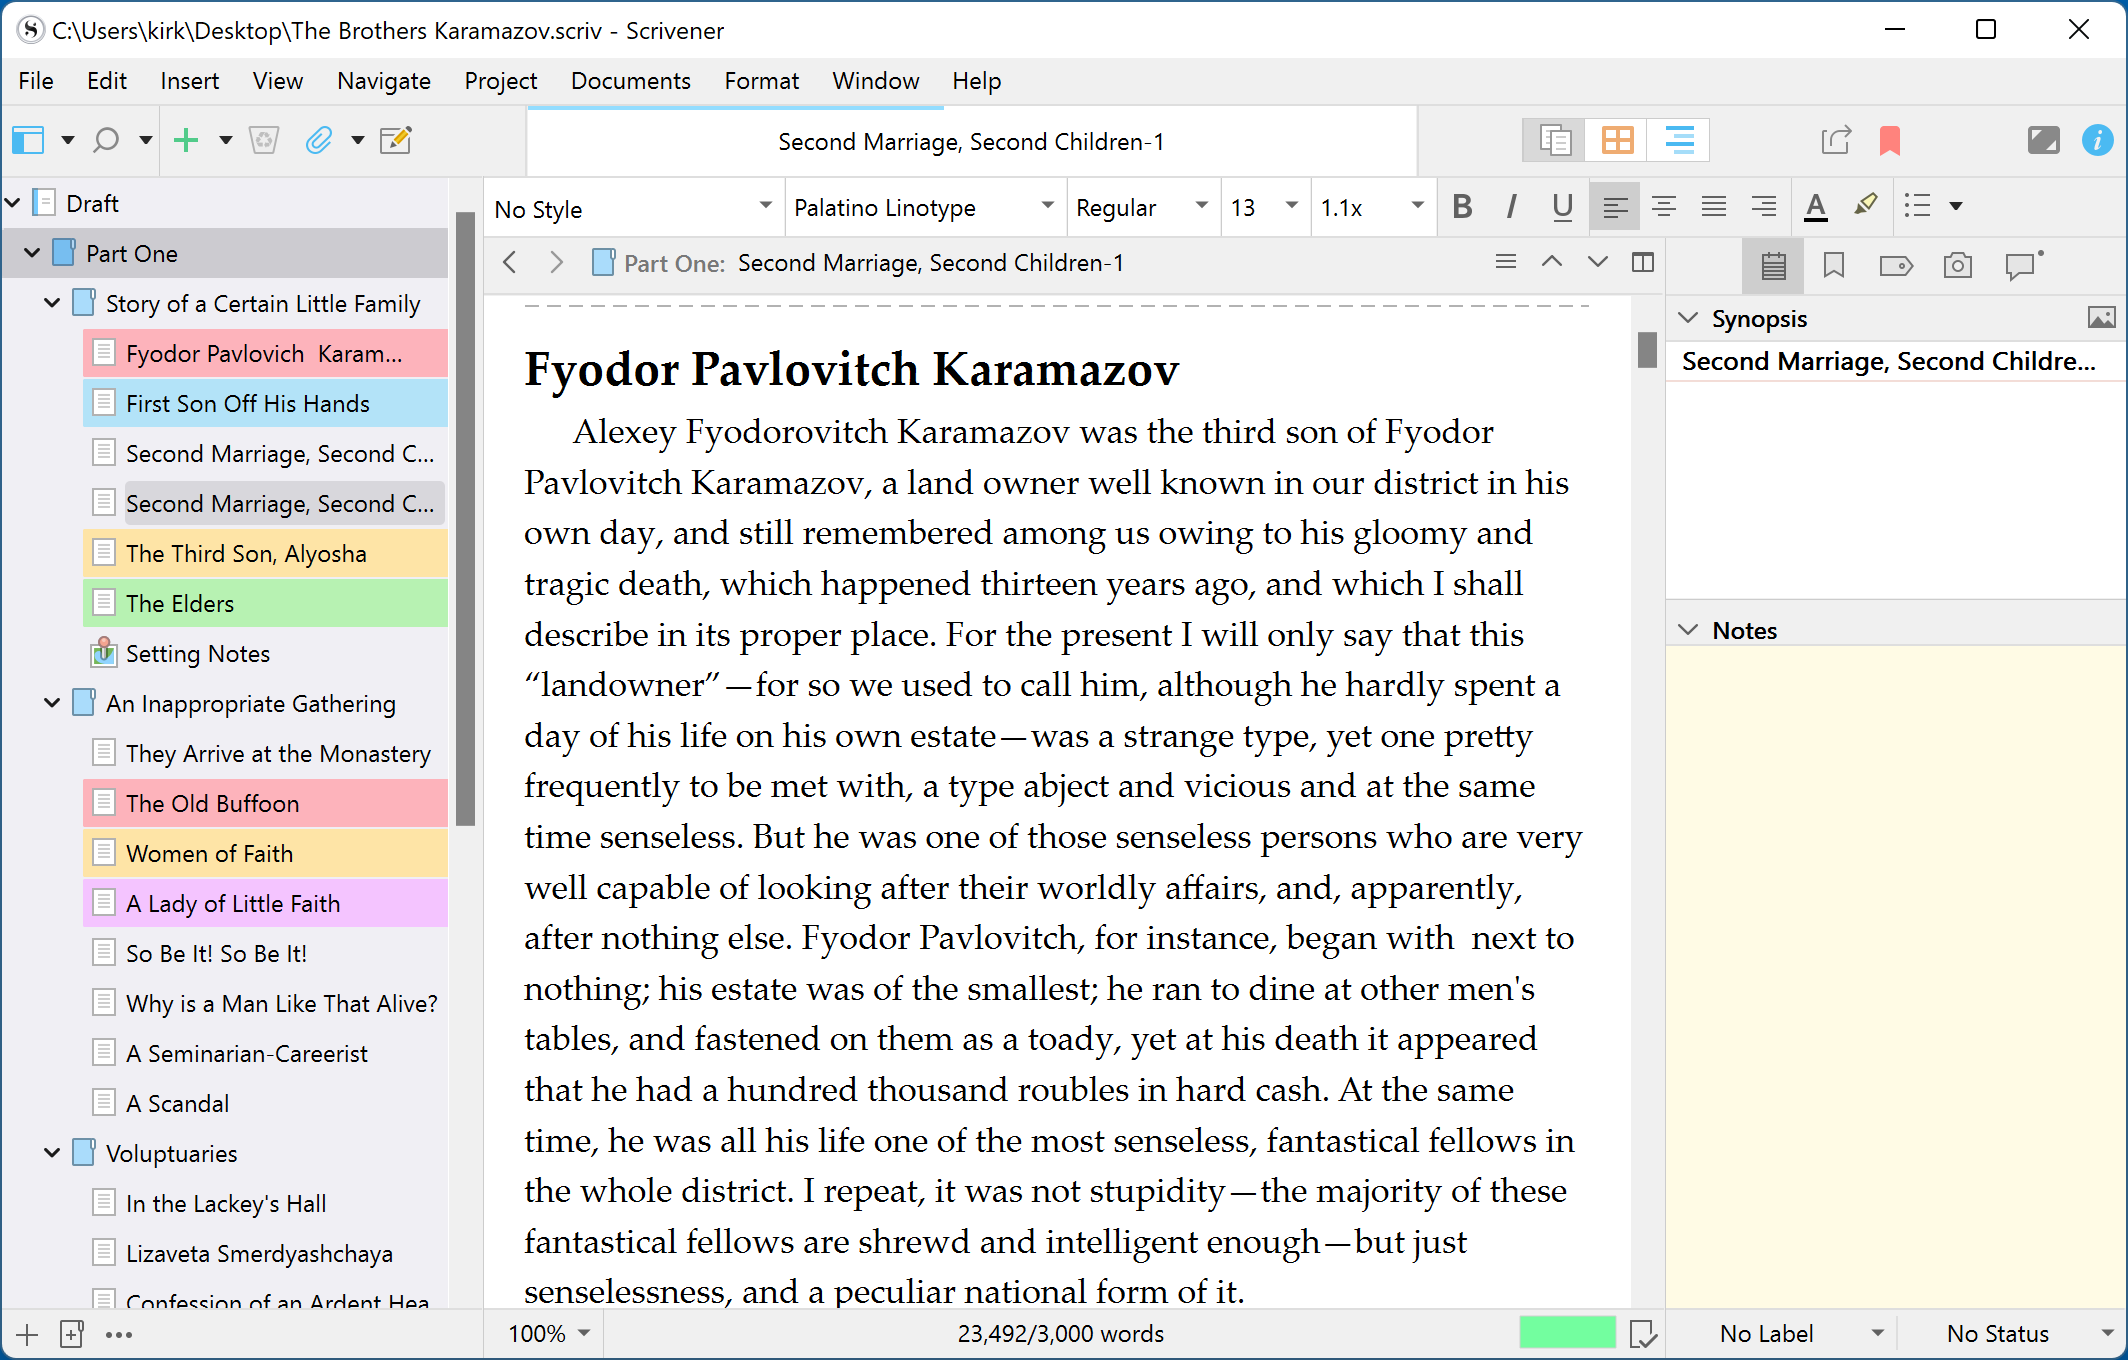
You can also choose View > Label Color In > Show as Background Color in Binder, which makes the colors a lot more apparent:
4. View Labels in the Corkboard and Outline
If you choose View > Label Color In > Index Cards, this assigns label colors to cards both at the top of the Inspector - the cards that contain synopses - and in the Corkboard.
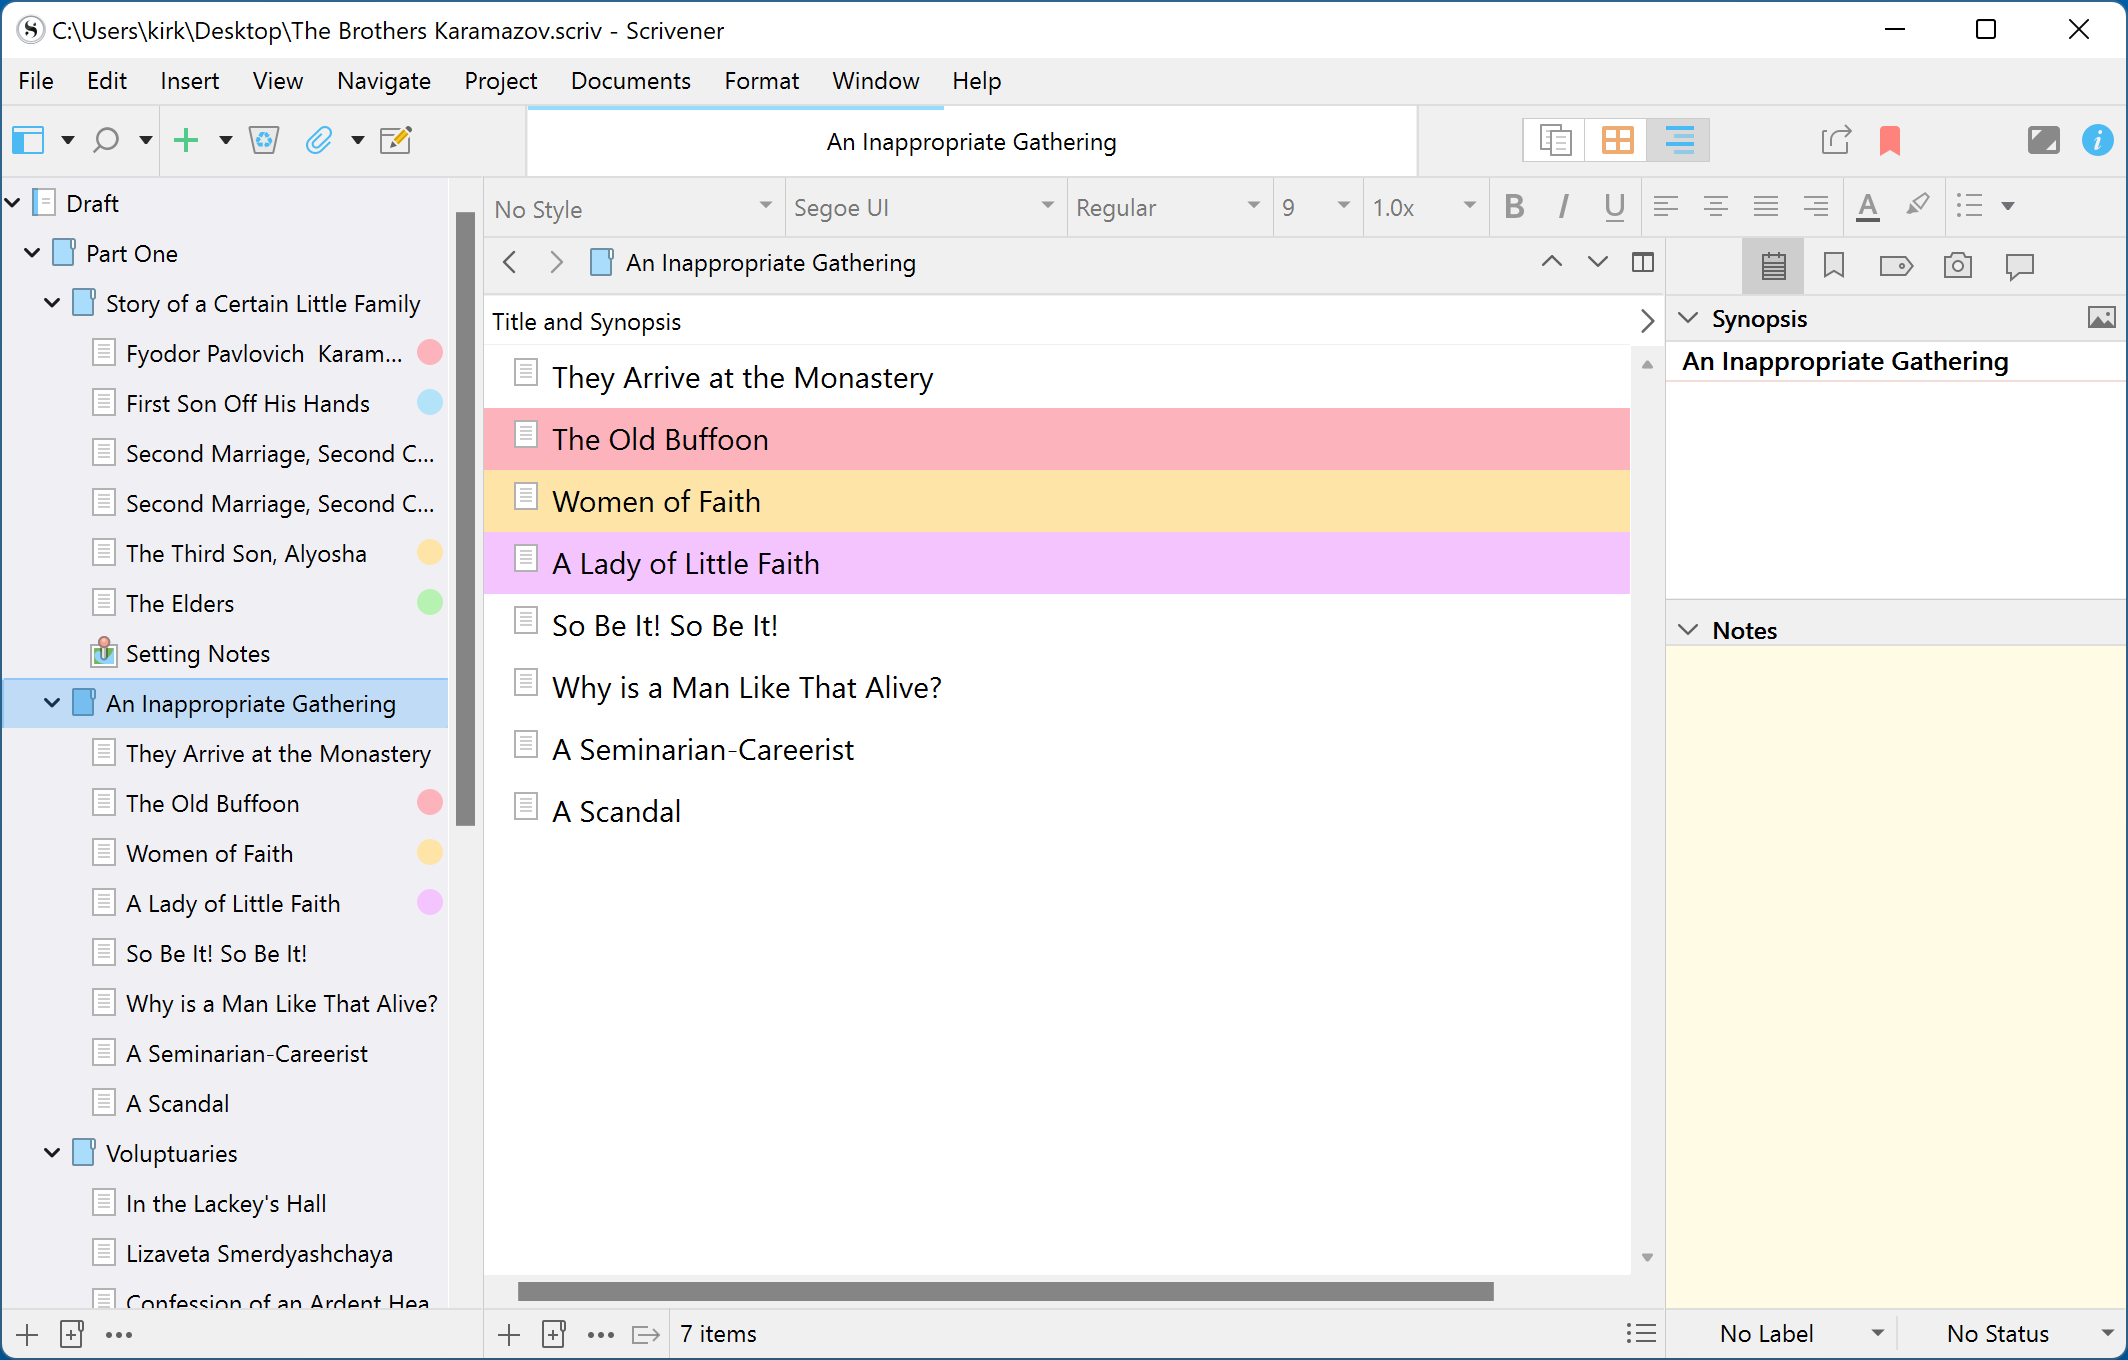
If you choose View > Label Color In > Outliner Rows, these label colors display across rows in Outline view:
5. Create custom labels
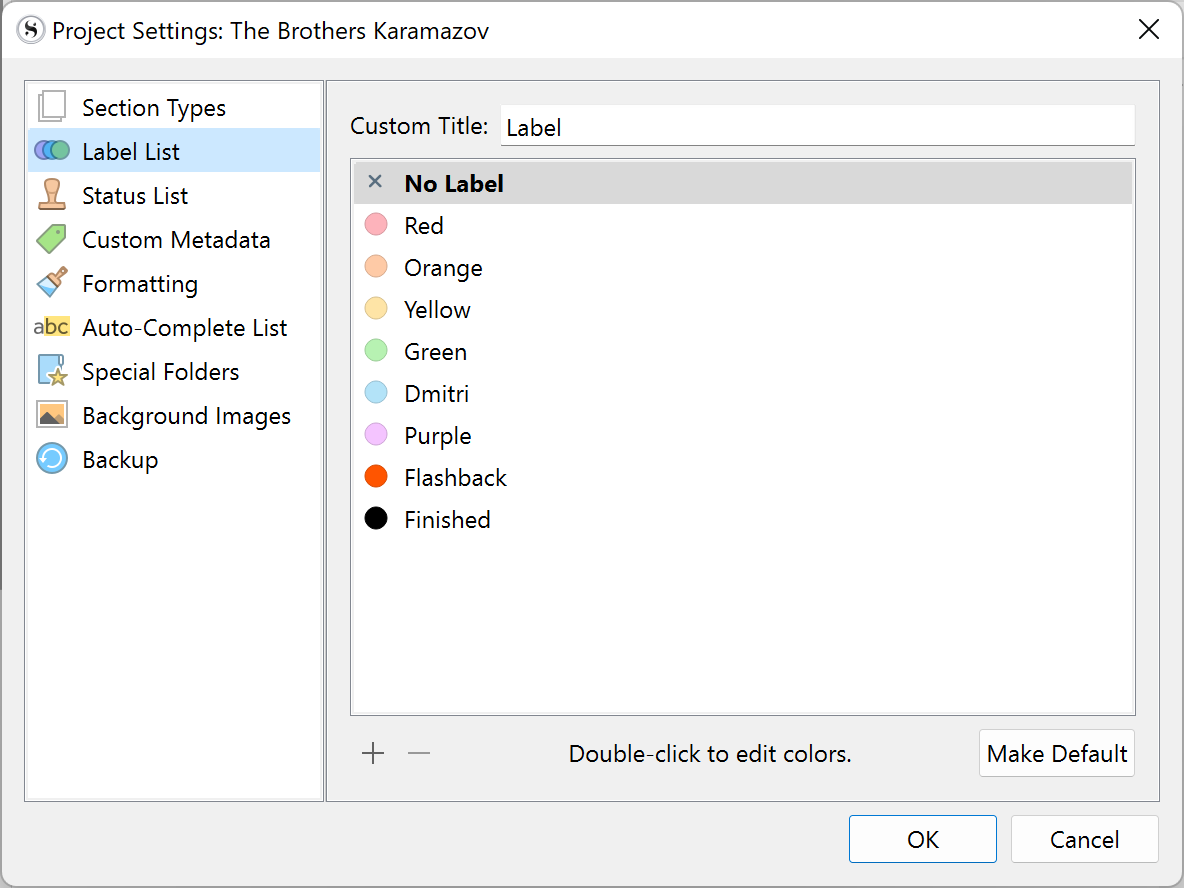
Scrivener comes with six preset labels, all named with colors. But, as you saw at the beginning of this article, you may want to use labels with other values: character names, statuses, time periods, settings, and more.
If you choose Project > Project Settings, then click Labels, you can change the names of the default labels, and if you click +, you can add your own labels, and if you double-click a label, you can set its color.
Labels are a subtle form of metadata that can help you view, at a glance, certain elements of your project. Try them out and see if they make it easier to organize and work on your next Scrivener project.
Kirk McElhearn is a writer, podcaster, and photographer. He is the author of Take Control of Scrivener, and host of the podcast Write Now with Scrivener.