The first in a series of articles about how to customize the Scrivener Editor, this article discusses setting up the Editor space.
Customize the Scrivener Editor 1 - Setting Up the Editor
The Editor is the section in the Scrivener window where you do your writing. While the Binder and Inspector are important, because the former helps you structure your projects, and the latter lets you store additional information about your texts, the Editor is where you probably spend the most time when working with Scrivener.
It's important to be able to make the Editor fit your style of working, to help you forget its presence so you can just focus on the words you write. You do this by adjusting how the Editor and your text display.
In this article, I discuss adjusting the Editor view in general, and in other articles I look at Adjusting Fonts in the Editor, and how to Use Styles to Format your Scrivener Projects.
Setting up the Editor
The Editor starts out as a virtual blank page, waiting for you to put down words in your project. But before you even start writing, you might want to choose some options to set it up to be as comfortable as possible.
In Scrivener's preferences (choose Scrivener > Preferences on Mac, or File > Options on Windows), start by clicking Appearance, then, in the sidebar, Main Editor. I'm not going to discuss all the preferences and options in this article, but I'll look at the most important ones.
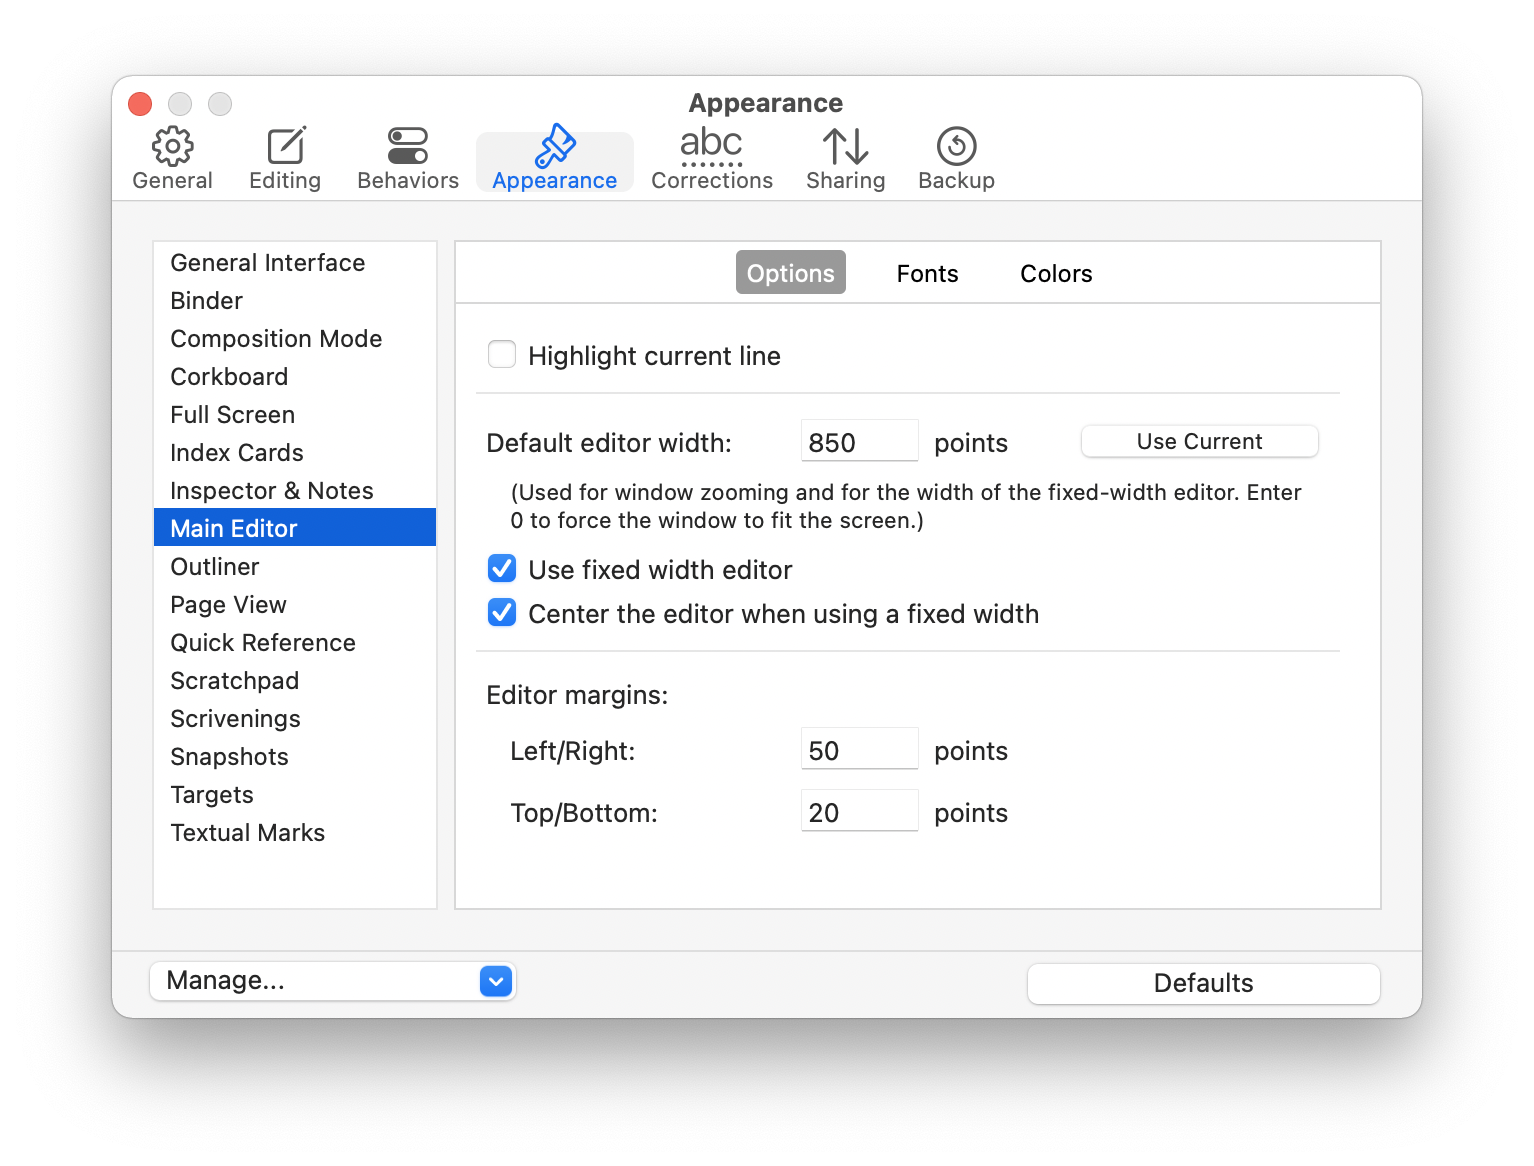
The Default editor width setting tells Scrivener how much space to use for the Editor. Depending on the size of your computer's display, and the size of the font you use (more on that below), you have different space available. On a laptop, you're more limited, but on a huge desktop display, you have plenty of room. However, you might not want to make the Editor too wide; it can be difficult to read lines of text that are too long. Some research suggests that about 70 character should be the maximum width, and that it's harder to read text with longer lines. Since you'll be spending so much time looking at the Editor, it's good to take this into account.
There are several variables at play: the size of the display, the size of the font, and the zoom level - if any - you've set. I find that when I work on a project on different computers, such as a laptop and a desktop computer, it's a lot easier to adjust the zoom rather than change font sizes. To do this, choose View > Zoom, then either choose Zoom In or Zoom Out, or choose a number from the menu. If the footer view is visible (View > Editor Layout > Show Footer View), you'll see a small zoom menu at the bottom left of the Editor, as you can see in the screenshot below.

If you find a comfortable setting like this, then you'll be all set. If not, try the following. Select all the text of a line that stretches across the page. Click the word count in the Footer View, and the panel that displays shows the number of characters in the selection. In the example below, this is 69, which is a comfortable number. Now, if you want to make the Scrivener window smaller or larger, you can adjust the zoom level if you want.

The Appearance preferences has an option, which is enabled by default, to Use fixed width editor. If you find that the editor is too wide or too narrow, uncheck this option. You can change the width of the Editor by positioning your cursor over one of the bars between the Editor and the Binder, on the left, and the Inspector, on the right (if they are visible). Drag to make it narrower or wider, and if you find a size that suits you, go to the Appearance preferences and click Use Current, so Scrivener remembers this width.
Another setting available in the Appearance preferences is the Editor margins, which is the space around the text in the editor. You can adjust these if you want more room to the sides of your text, and at the top and bottom of the Editor. Again, with a large display, you'll have more space, and increasing the margins will give your text more room to breathe, and may making writing and editing easier.
Editor colors
I remember working on computers, some decades ago, where text was vivid green on a black background. While some people may want to work like that, most don't, and we're used to black text on a white background.
But if you feel differently, the Appearance > Main Editor > Colors options allow you to make changes to the colors used in the Editor.

If you click Editor, then the rectangle below Editor on the right, this brings up a color picker; choose the color you prefer using behind your text. Many people may find that a light gray, or a subtle beige, can be easier on the eyes than the harsh contrast of black on white. You can also choose a texture if you wish; you'll need an image file for this, such as one that looks like paper. (The Corkboard uses a cork texture for its background.)
The Fixed Width Background setting allows you to set a color around the main text section of the Editor, if there's more space around the width you've set. Think of this as a sort of buffer between your text and the Binder and Inspector.

Another option you might want to change is the Text Selection color. By default, this is blue, but you might prefer a different color, such as mint green or rose pink. Click the triangle to bring up the color picked and choose your color.
You can explore the other options available for the Editor, and check out these 5 Tips for Customizing the Scrivener Editor.
Kirk McElhearn is a writer, podcaster, and photographer. He is the author of Take Control of Scrivener, and host of the podcast Write Now with Scrivener.